 Ready-Made Dental Websites


 Dental Website Development

 Dental Photography & Photo Protocol
 Dental Clinic Photography


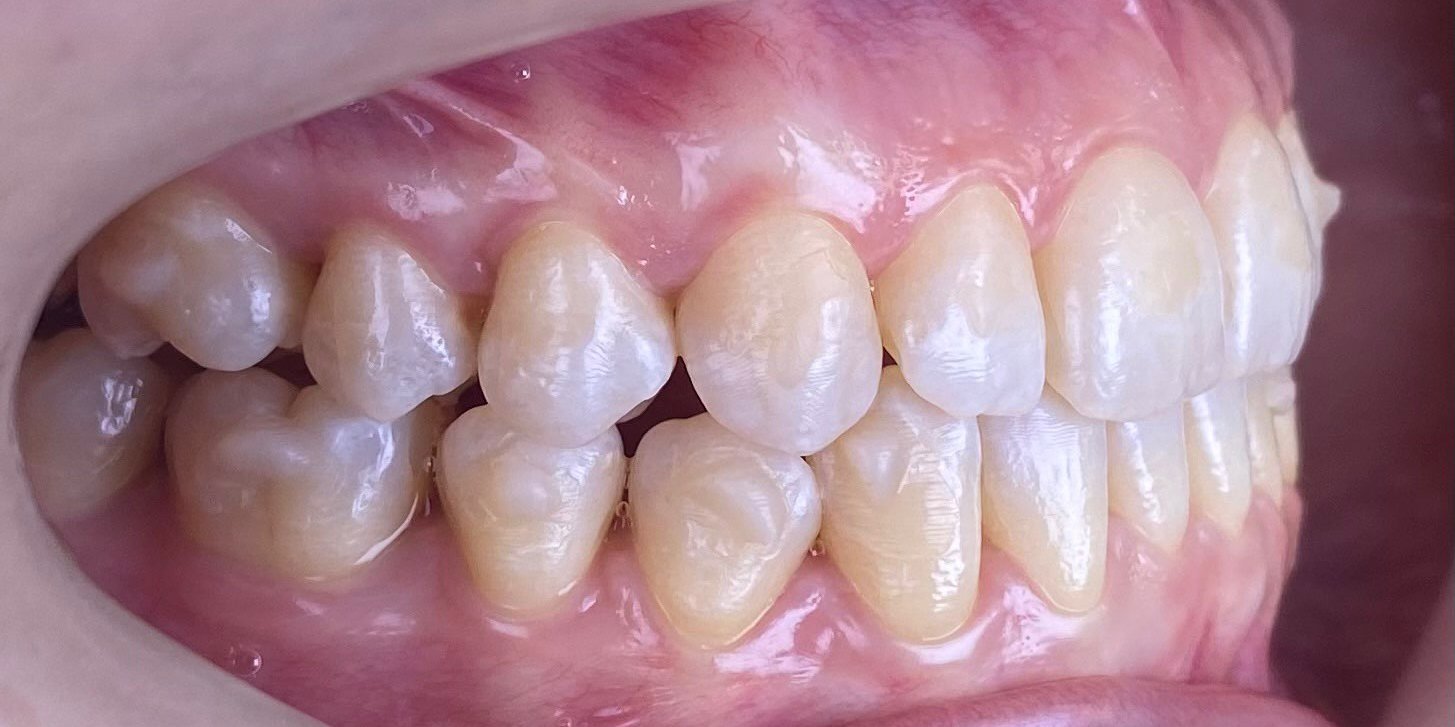
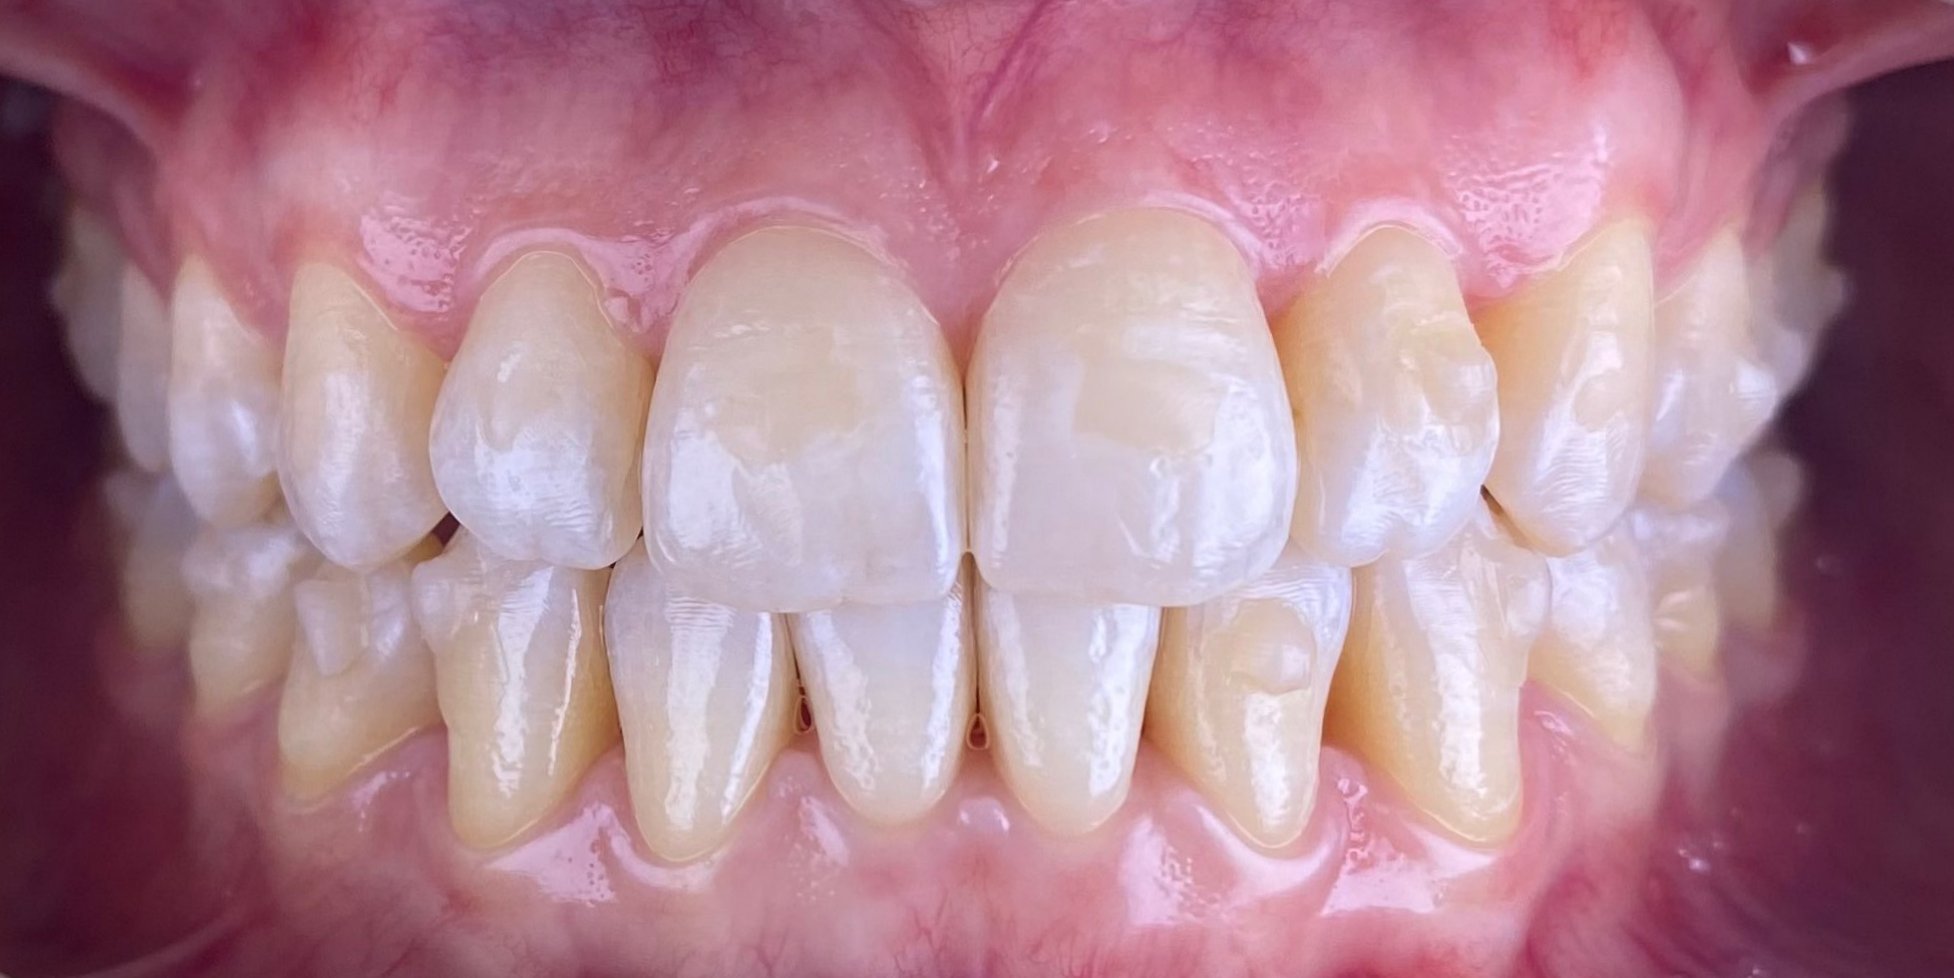
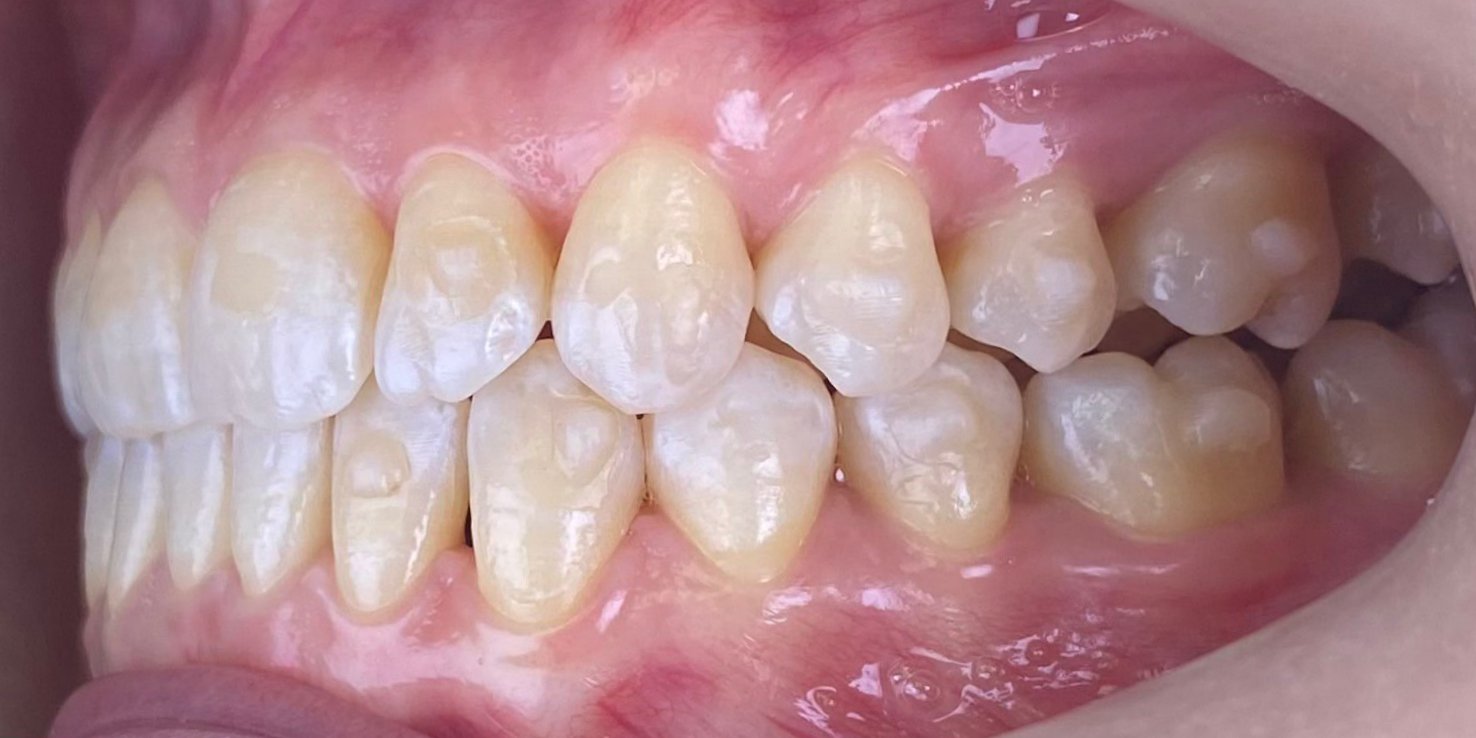
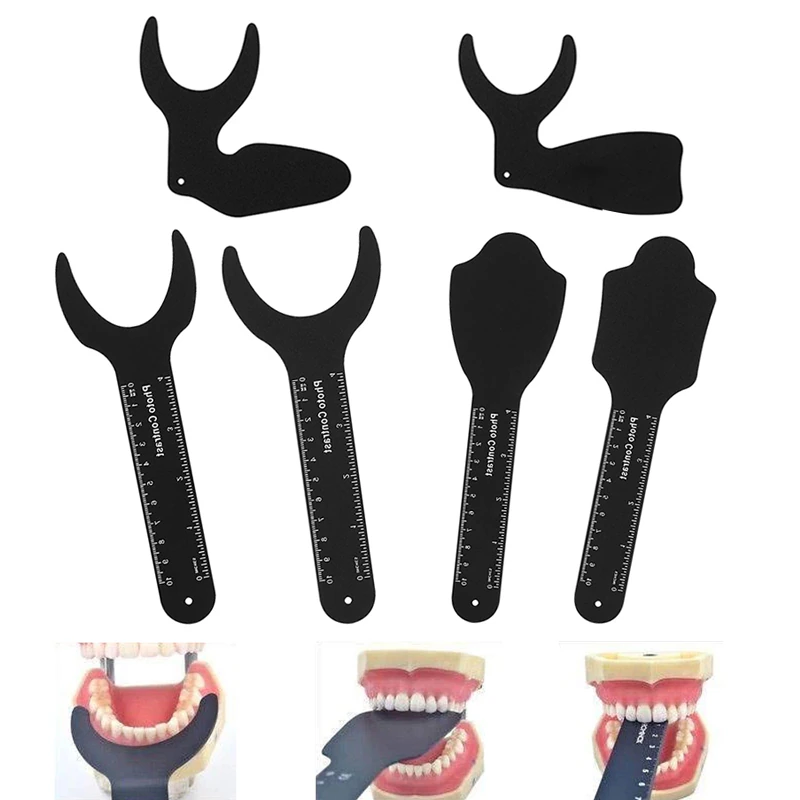
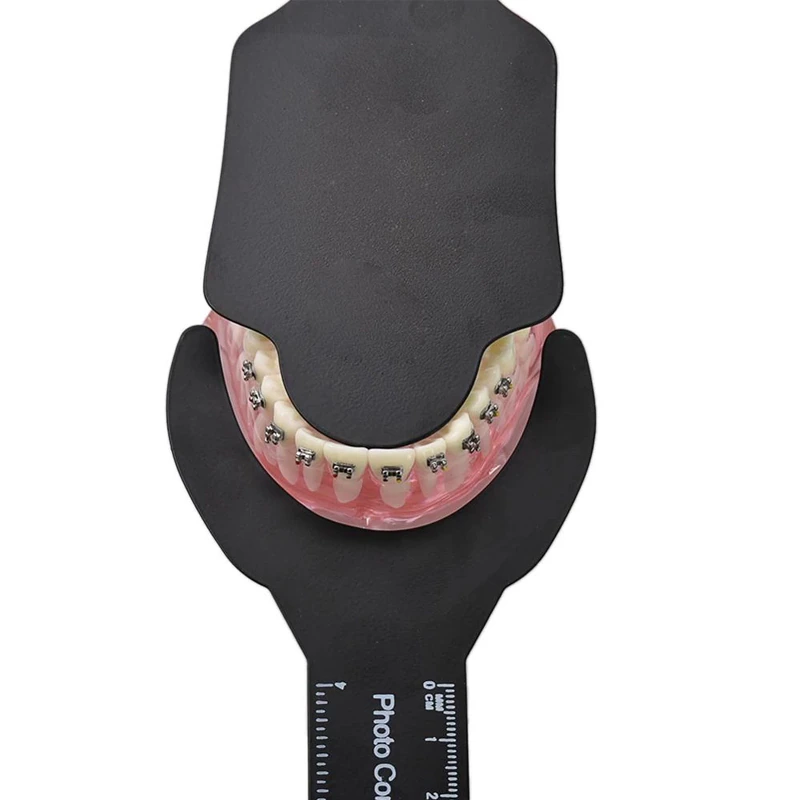
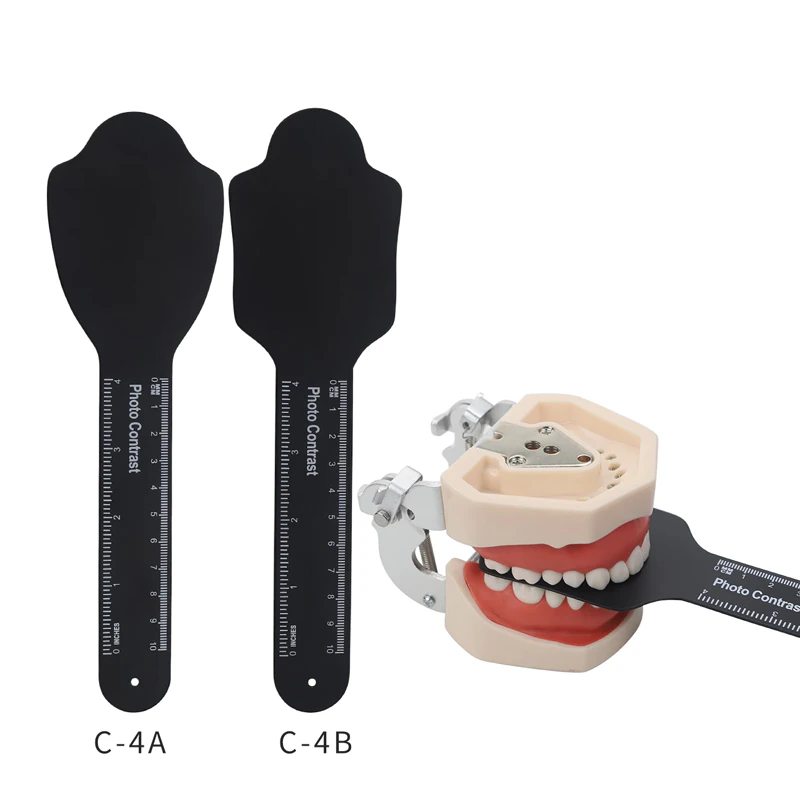
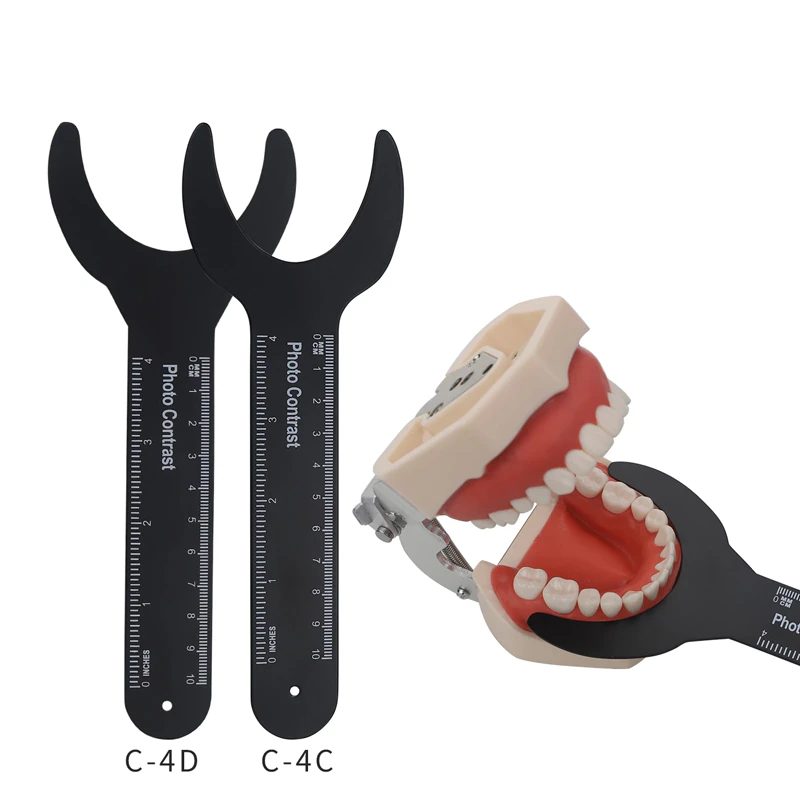
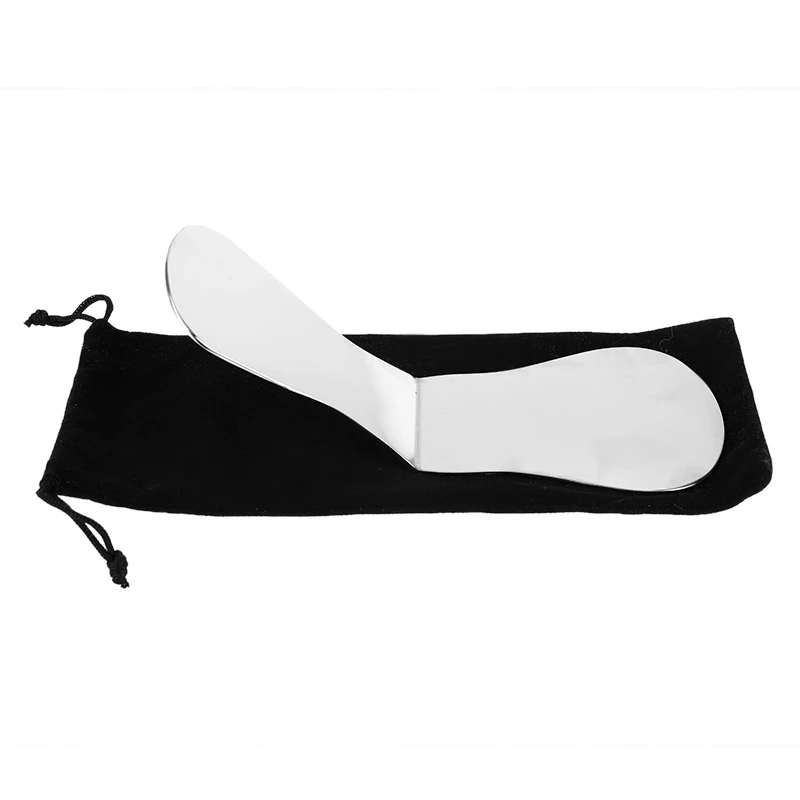
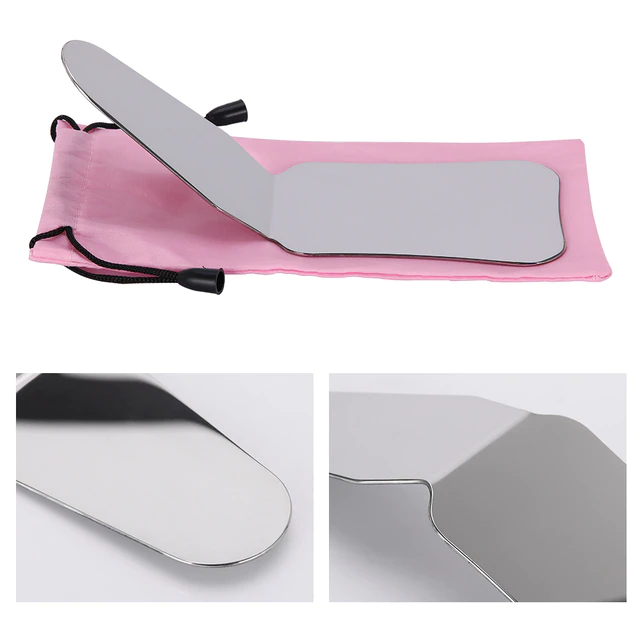
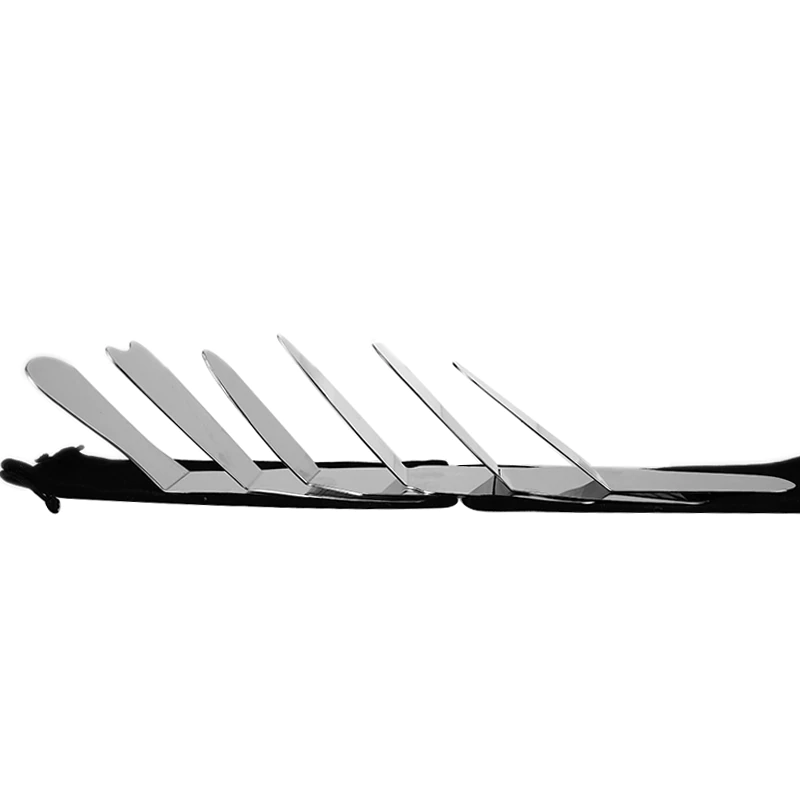
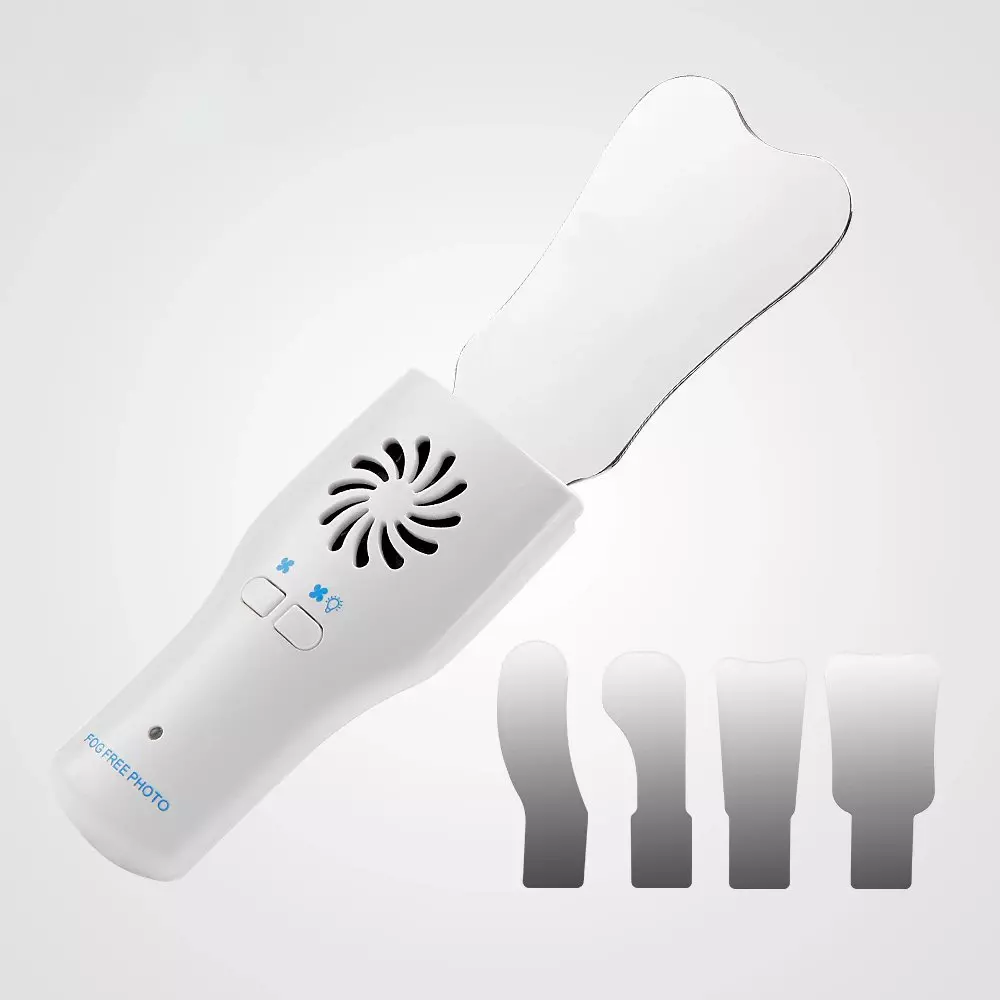
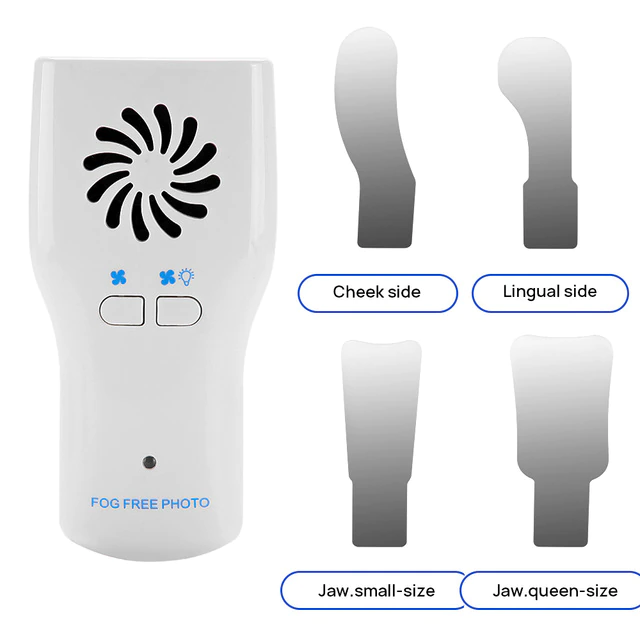
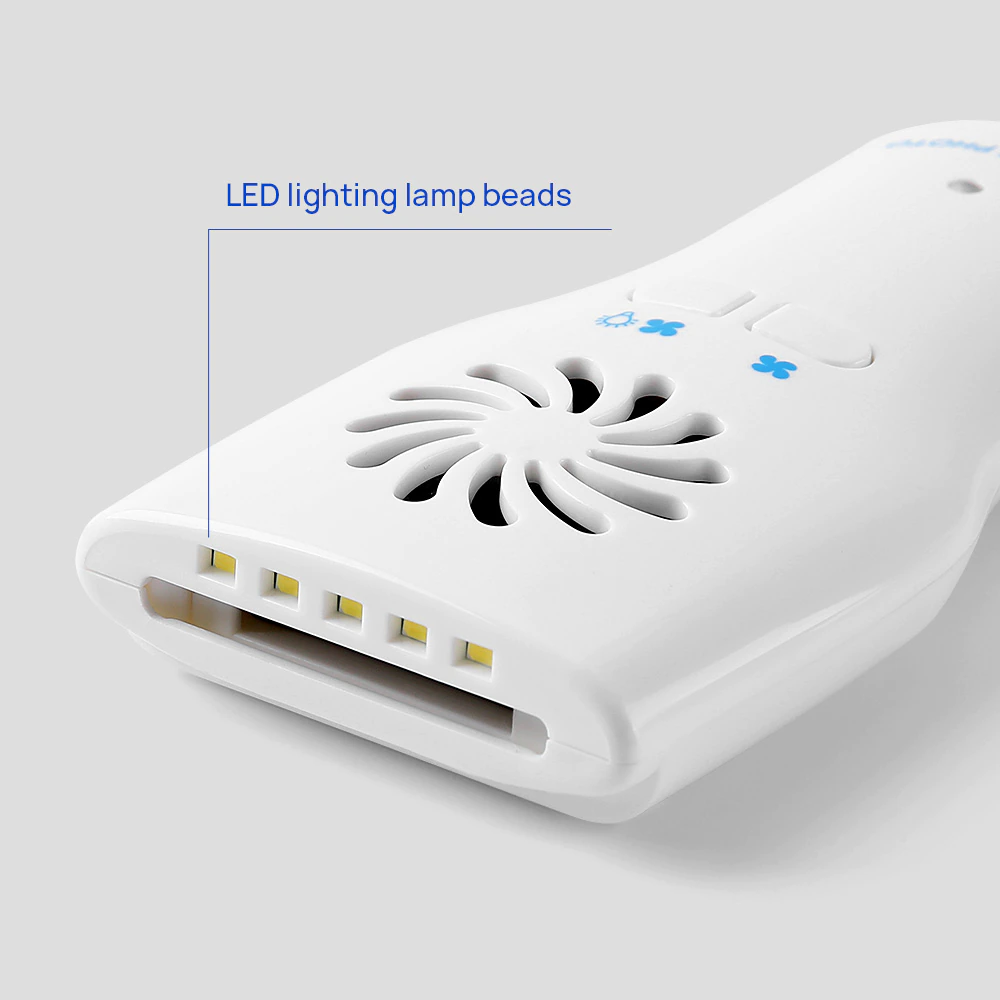
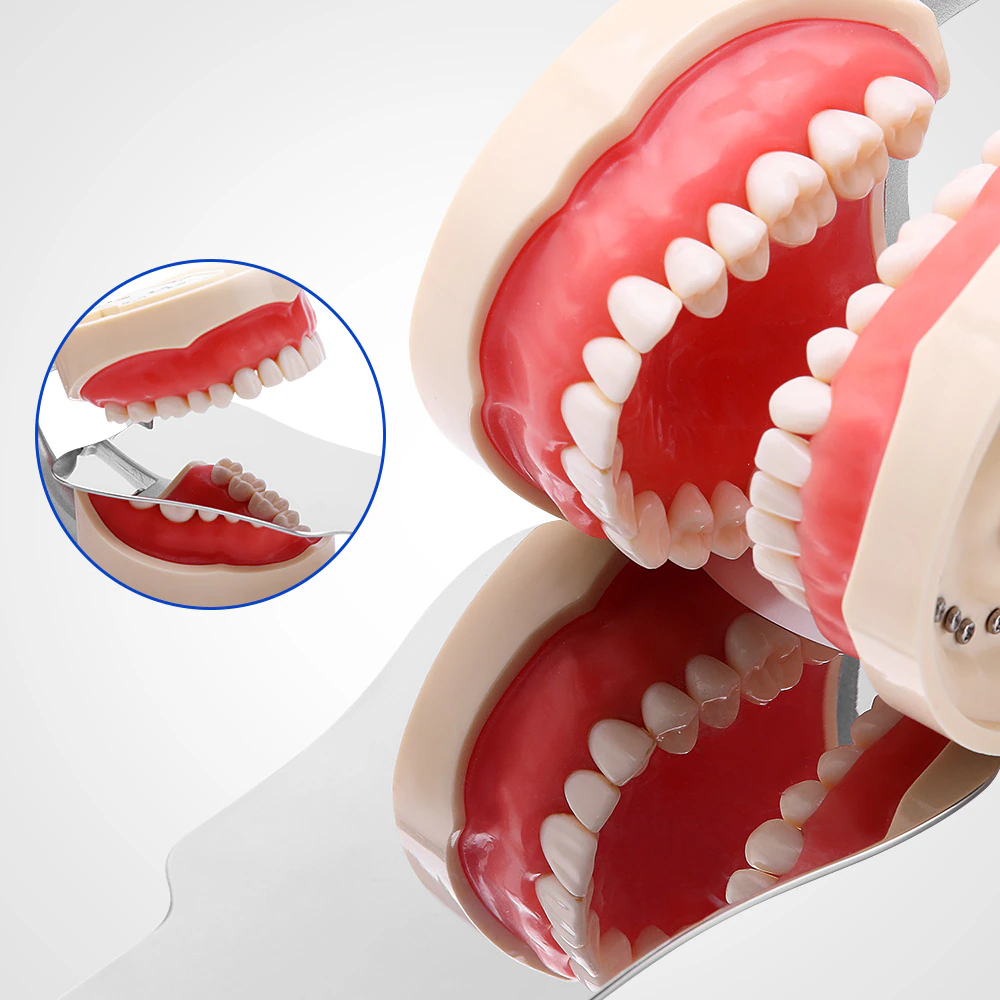
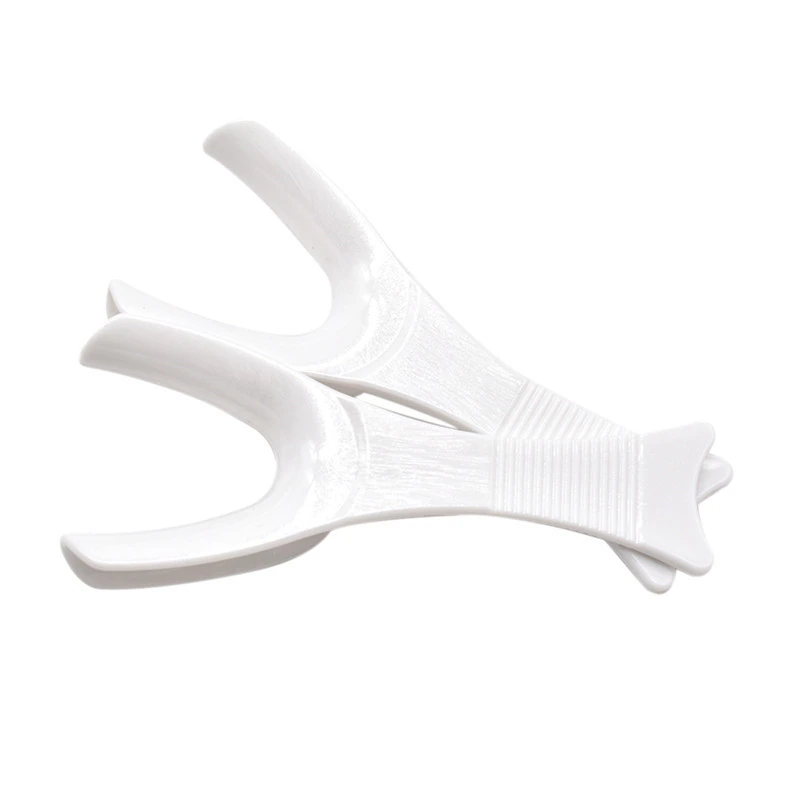
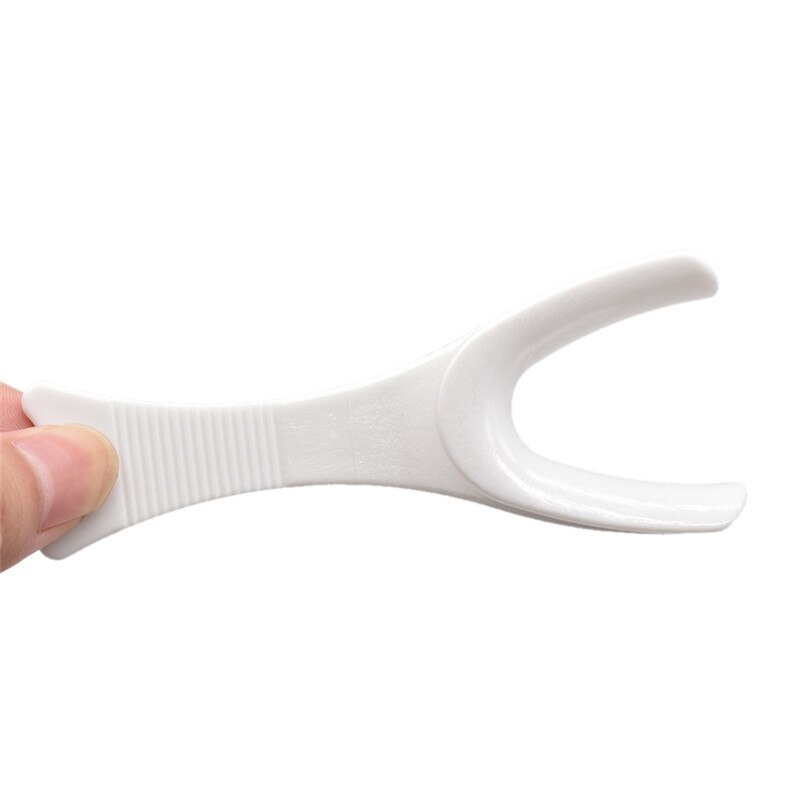
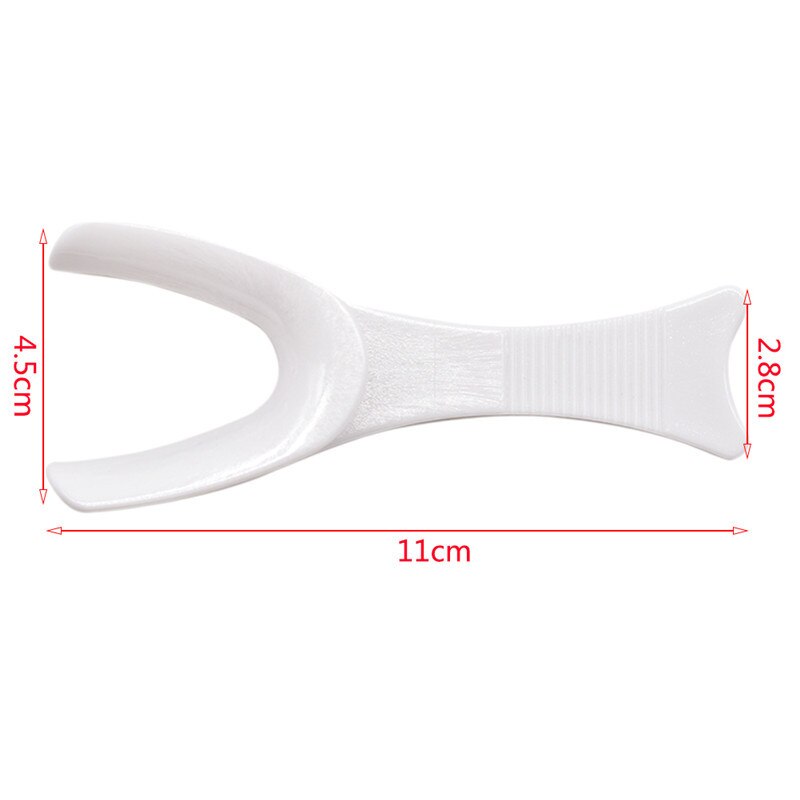
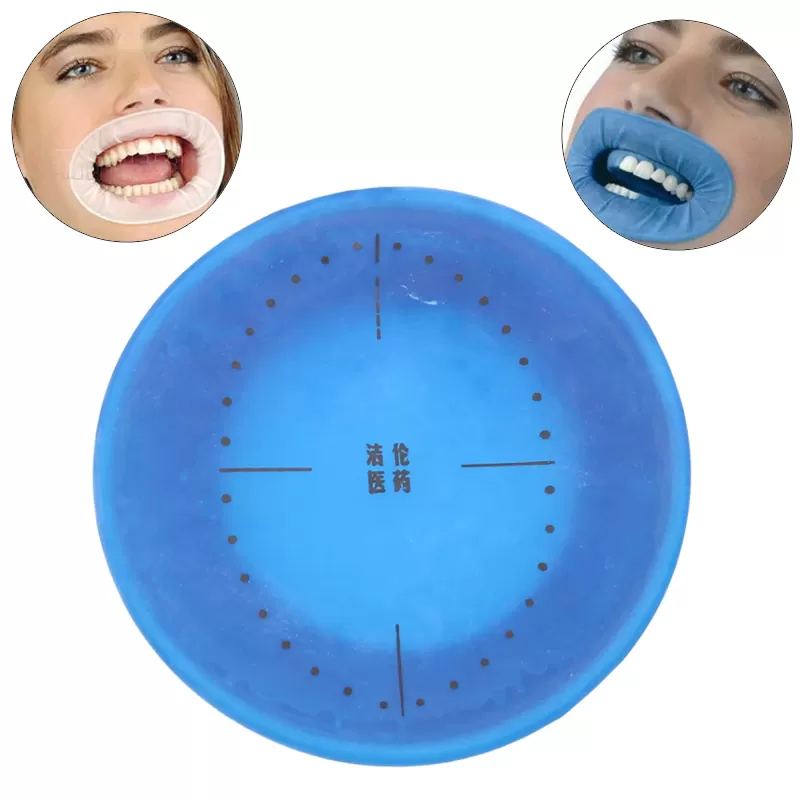
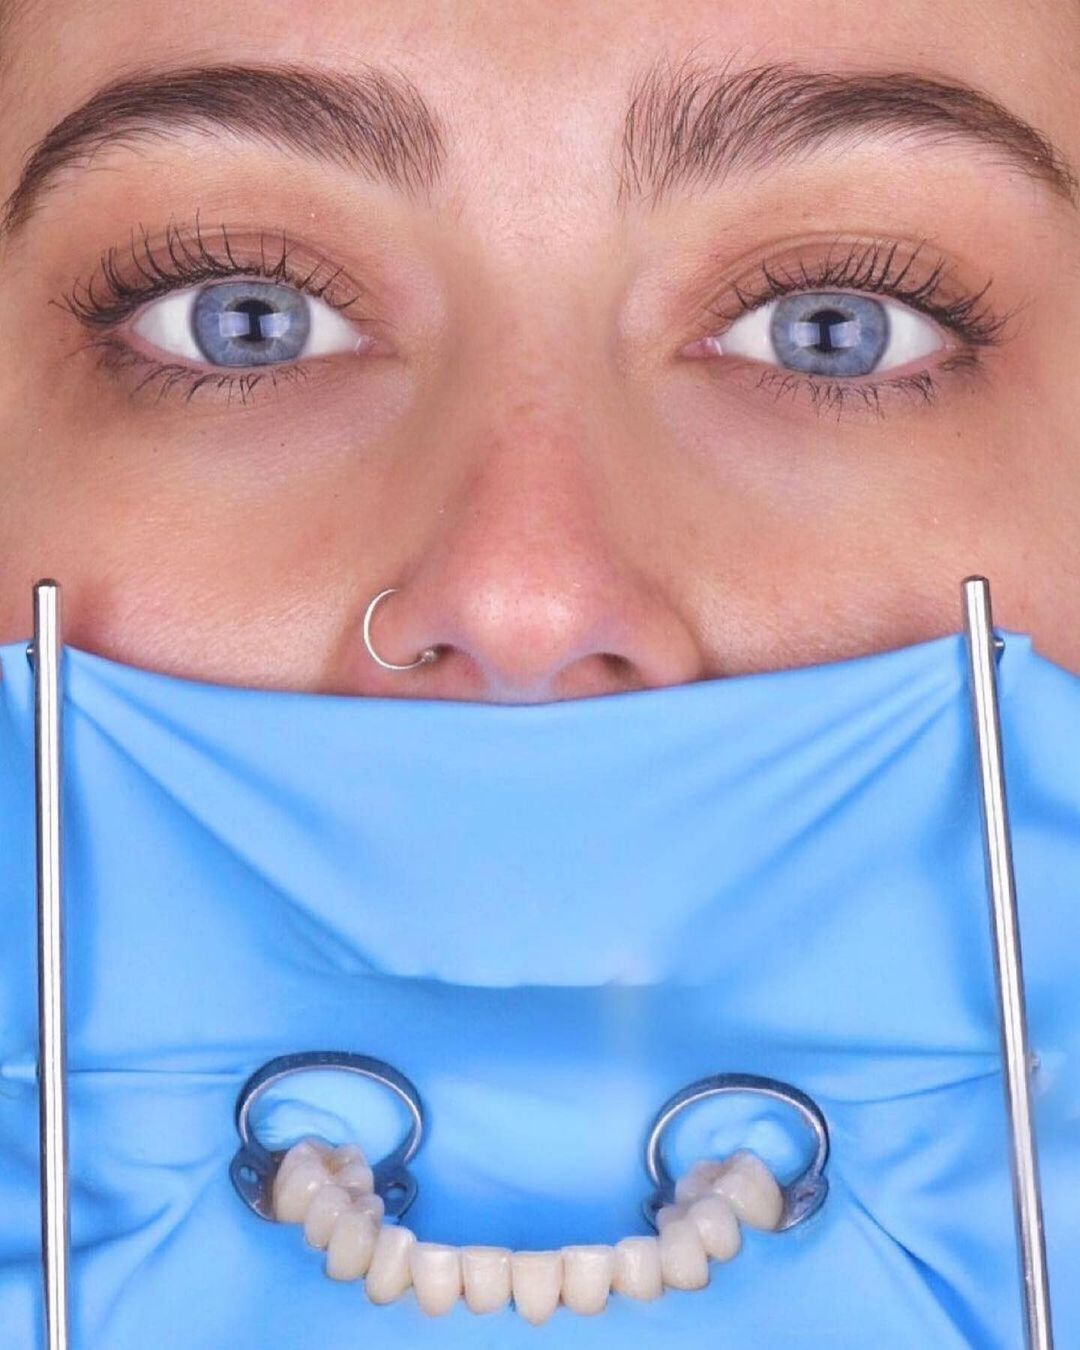
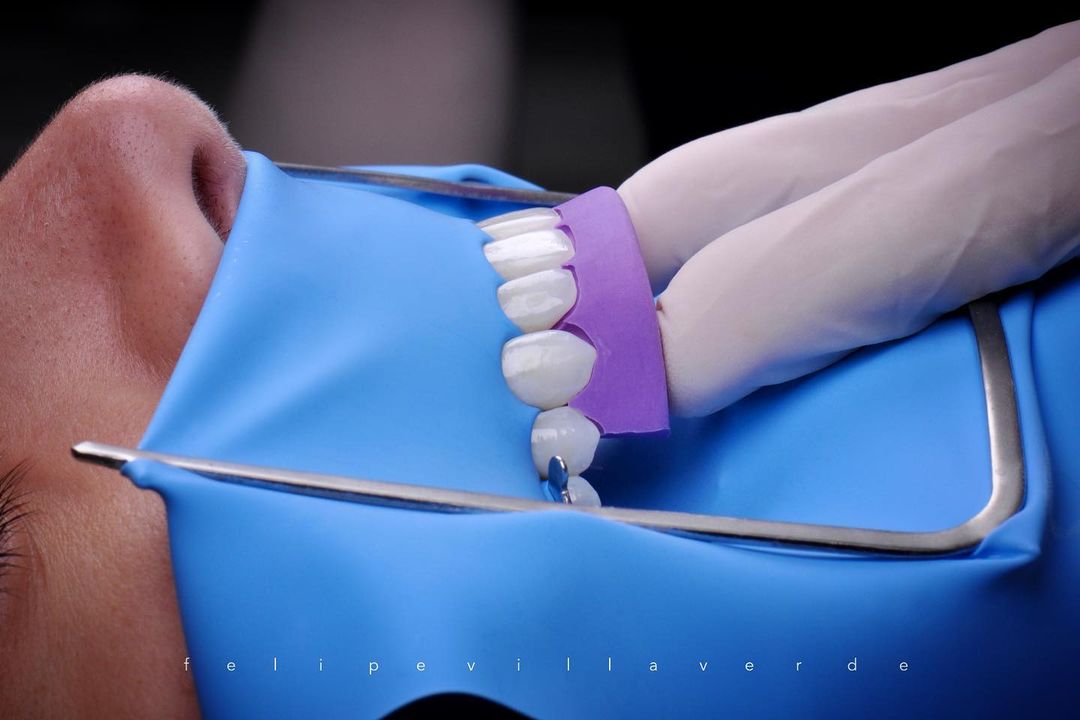
It is essential to keep brightly coloured objects out of the frame.
Purple gloves, blue retractors — these reflect light and shift the shade of the teeth in the photograph. Use only neutral, black, white, or beige retractors and gloves.
The moment a coloured object enters the frame, the white balance shifts and the photograph loses objectivity.
Portrait photography


What do we need for portrait photography?

Camera body
Shooting conditions with external lighting are straightforward — technically any camera from £500 to £2,500 can handle it. That said, I personally chose a professional full-frame Nikon D750 — a professional camera from the previous generation, available second-hand at a very attractive price. The successor model, the D780, costs considerably more.
The advantage of this camera: it delivers exceptional image quality, focuses instantly, and inspires you to use it not just for portraits but to document all aspects of clinic life.
The disadvantage: the professional body is made from magnesium alloy. It is heavy, and for a female general dentist working with it regularly, this can be genuinely uncomfortable.

Portrait lens
It is important to understand that the image is made by the glass — the lens — not the camera body. It is better to buy a simpler body and invest in an excellent lens. The best choice for Nikon is the 105mm fixed focal length macro lens for portraits. The same macro lens used for intraoral photography works perfectly for portraits too. I bought mine second-hand.

Flash lighting
We need soft, even fill light from both sides. For this we place two medium-sized softboxes at a distance of 0.5 to 1 metre from the patient.
The light sources can be two studio monolights powered by mains electricity, or two portable flashes running on rechargeable batteries. The portable option has the advantage of not requiring a power outlet.
portrait lighting sources

2 studio monolights
You can buy a complete studio lighting kit including everything you need — stands, softboxes, and synchroniser.
Advantages: instant recharge, large softbox.
Disadvantages: takes up significant space, requires a mains power source.

2 on-camera flashes
You can use on-camera flashes as light sources. Their advantage is portability and freedom from mains power. The disadvantage is the same: a smaller softbox produces a less flattering light pattern, and they take longer to recycle between shots.

2 portable monolights
In my view the most practical option combines the advantages of both. It is as powerful and fast as a studio monolight, accepts a large lightbox, and runs on a powerful rechargeable battery with no cables required.
The manufacturer does not offer a ready kit — you need to purchase two portable monolights, two stands, two lightboxes, and one synchroniser separately.


dental photo protocol


Photo protocol equipment for the general dentist
the fastest and simplest photo protocol
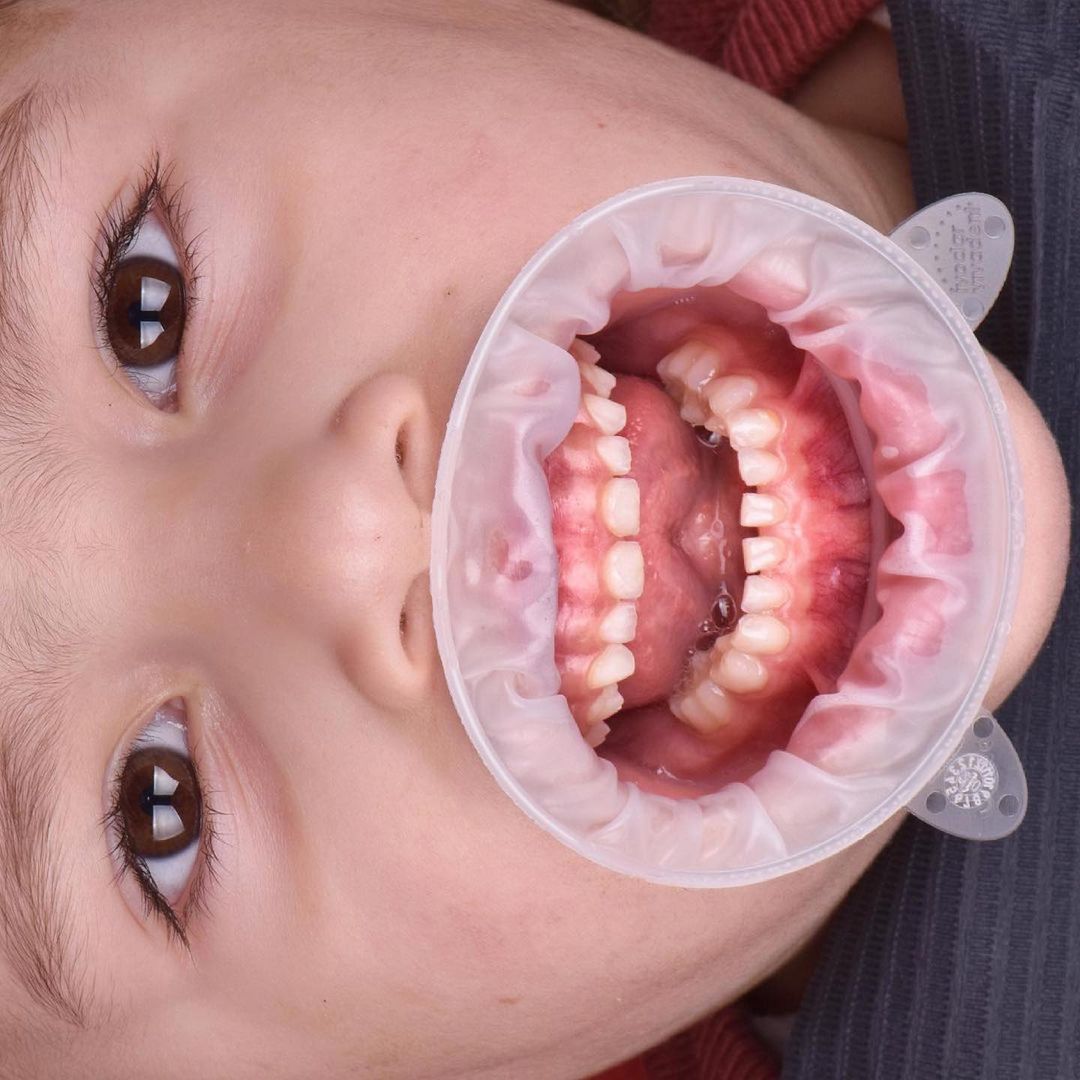
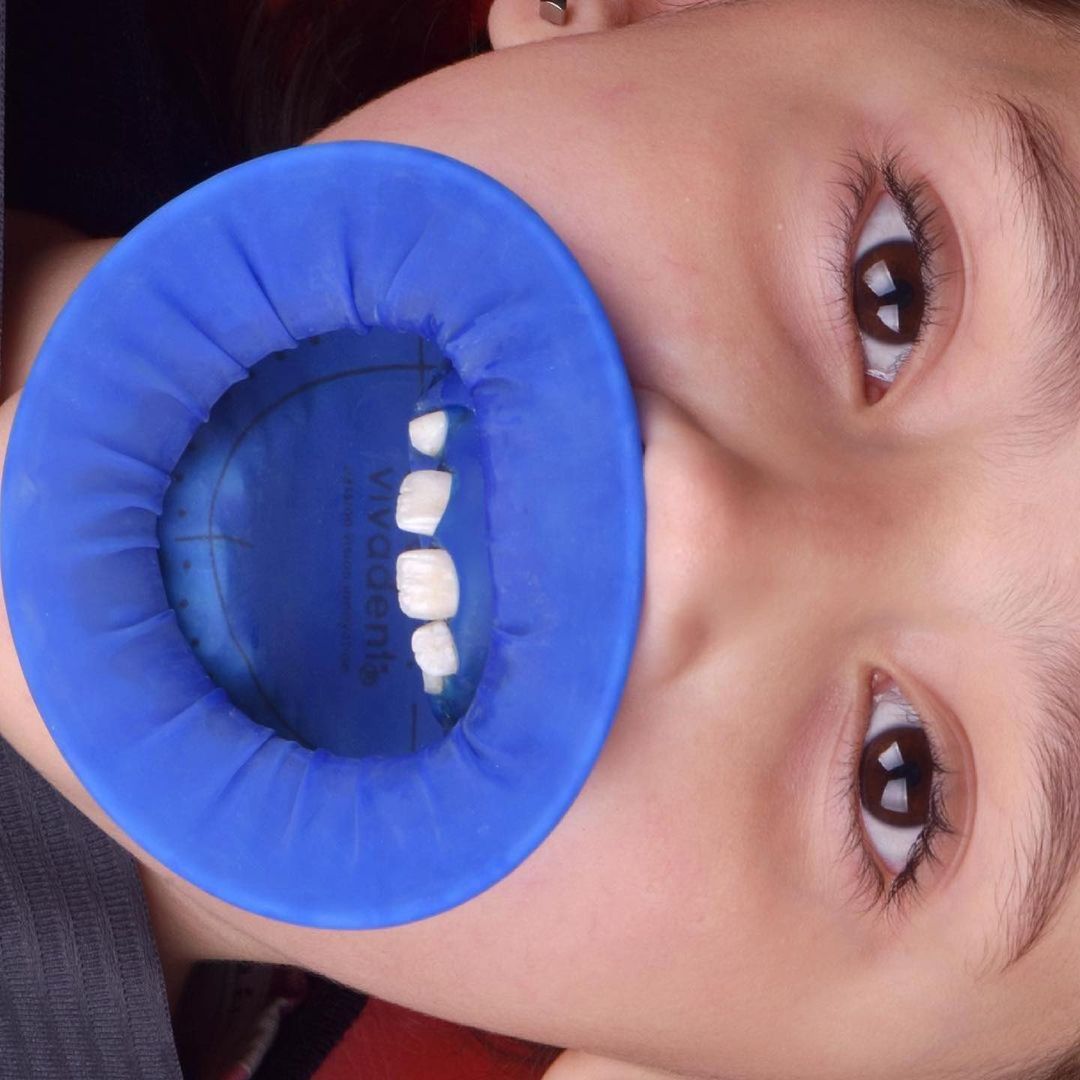
I deliberately separate the photography approach for different specialists. They have different requirements, and there is no need to burden a general dentist with complexity they do not need.
Implementing a photo protocol in a clinic is not straightforward. It means accepting that every treatment will now take 20–30% longer. Not every dentist will receive this proposal with enthusiasm.
If you tell a general dentist to accompany every treatment with a full photo protocol, they will refuse.
But if the protocol requires no effort from the dentist and can be run by the dental assistant, adoption becomes much easier. Objectively, photography does not require a medical qualification — any careful person can do it. That is why it makes sense to assign this function to the dental assistant. Consider it from another angle too: participating in the photo protocol raises the assistant's sense of importance and contribution. An experienced dentist will tend to see it as lost time. Use your team's motivations in service of the common goal.
The complexity of DSLR photography puts dentists off. The settings are easily disturbed — turn one ring on the body and the photograph becomes dark or overexposed. Working with flash is also not simple, because you cannot see the final result until the shot is taken, and then corrections need to be made. Also worth considering: the weight of a DSLR, and the fact that a general dentist is often a woman.
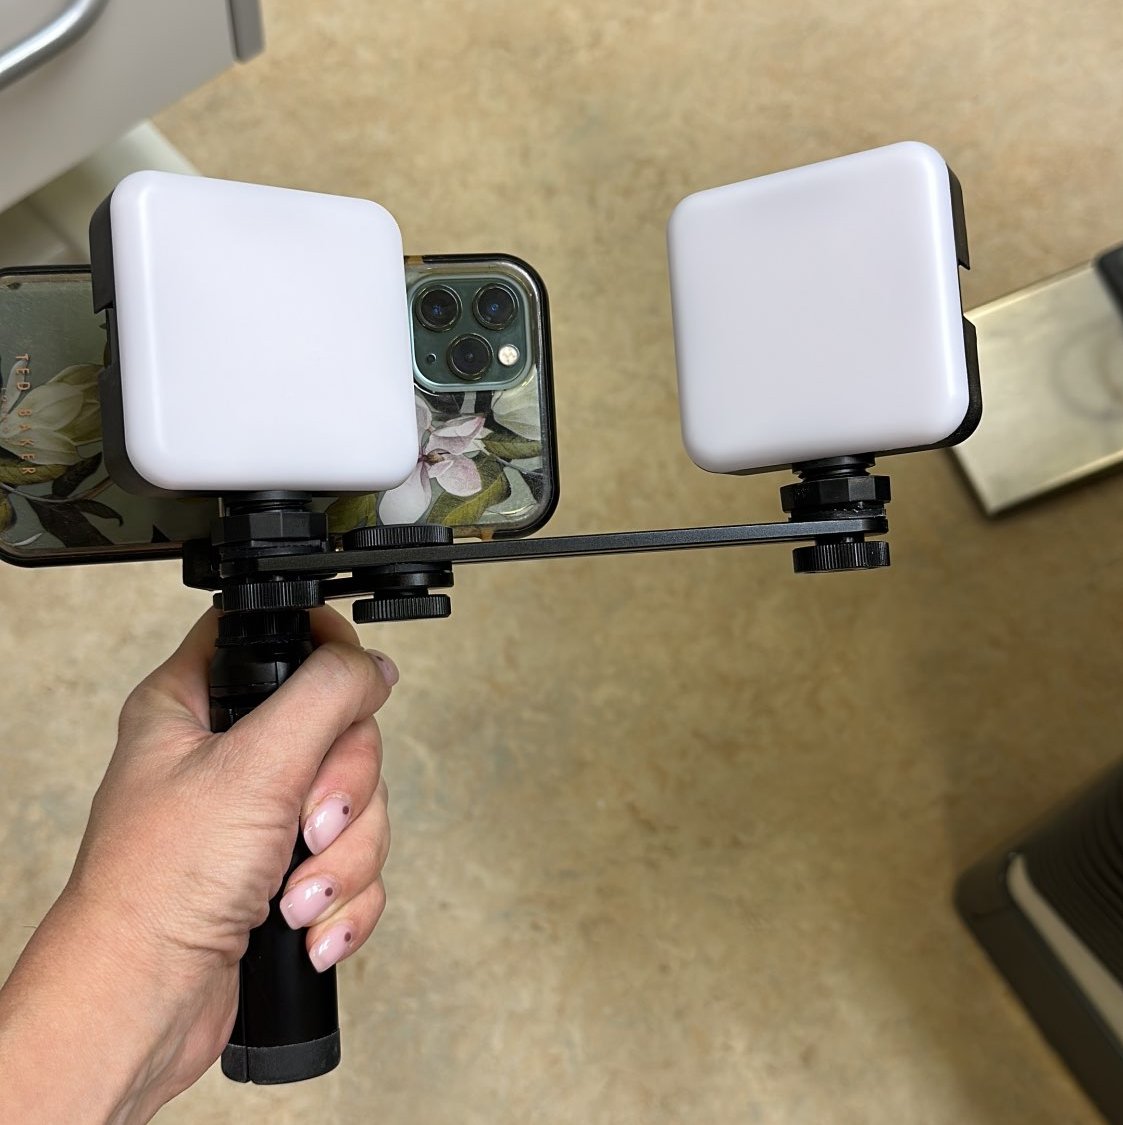
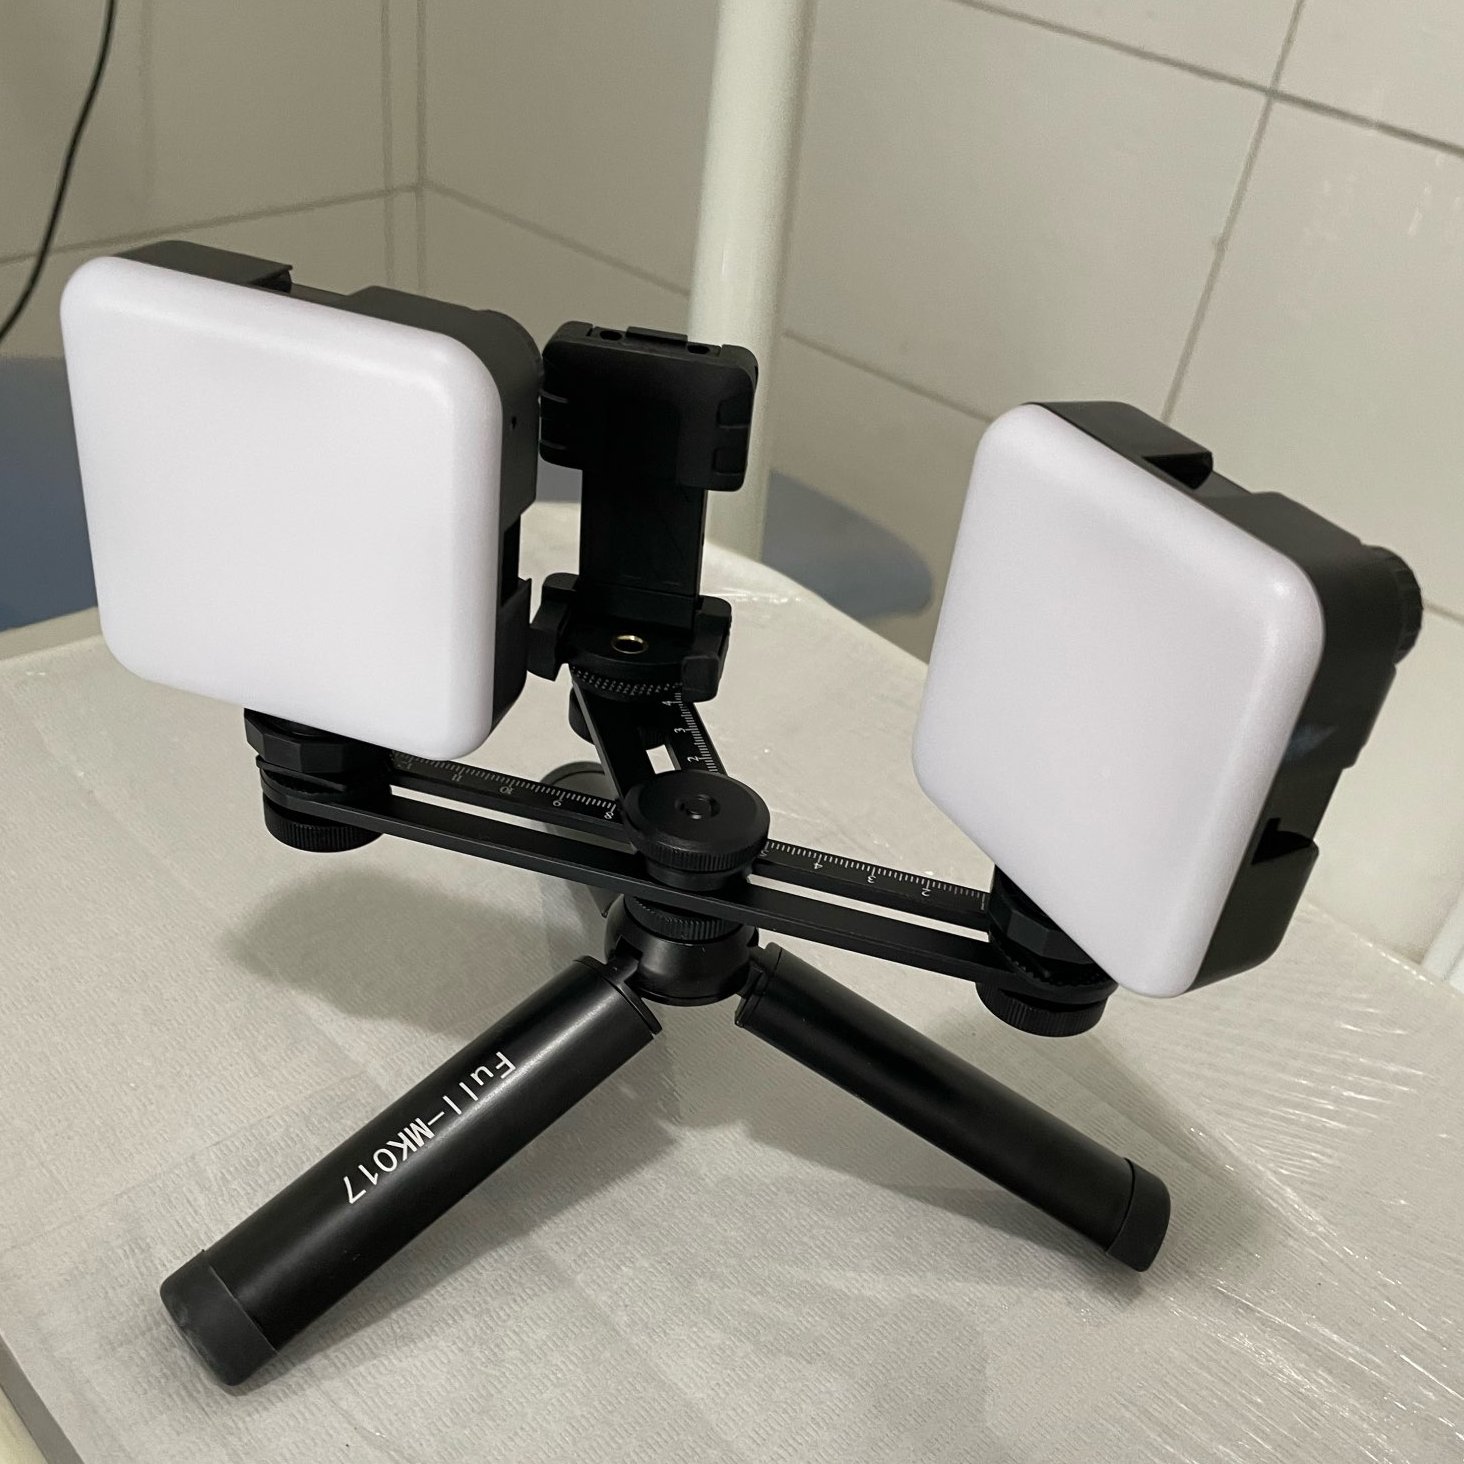
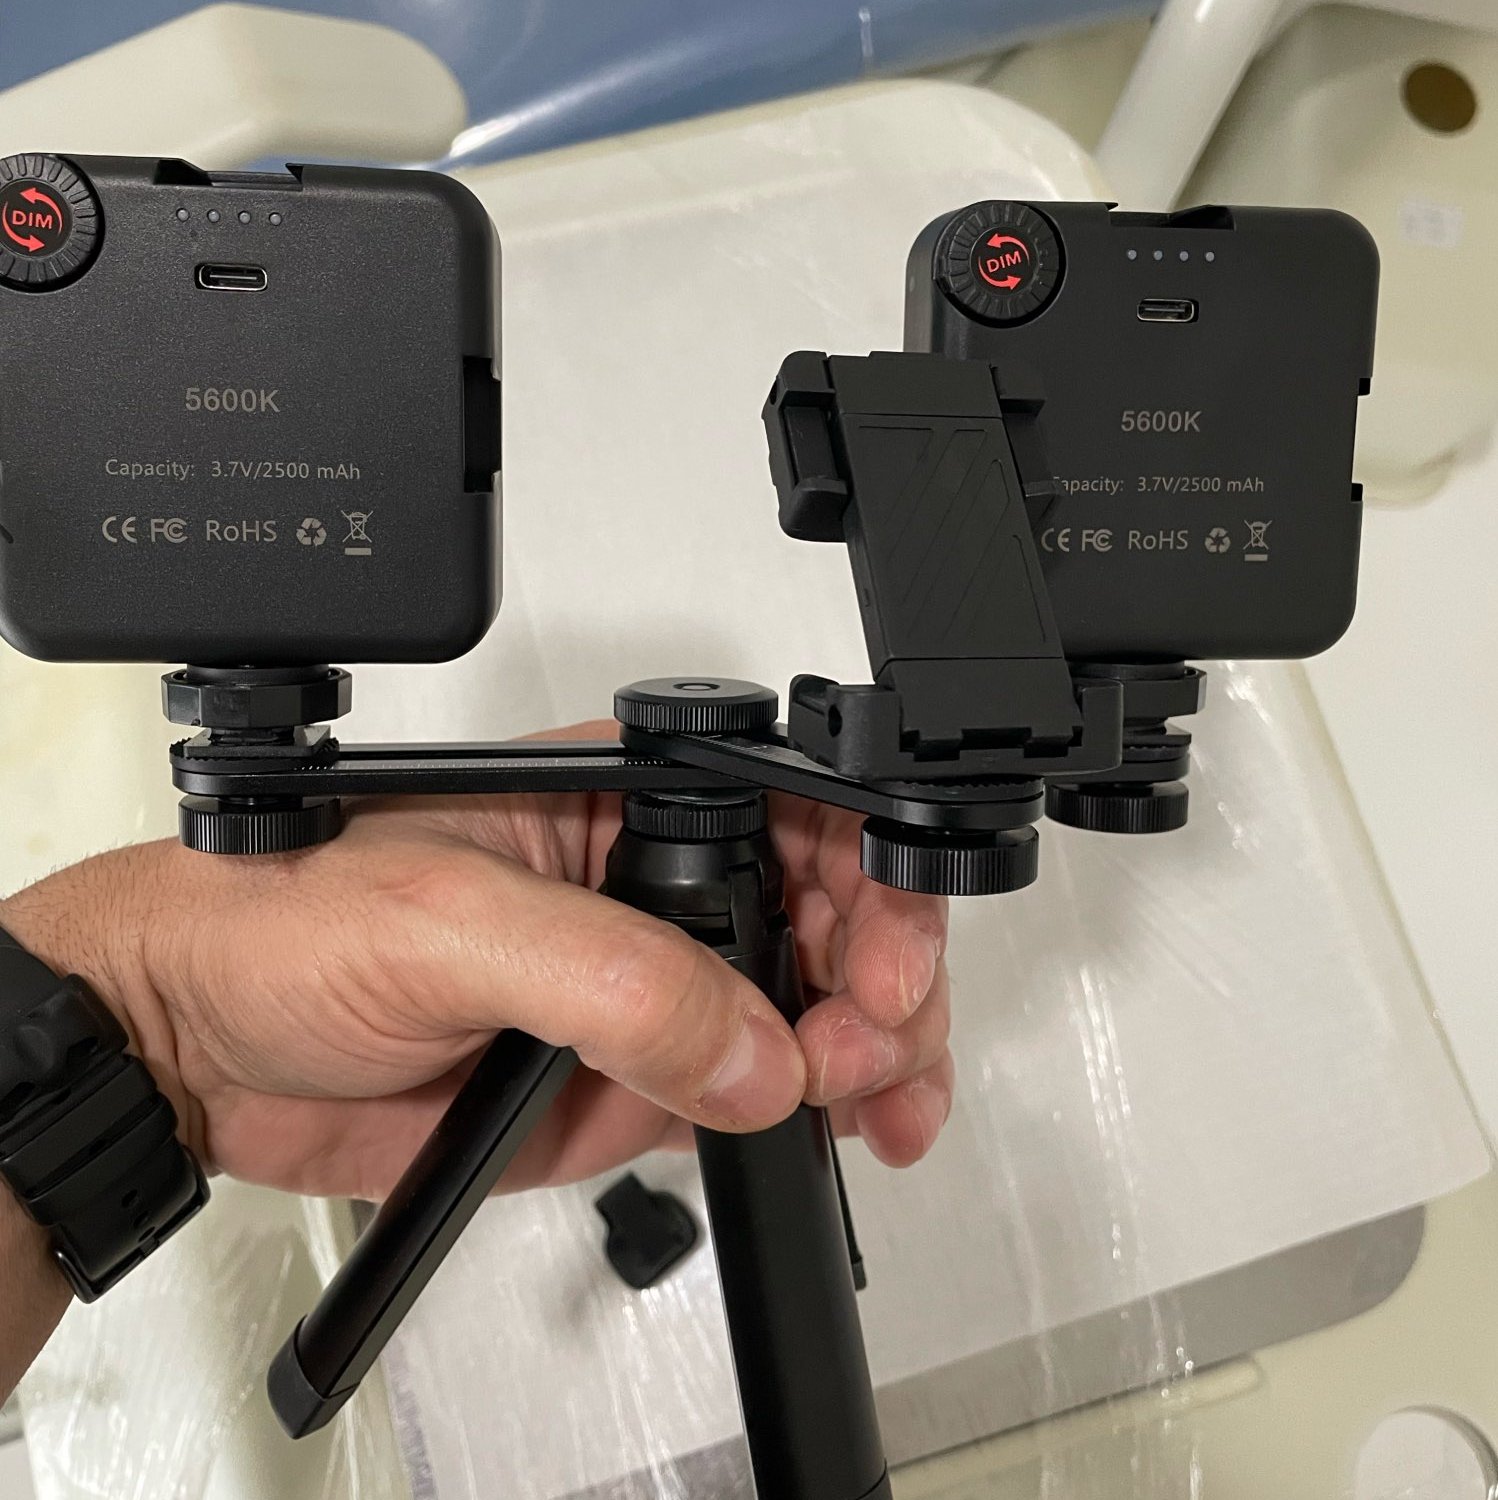
If I were a general dentist, despite my love of cameras, I would never use a DSLR — I would use a smartphone.
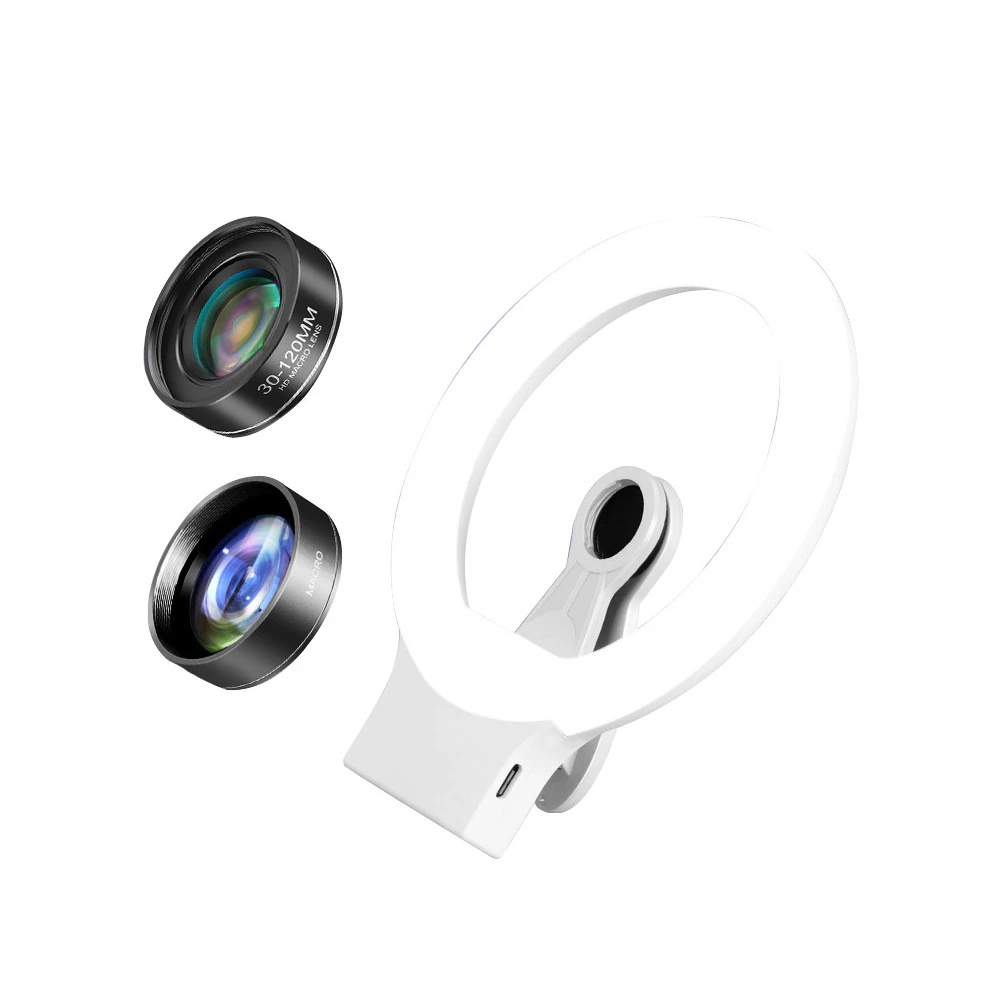
The only challenge is finding a good constant light source. While searching for one, I found the Instagram account of a restorative dentist who had organised the production of a smartphone dental photography kit.

Kit price — £XXX
Smartphone — £XXX
Easy Light kit — £XXX
When a general dentist reaches the point where they want to go beyond documentary protocol photography and create genuinely artistic images, the smartphone needs to be set aside and they should look at how restorative dentists photograph their work.
We are used to seeing beautiful photographs from restorative dentists showing stunning ceramic restorations. But look at what can be done with photographs of a general dentist's work.
Look carefully at the reflections on the enamel — you can see a large fill light source. Let this be another reminder that a standard ring flash or bipolar close to the lens is a poor choice.

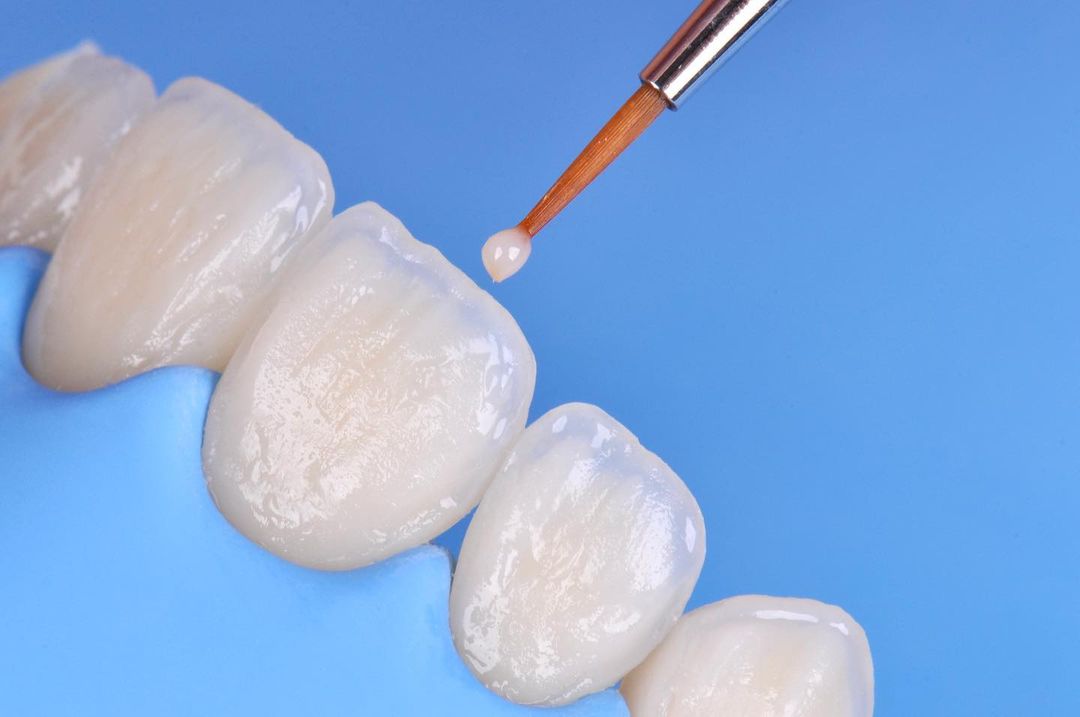
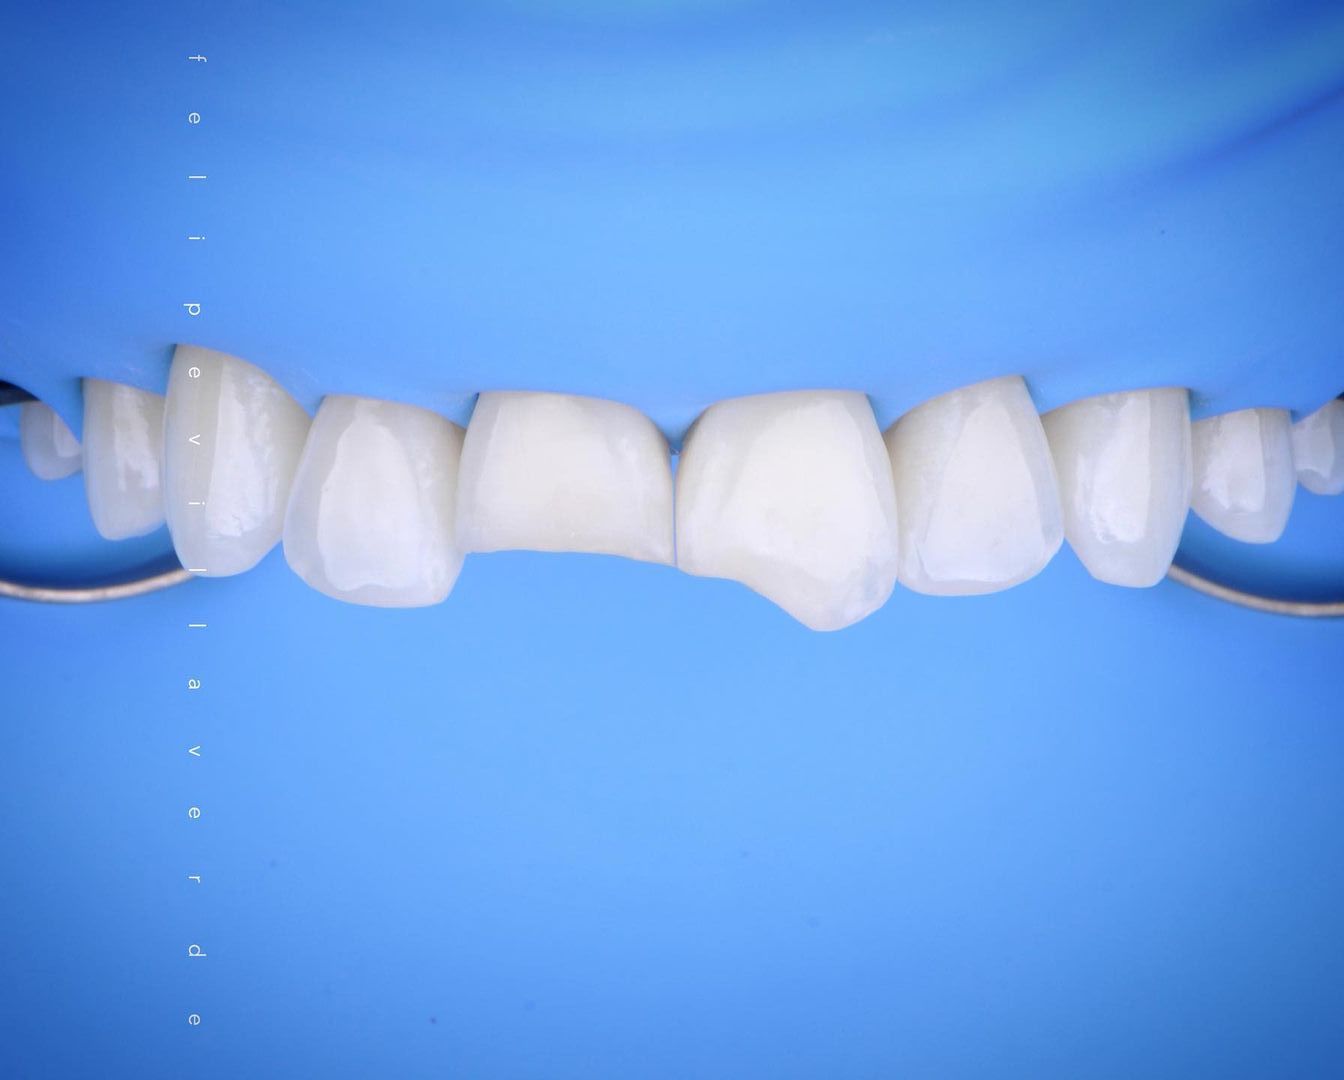
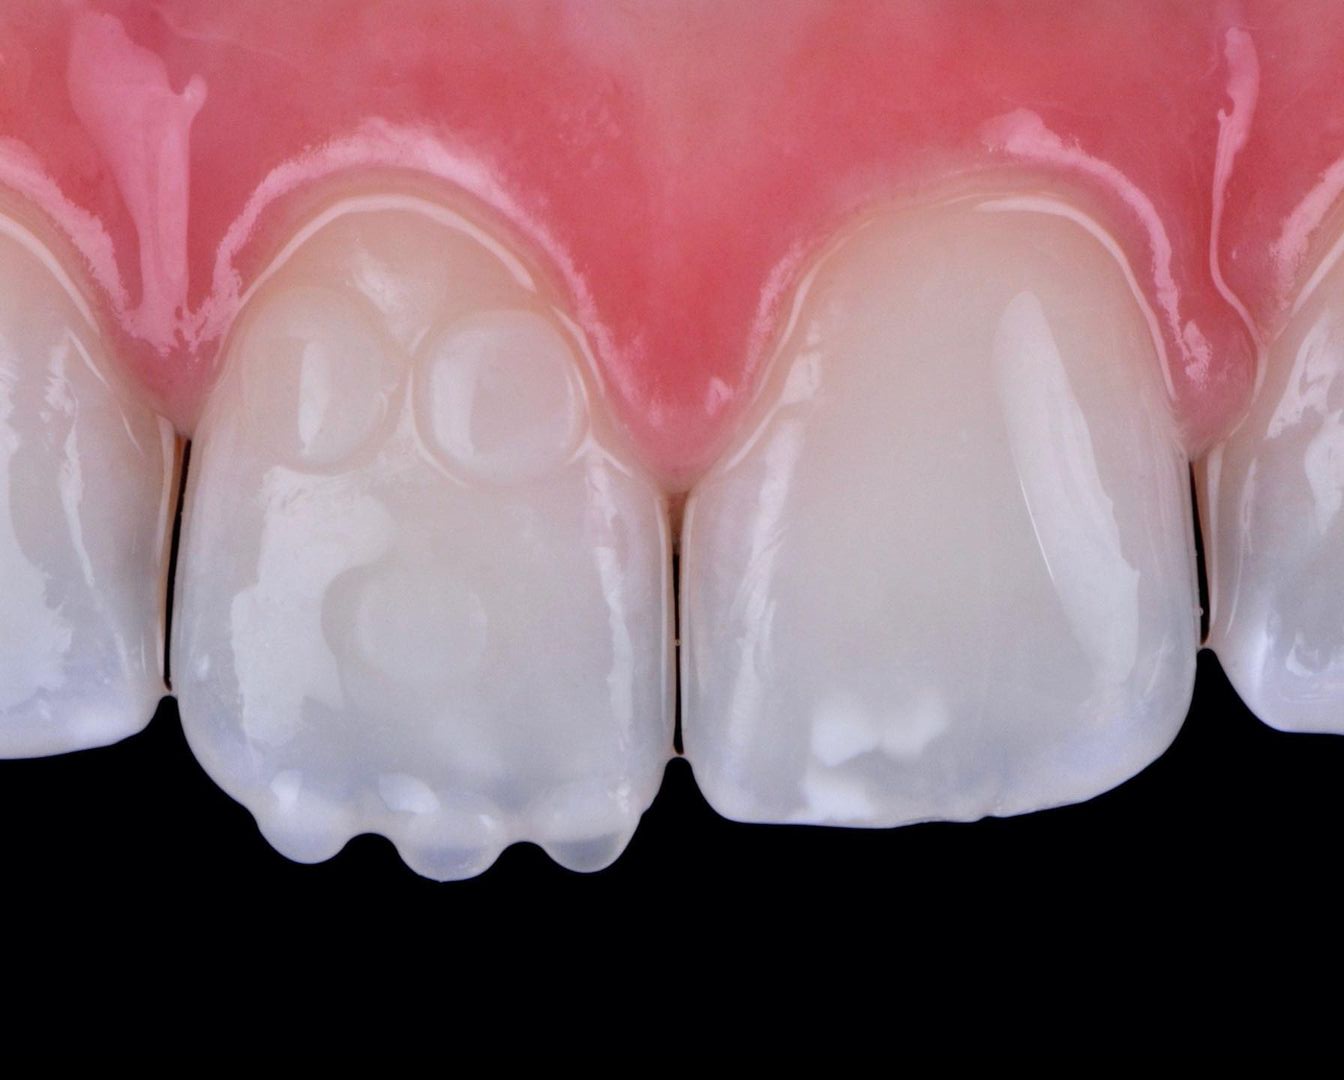
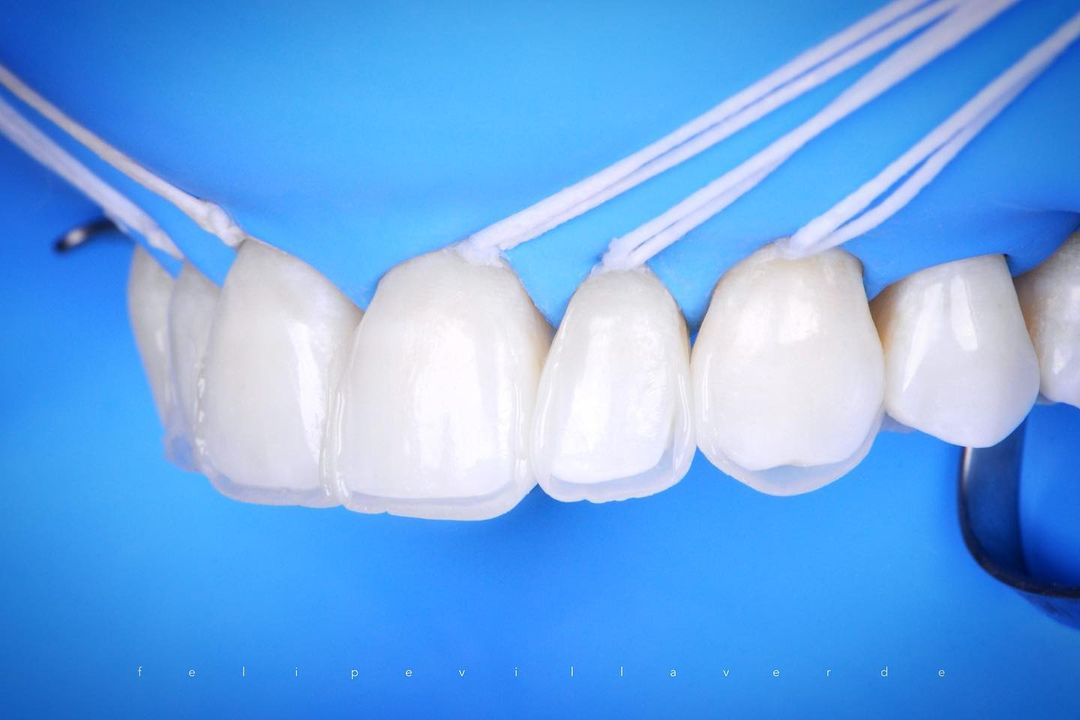
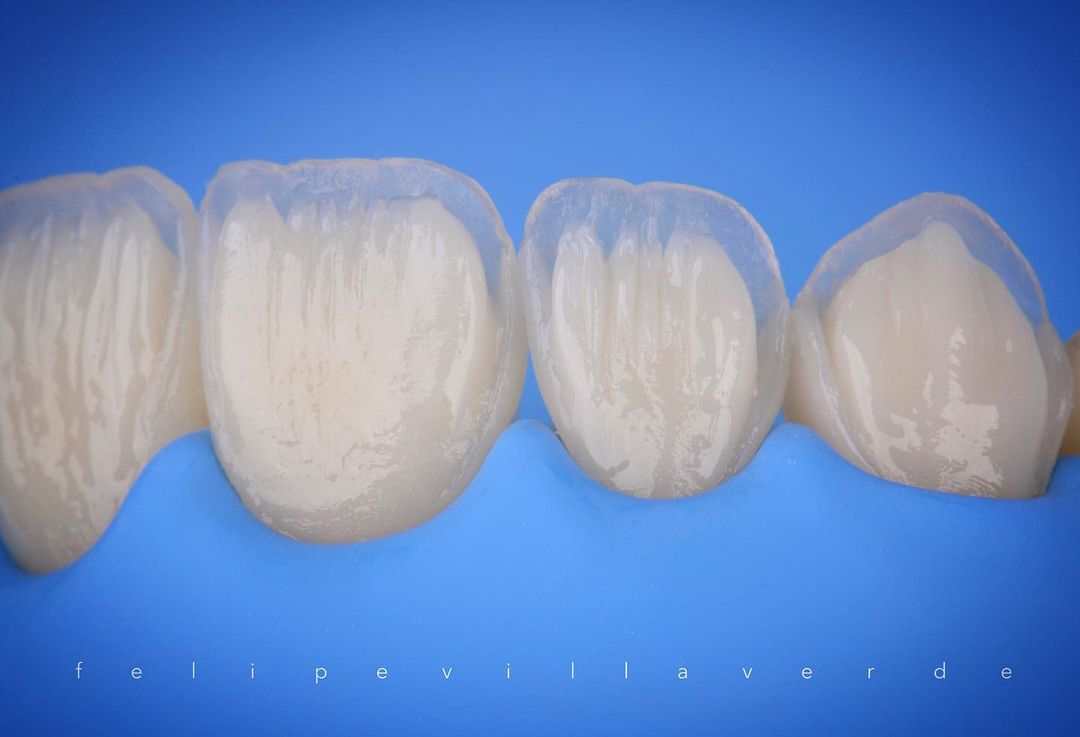
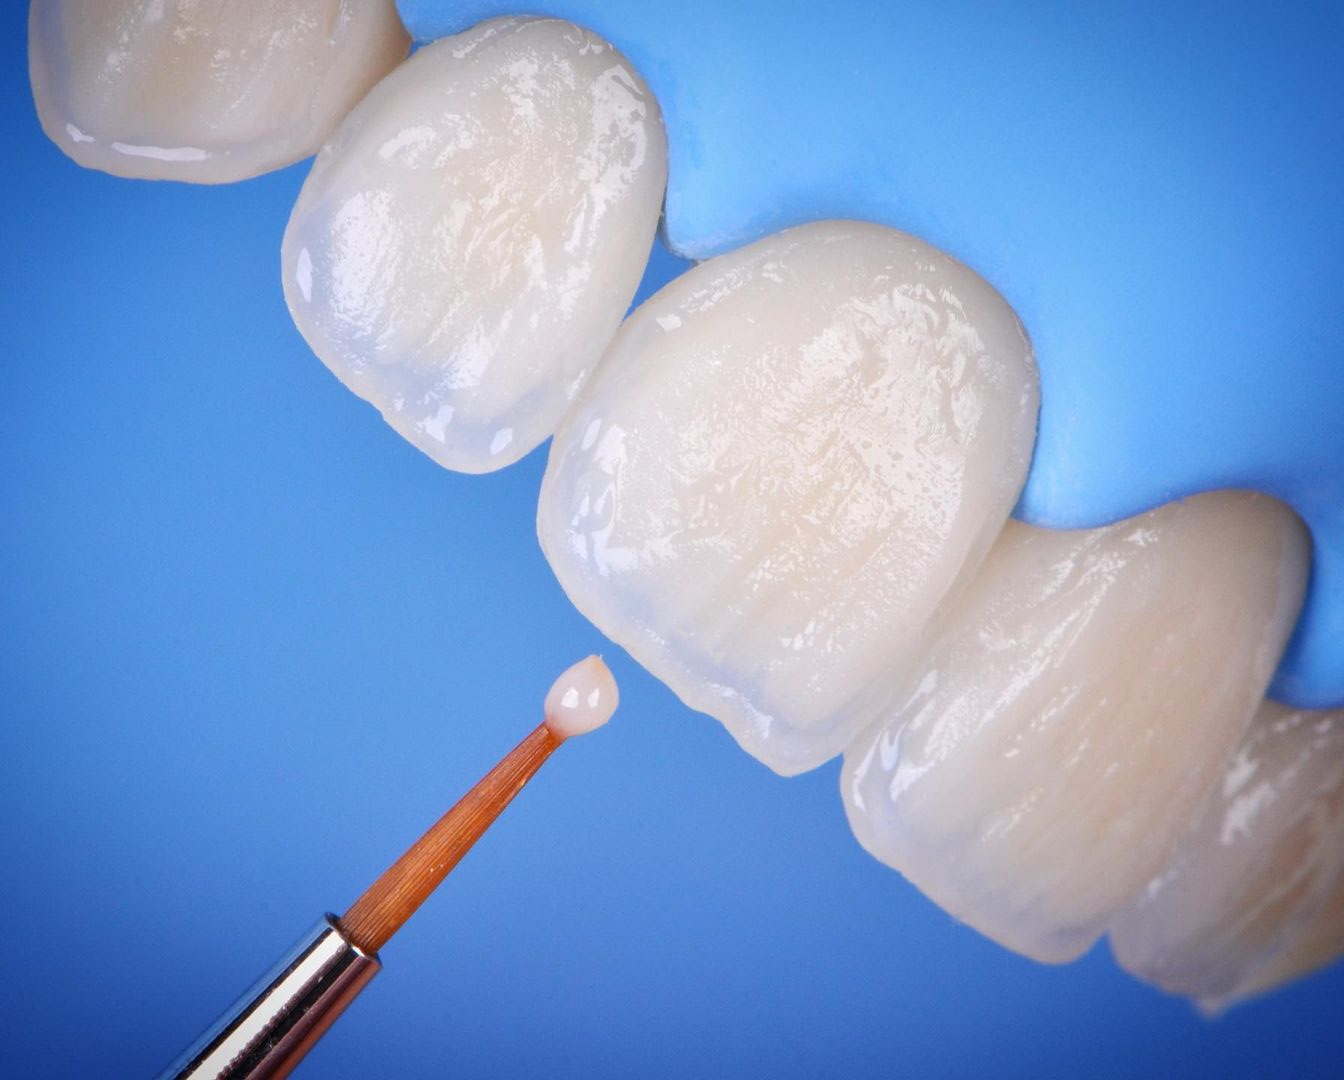
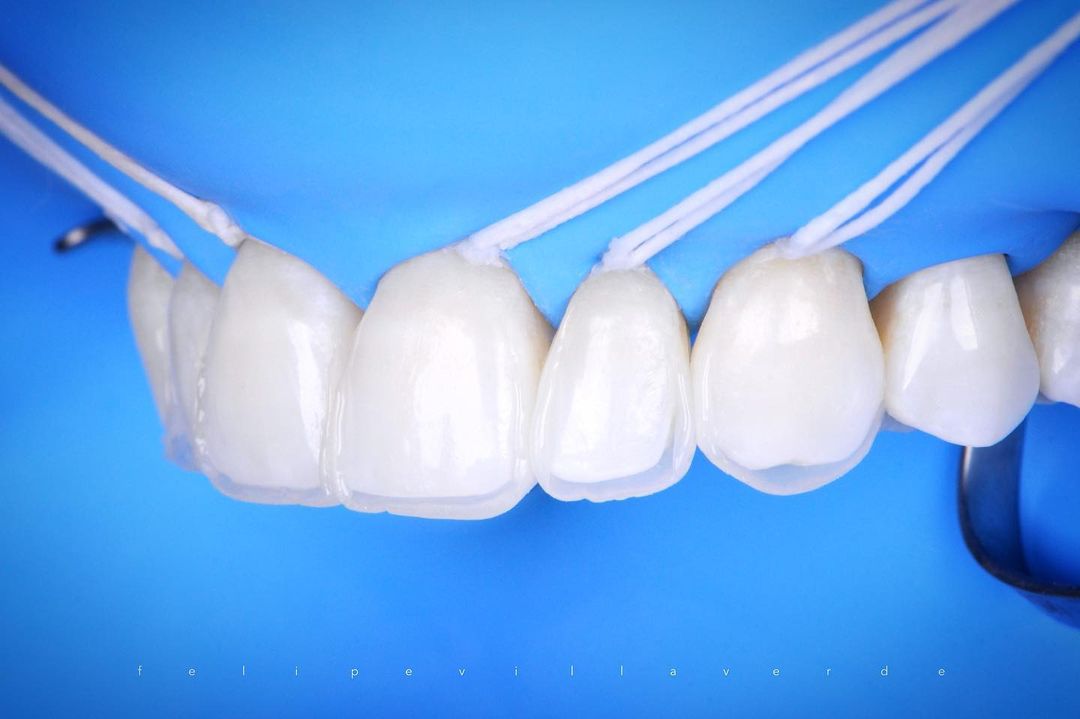
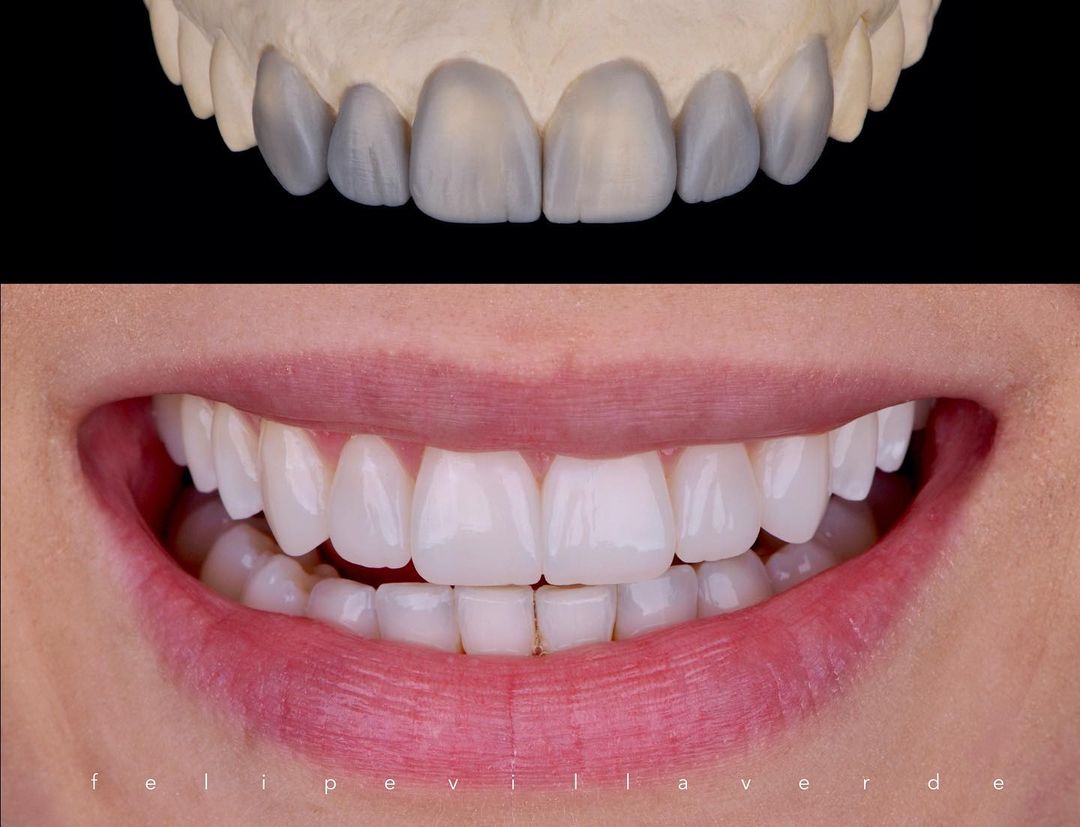
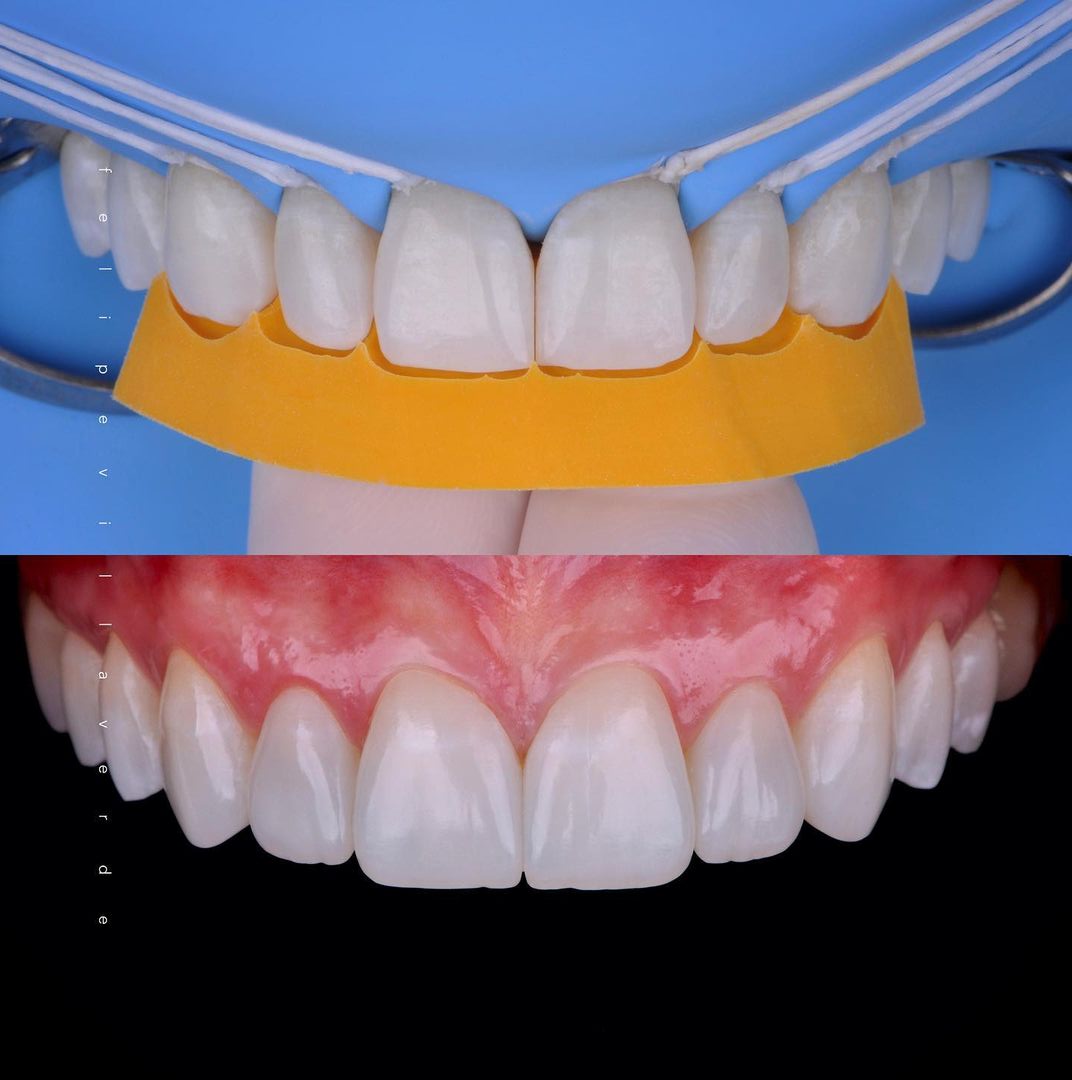
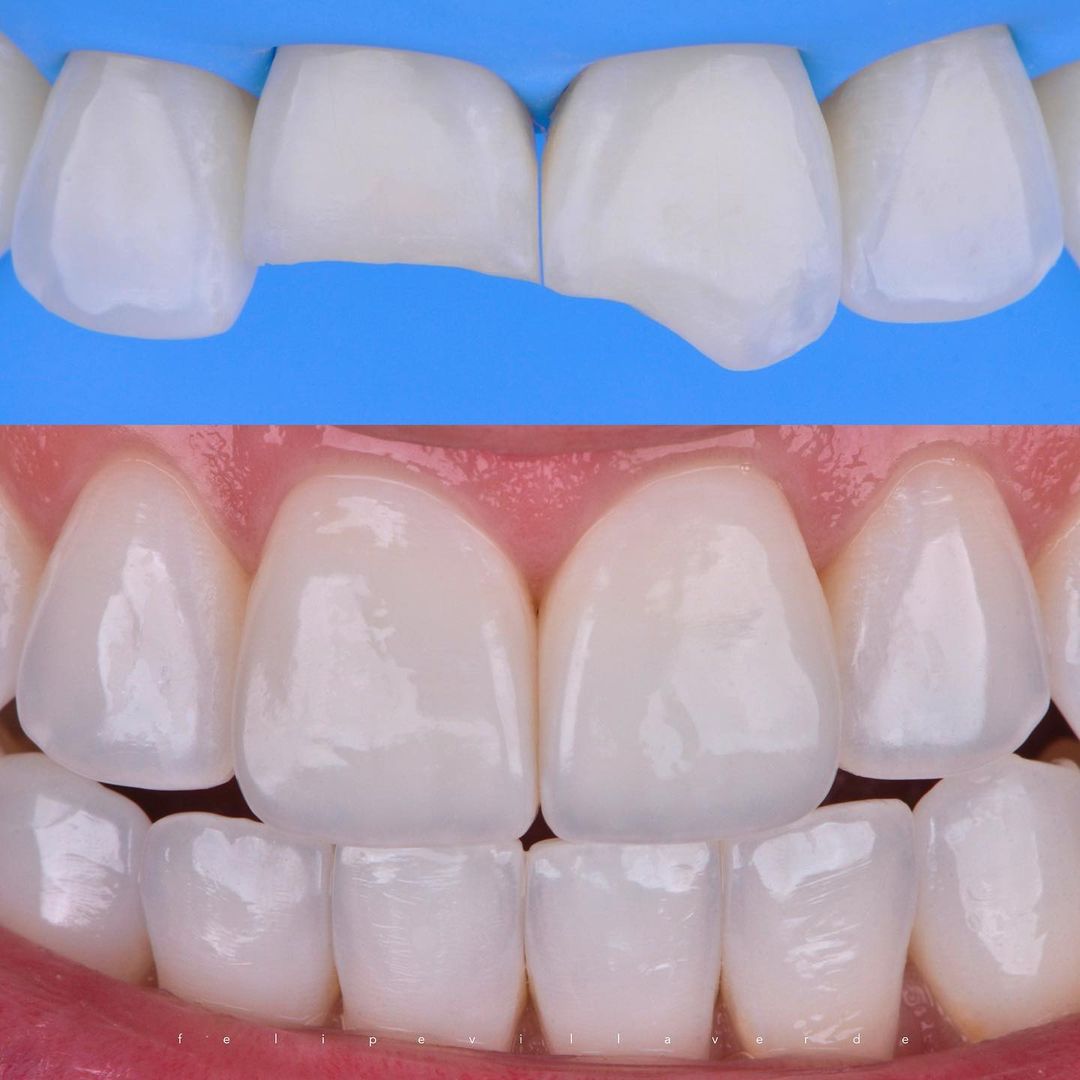
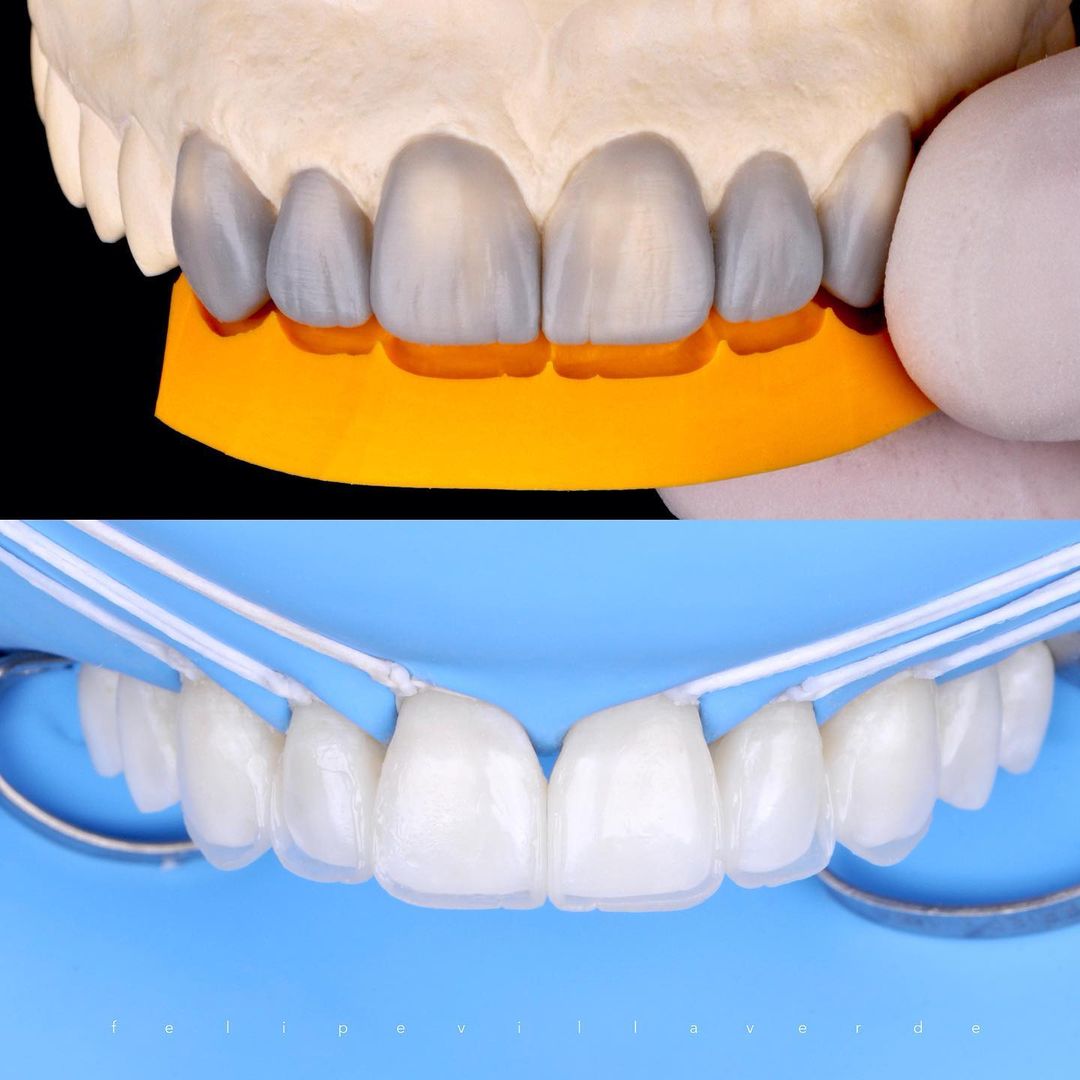
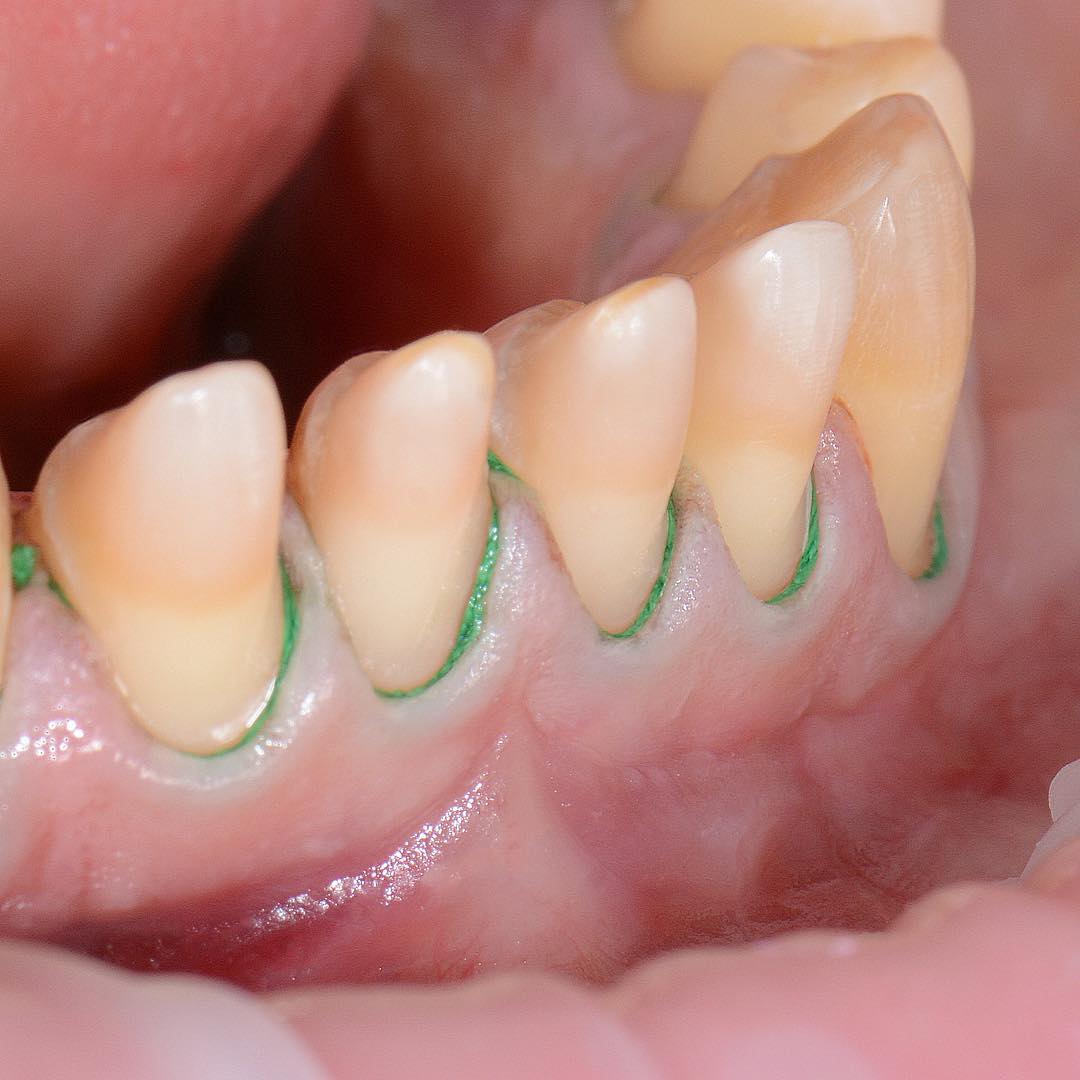
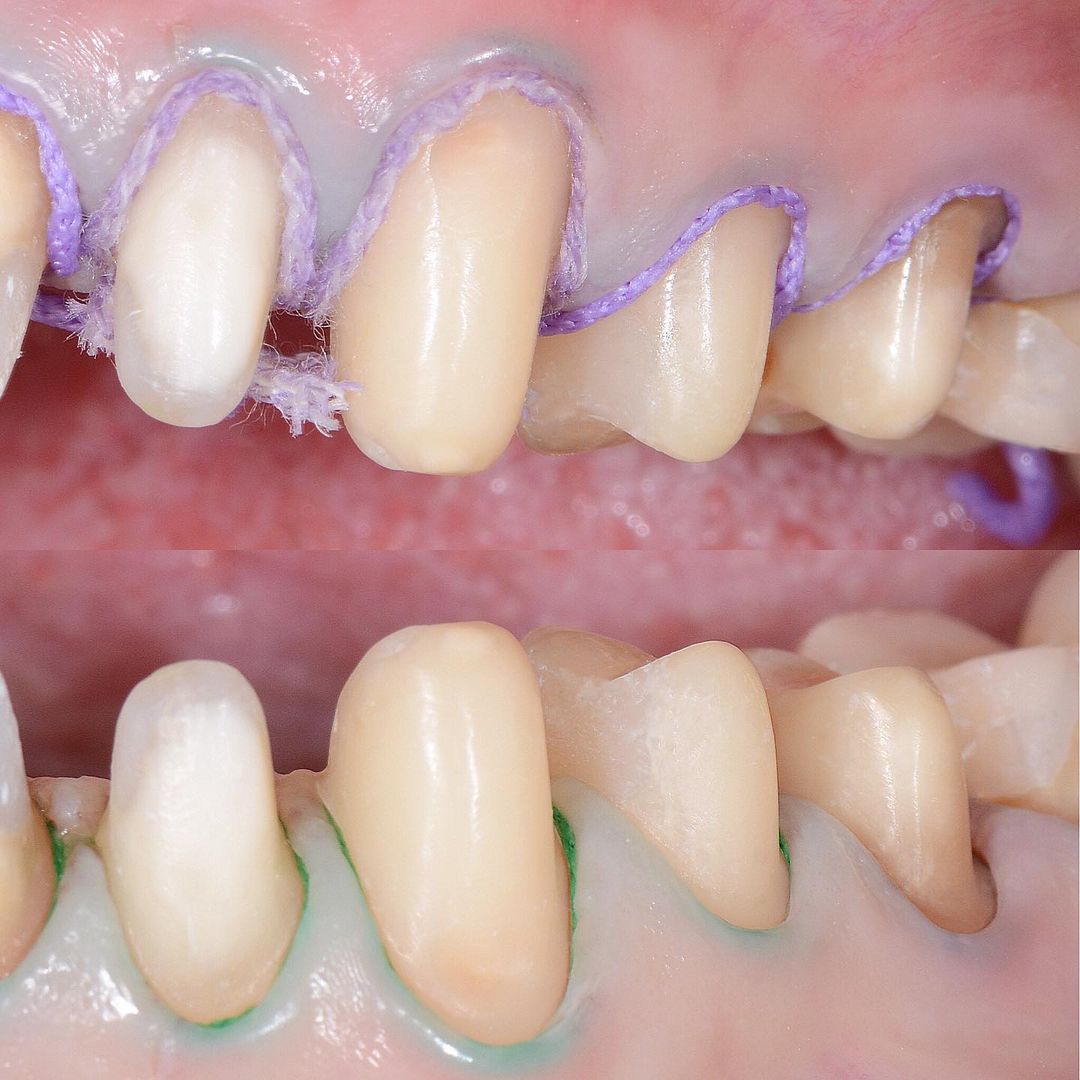
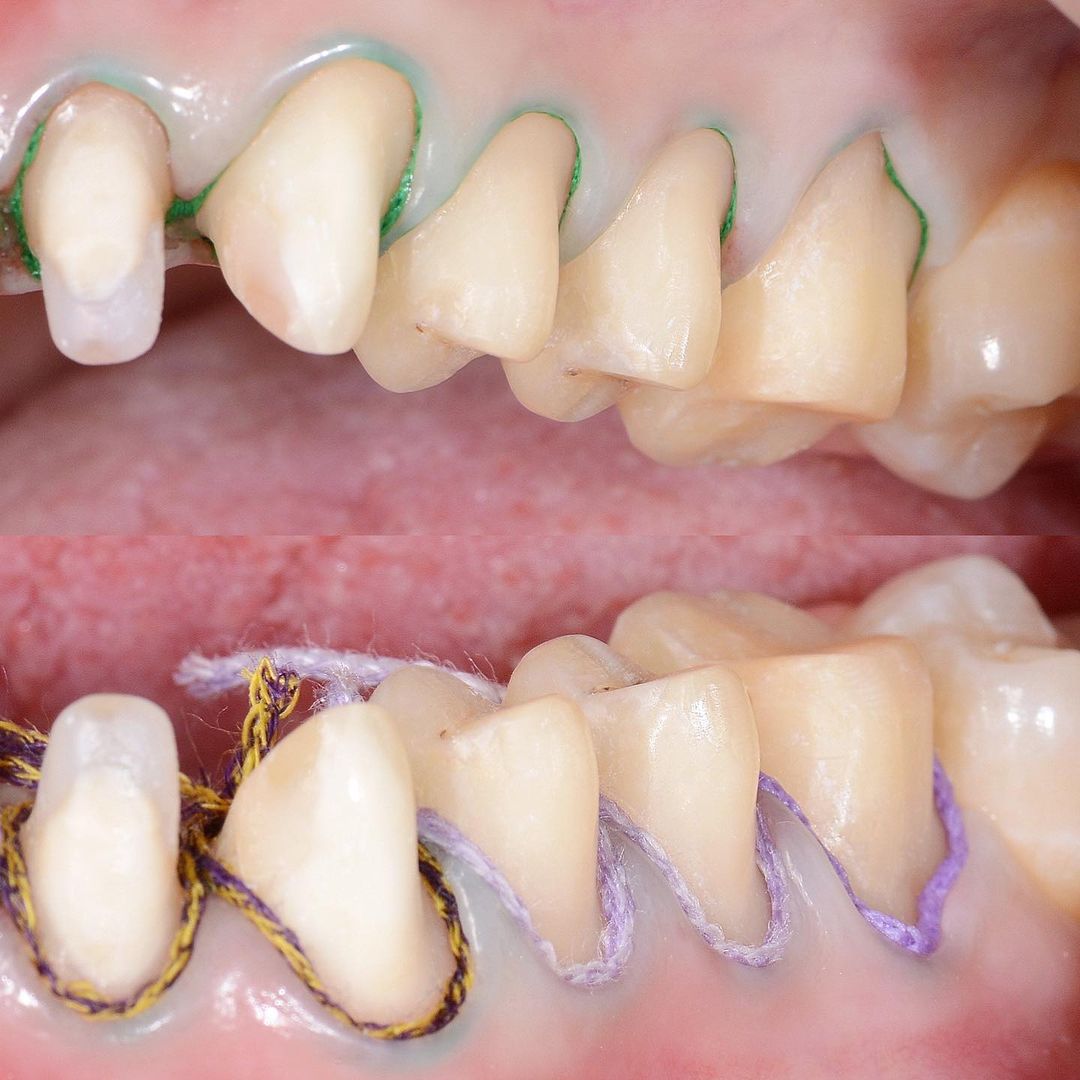
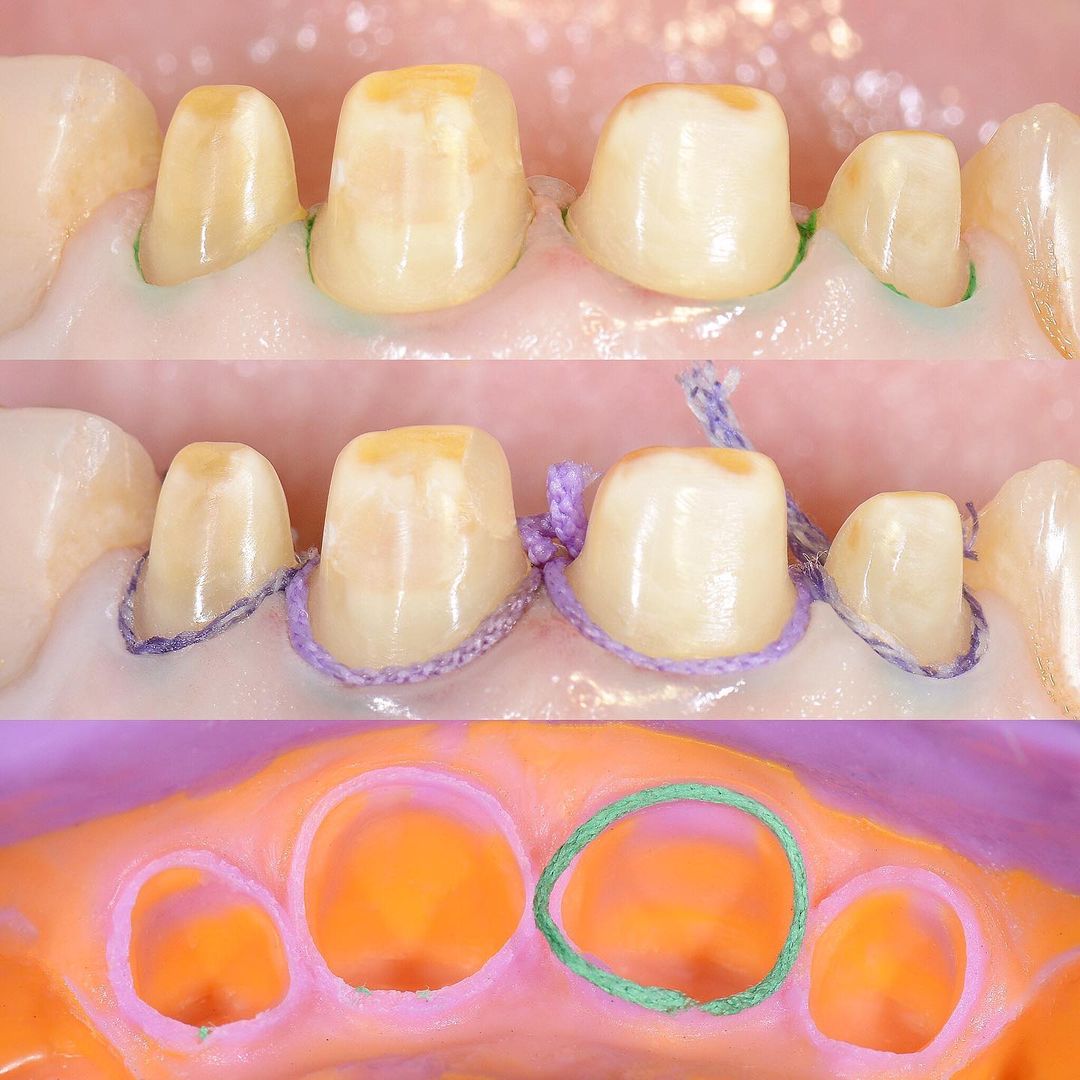
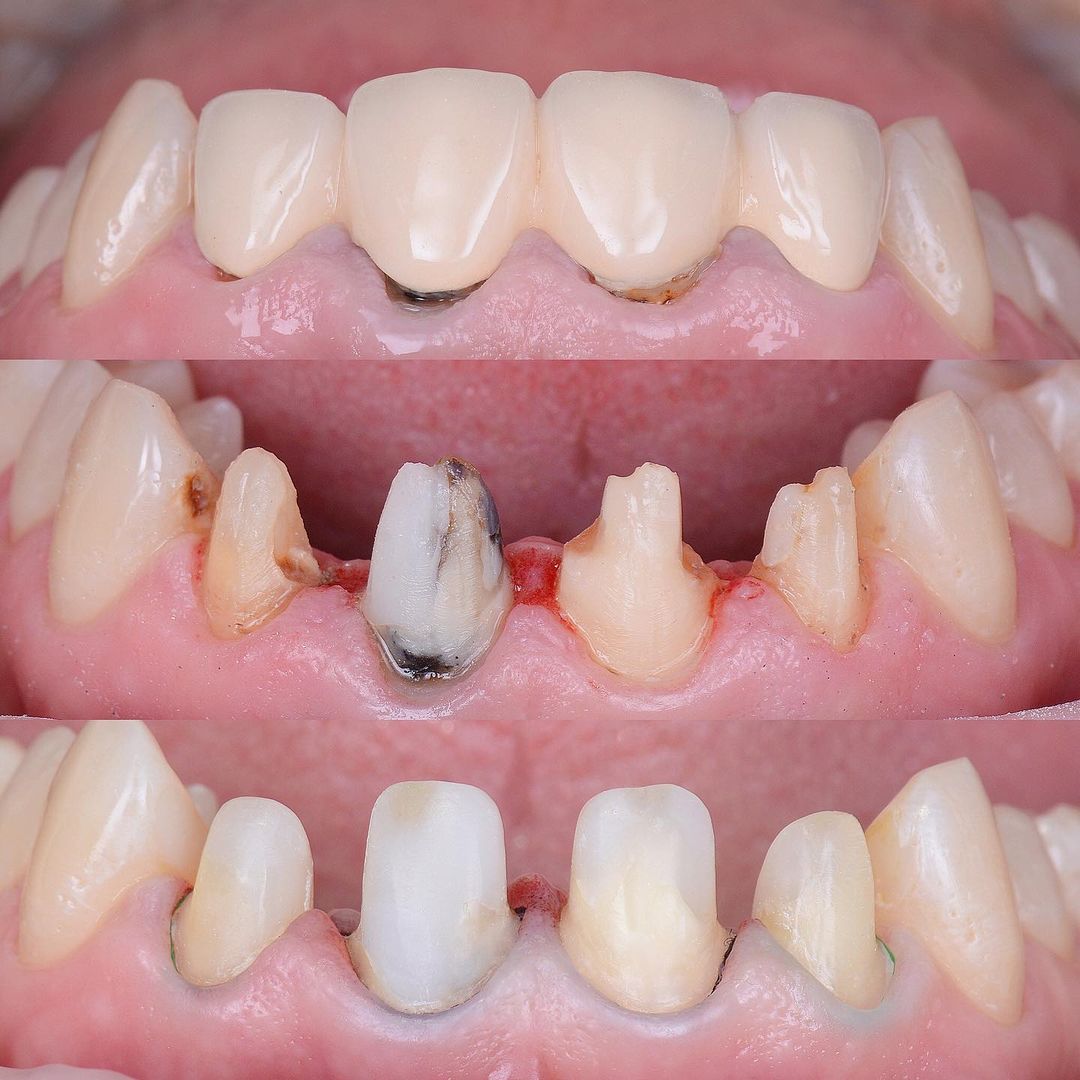
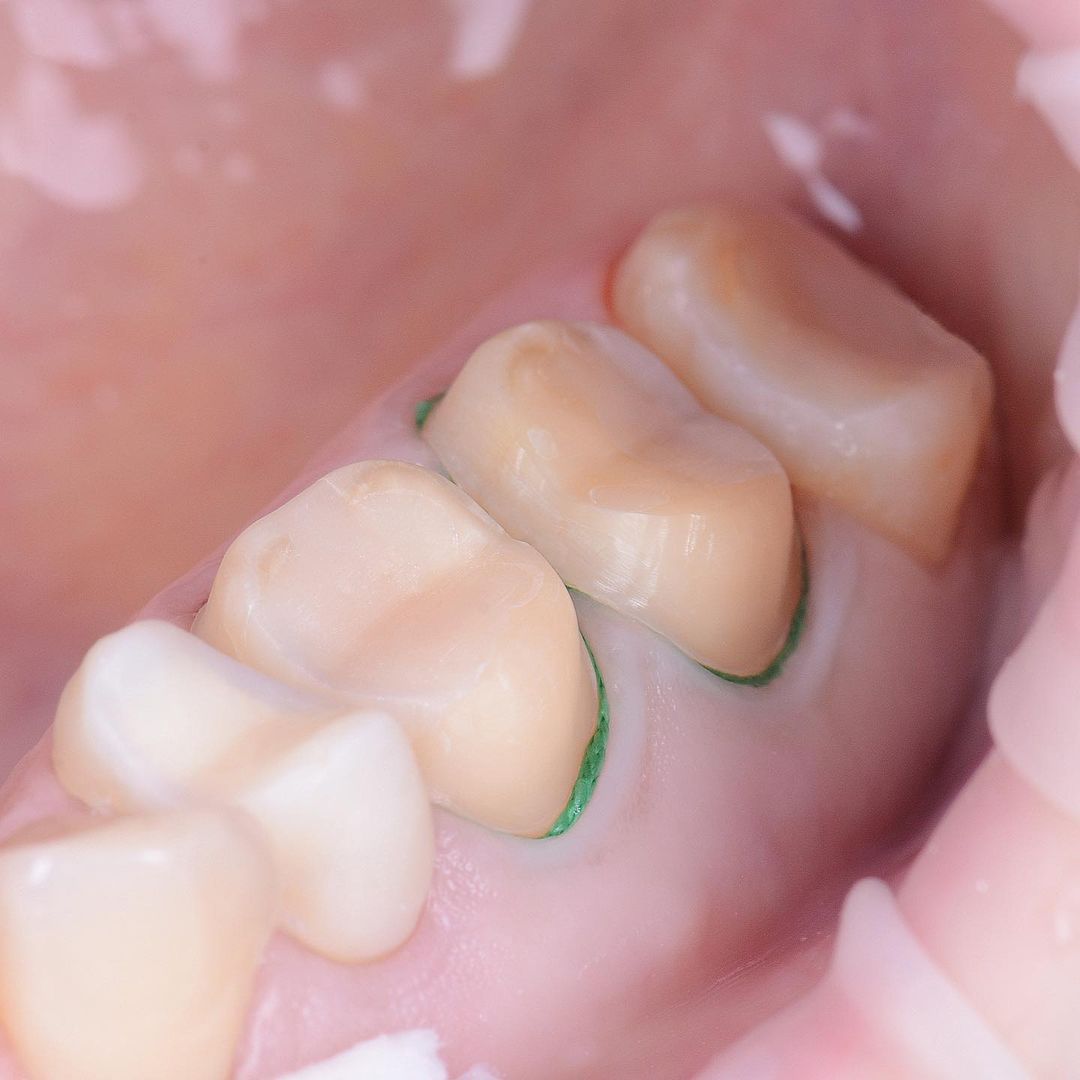
There are many beautiful photographs of ceramic crowns — but die preparations as beautiful as Vitaly Ivanchenko's, I have never seen from anyone else. It goes without saying how the patient's perception of the restorative dentist changes when they see photographs like these.
Vitaly regularly runs tooth preparation training courses. I think his course would be even stronger if he added material on how he photographs so beautifully.

We have arrived at the subject of choosing professional camera-mounted lighting.
Light is the most important element in any photography.
I will now share my observations on the options available, explain why the standard solutions fall short, and show how to achieve beautiful, even fill light.
Traditionally, dentists are offered ring flashes and bipolar flashes. In the slides below I show how the lighting pattern changes with different light sources — standard positions, flashes spread wider, and softboxes added.
Many dentists work with ring flashes, but it is worth understanding why they are so widespread: it is purely a matter of price. They are simply the cheapest option — and they produce the worst result. For documentary photography of a single crown this may be acceptable, but the moment aesthetics matter at all, you start looking at bipolar flashes and softboxes. In my view that is what you should buy from the start.
With bipolar flashes, two factors matter: the ability to spread them wider, and the ability to attach softboxes. Some dedicated dental bipolar kits fix the flashes rigidly to the lens without allowing separation, and their reflectors are small — which puts them on a par with a ring flash. The key is to have equipment that allows you to spread the flashes and attach proper light-diffusing softboxes.


As you can see, the most even fill light without harsh reflections comes from bipolar flashes spread wide. Let us estimate what such a kit costs.

Lighting kit price — £X,XXX
PhotoMed R2 Bracket Original — £XXX
Nikon Speedlight R1C1 Kit — £XXX
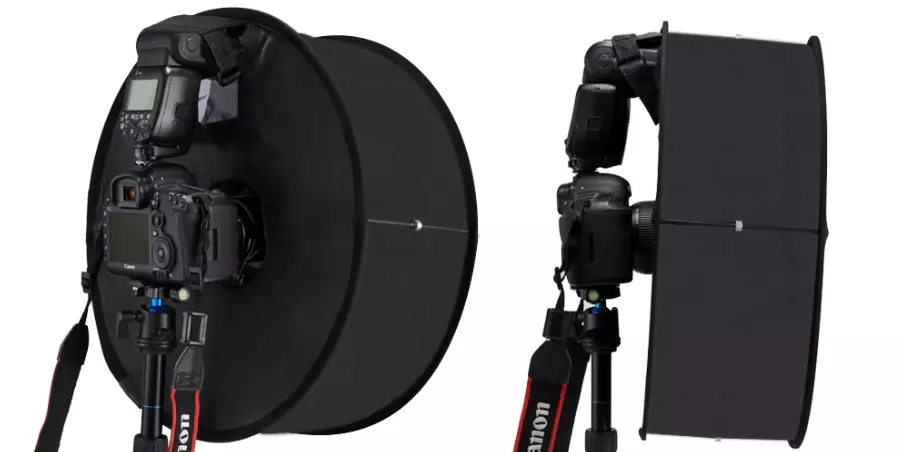
This is an expensive kit, but it can be made cheaper by substituting the original flashes with alternatives, and the bracket can also be assembled from other components. With this approach the cost can be reduced significantly. But there is another way to achieve beautiful fill light — and for considerably less money.
But there is another way to achieve beautiful fill light — and for considerably less money.
Photo protocol equipment for the orthodontist
for capturing the full dental arch
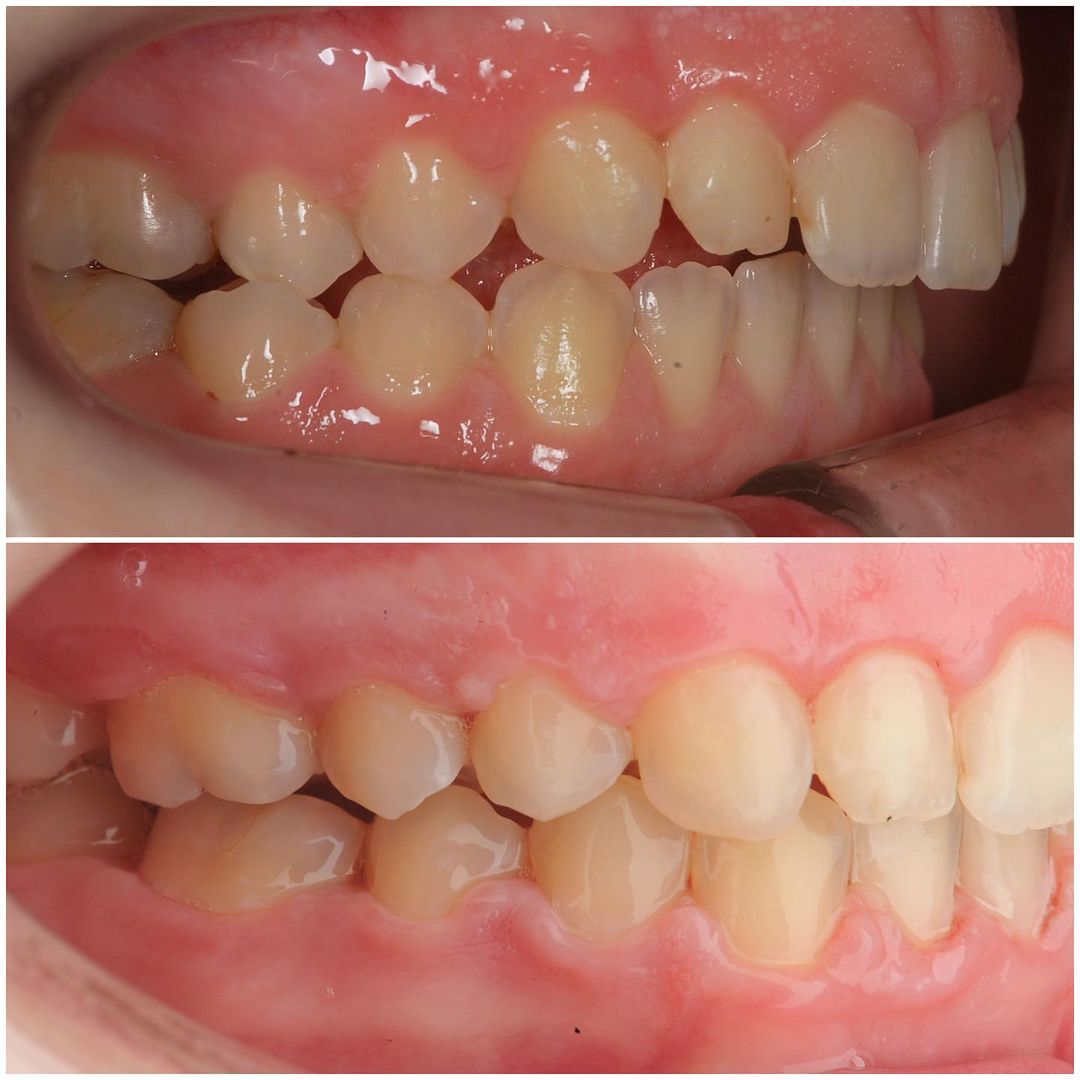
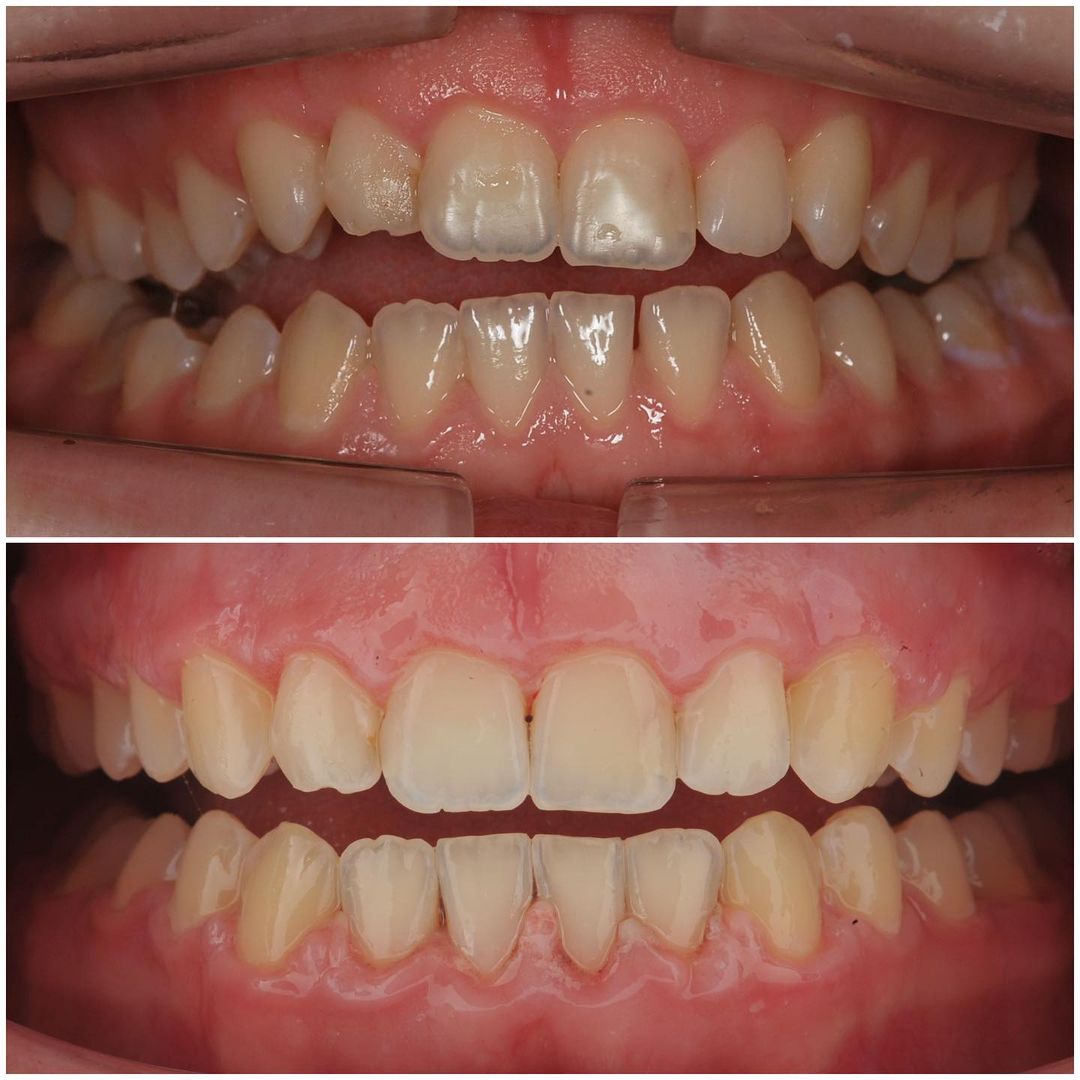
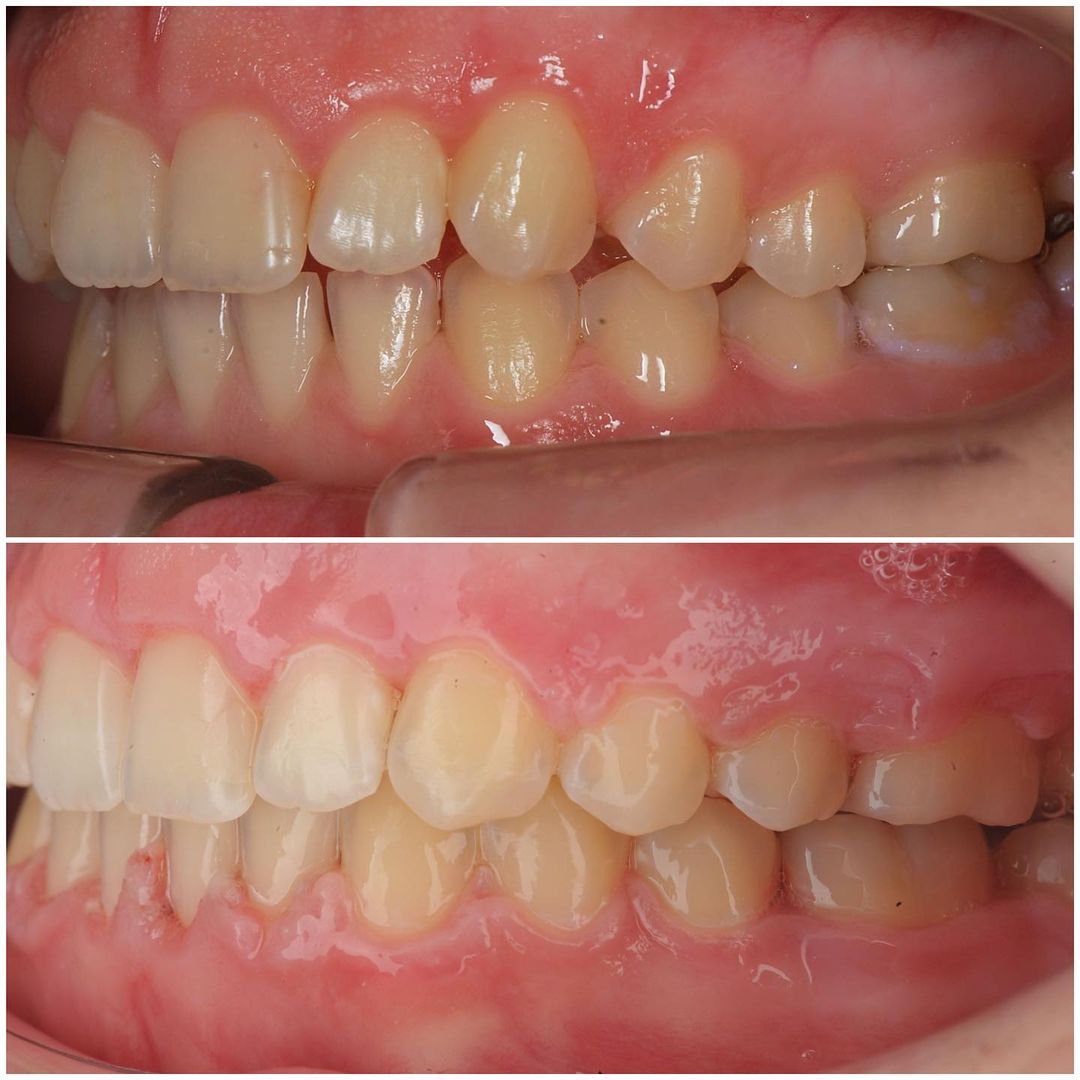
I would like to introduce you to an orthodontist who has become my benchmark for the young professional — Ivan Makarevich.


As you can see, the difference is dramatic. Many dentists have been producing photographs like the top frame — let us look at how to assemble the lighting that produces the bottom frame.

Remember we discussed how the size of the light source affects specular highlights and evenness of illumination. Here we see even more striking confirmation — a large source flooding everything with light. Incidentally, this setup would likely produce beautiful portraits too.
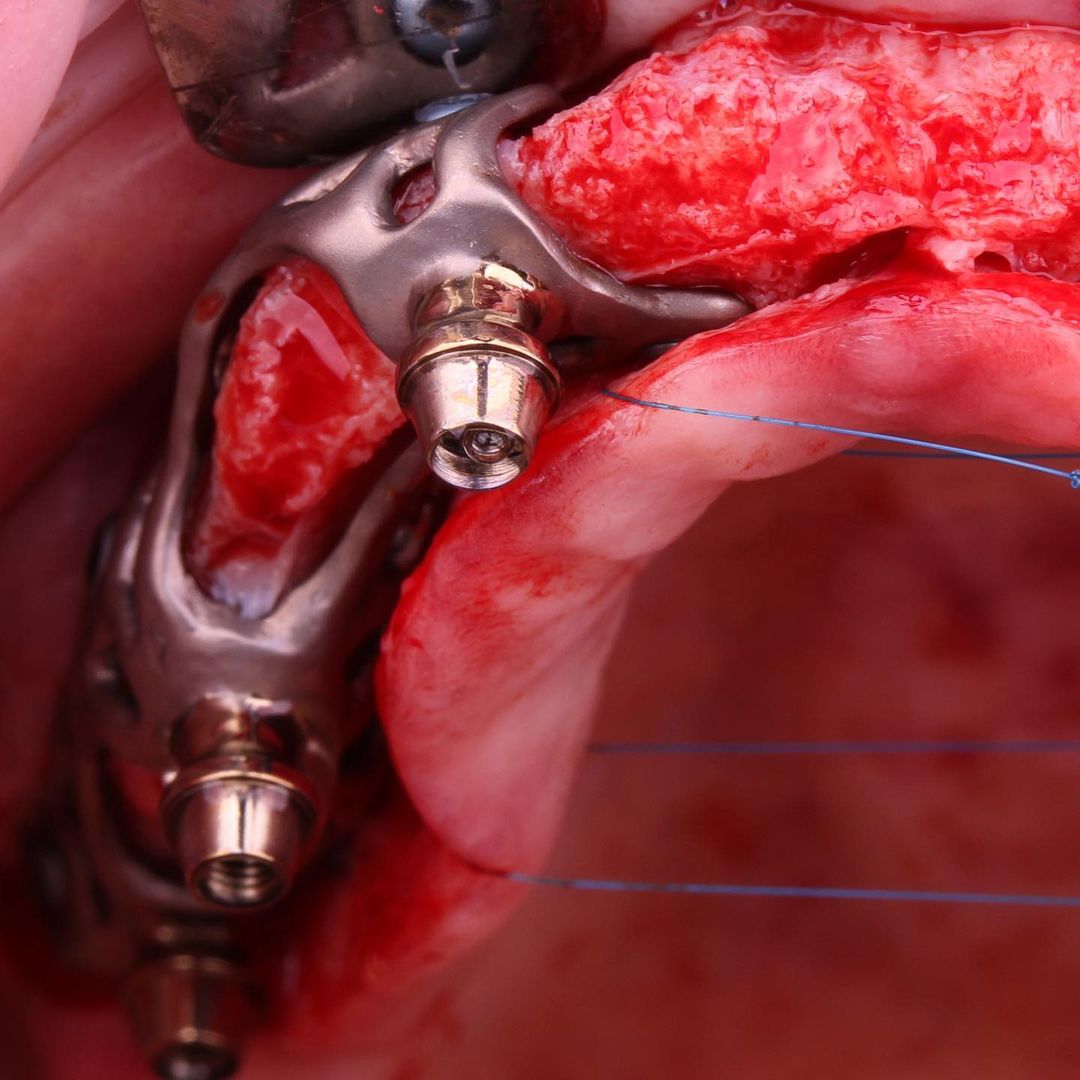
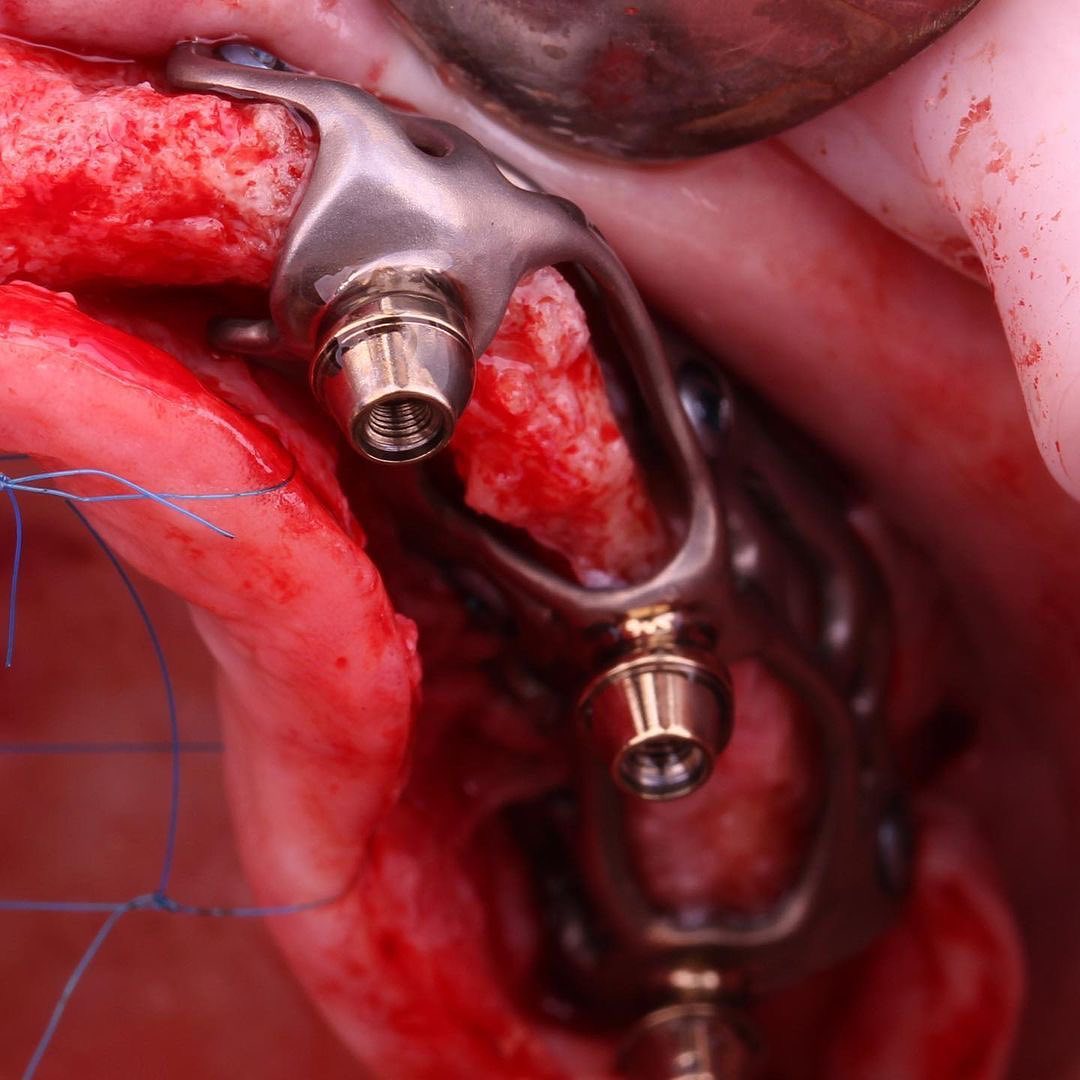
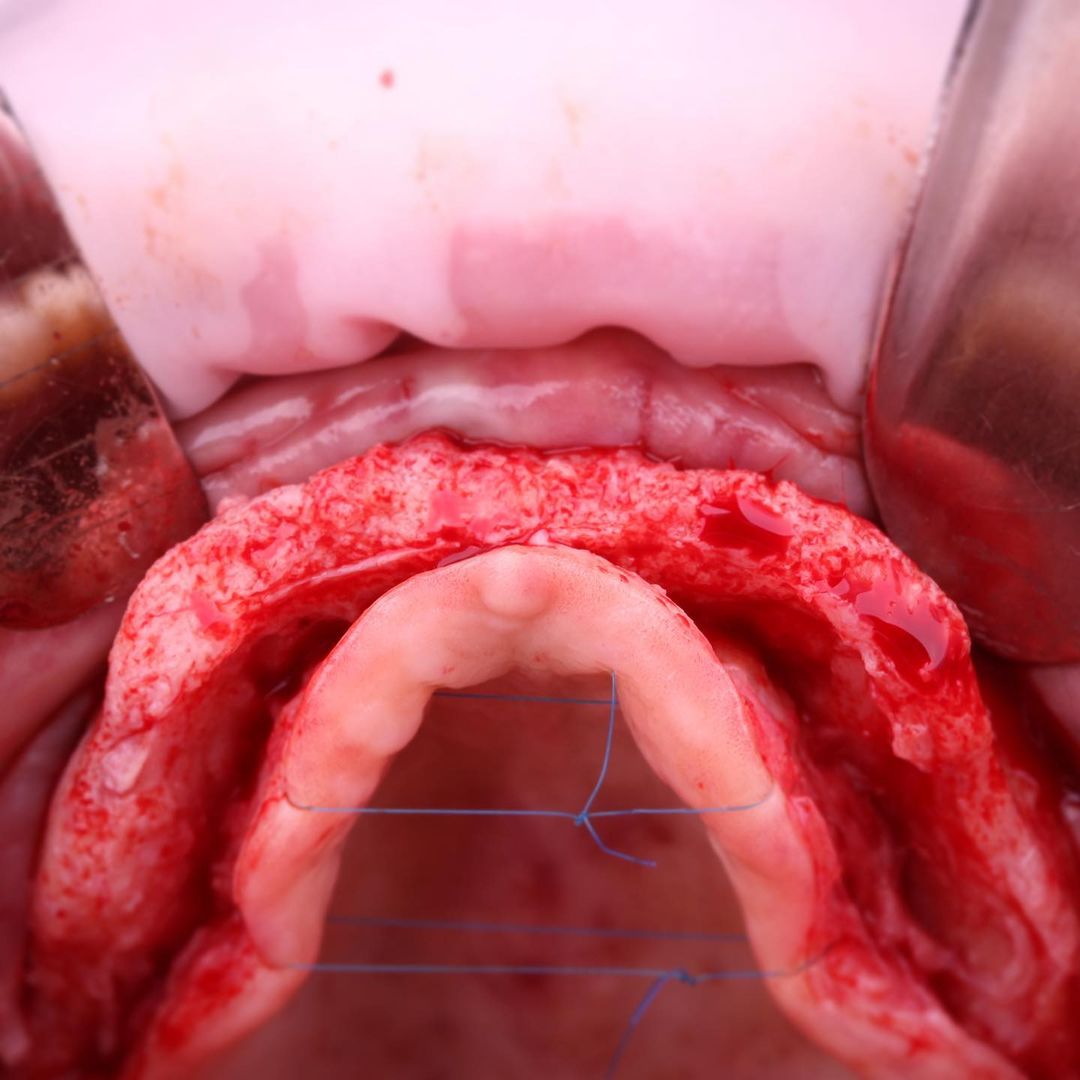
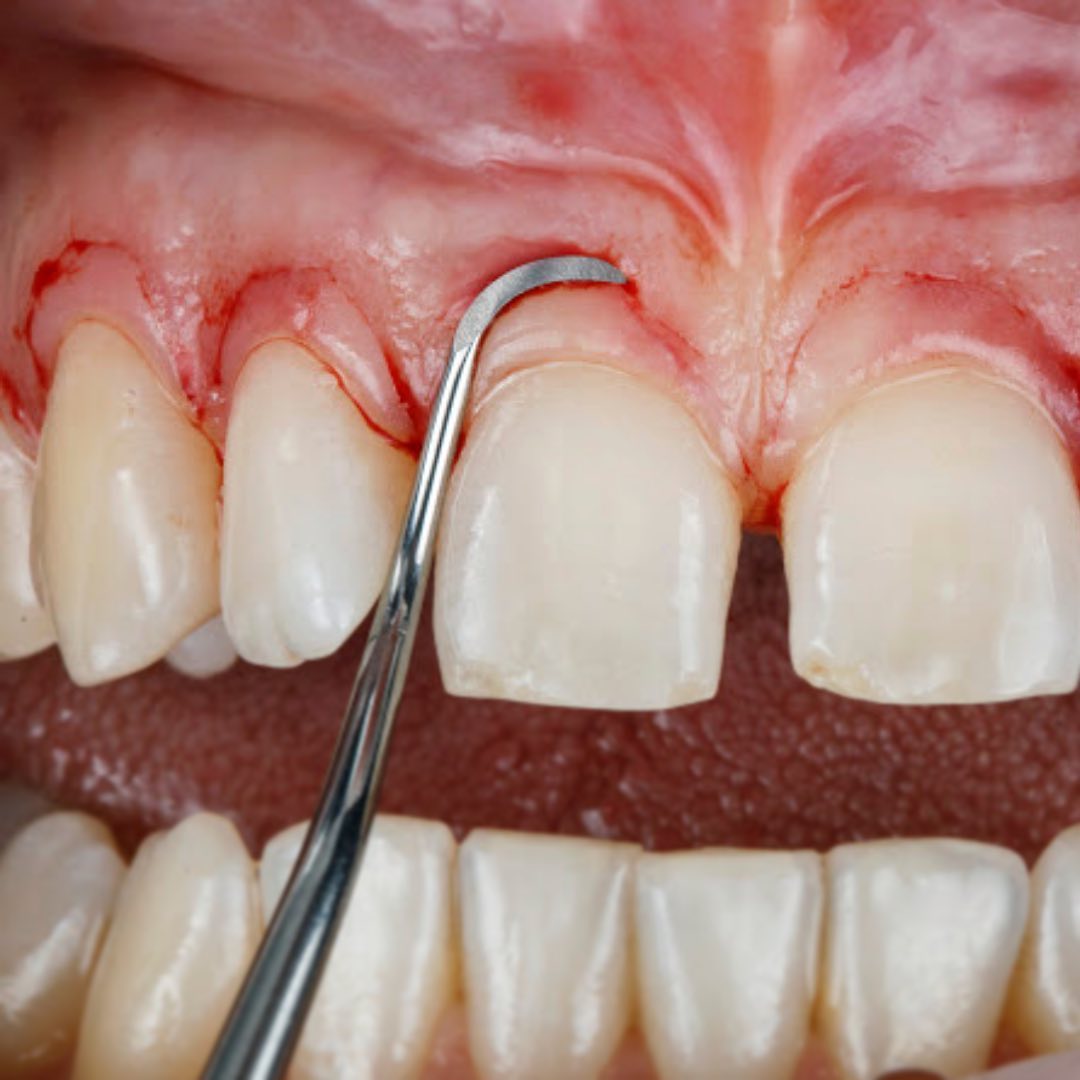
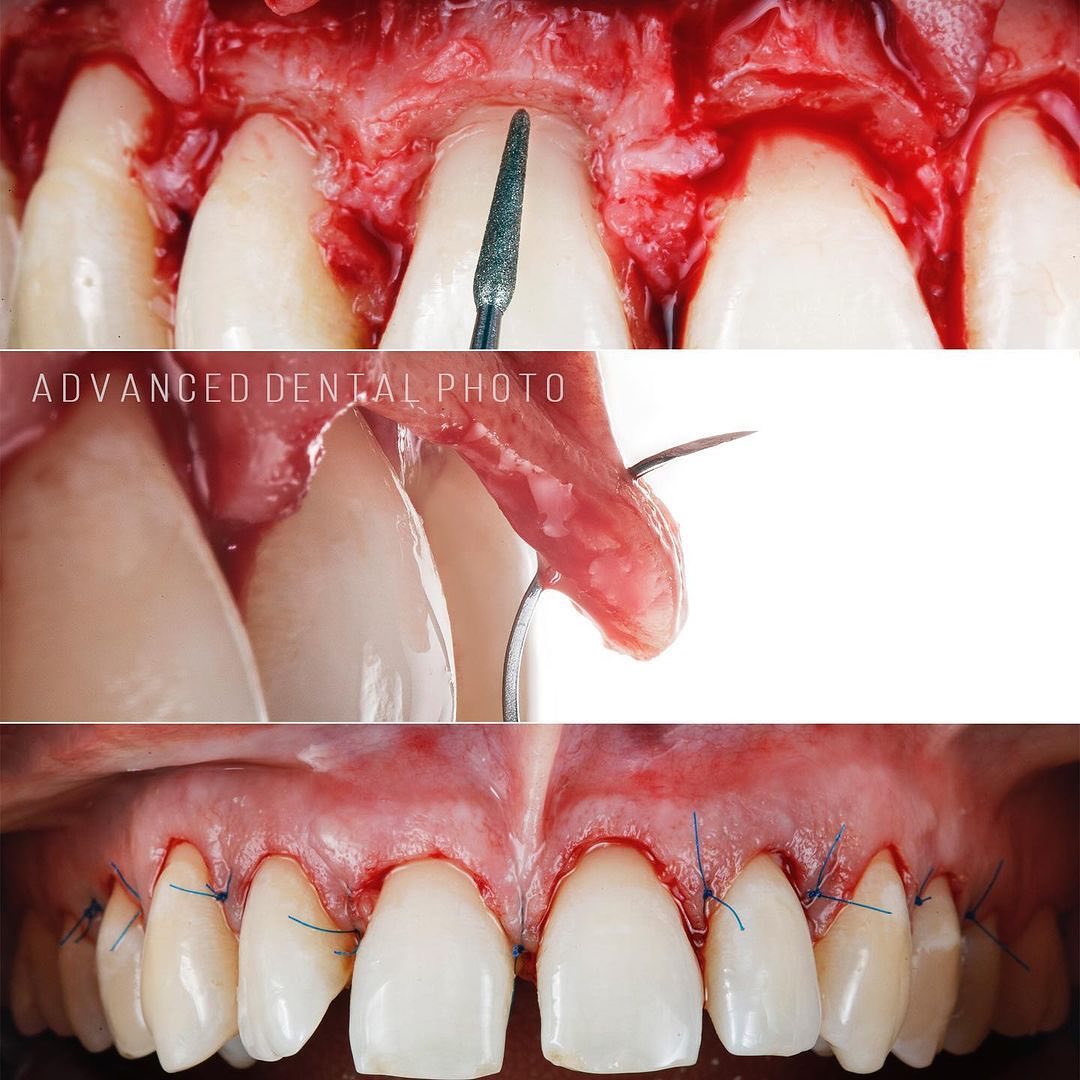
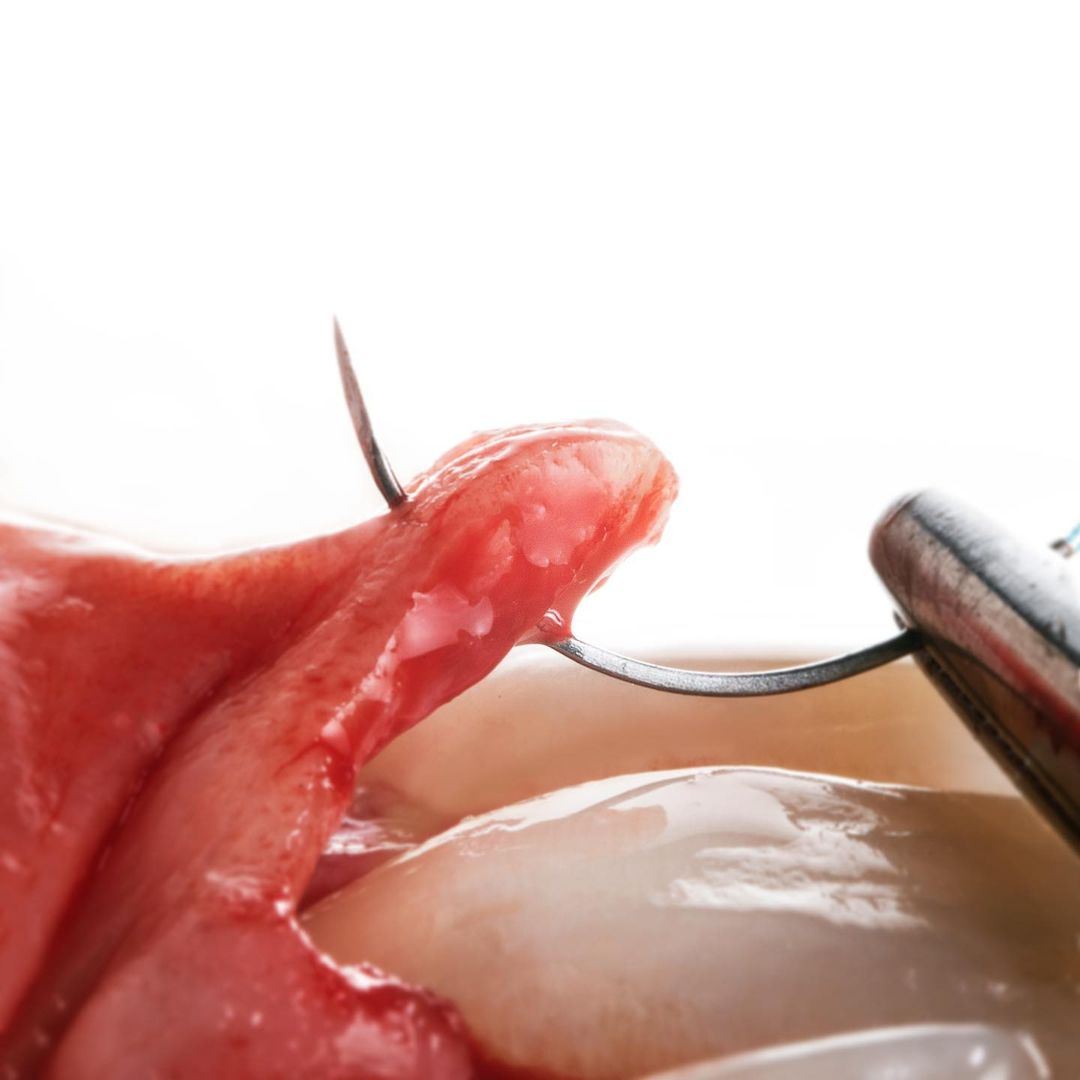
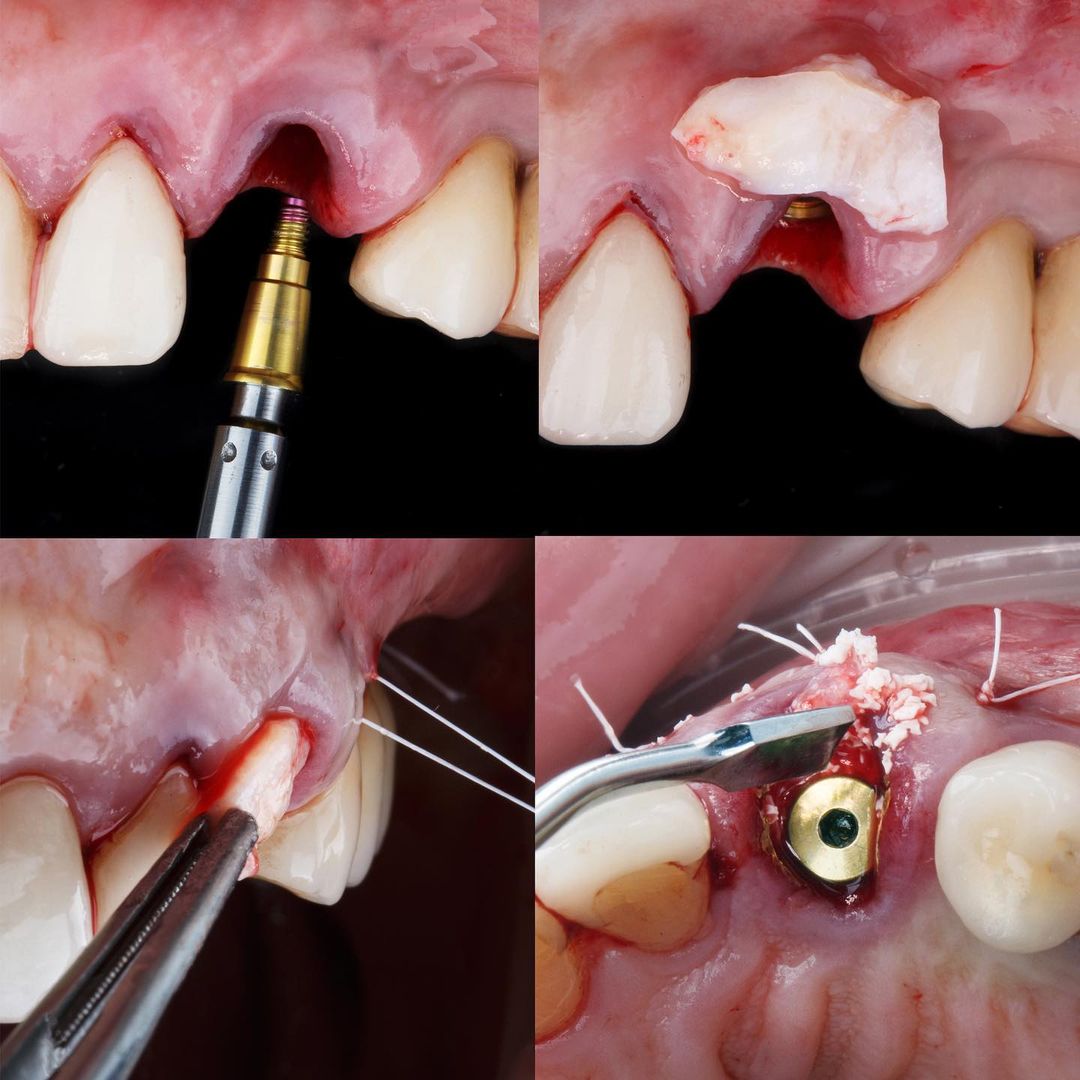
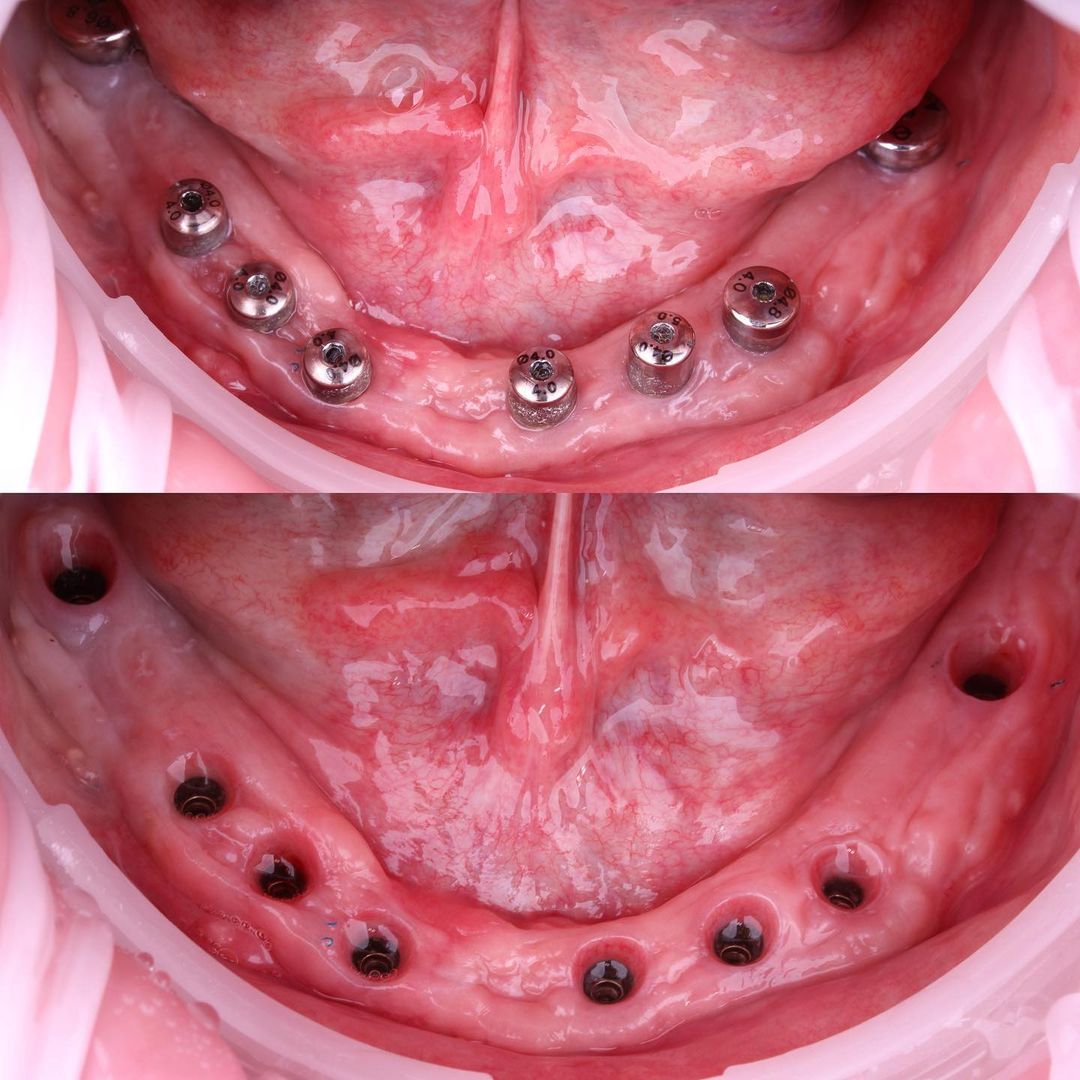
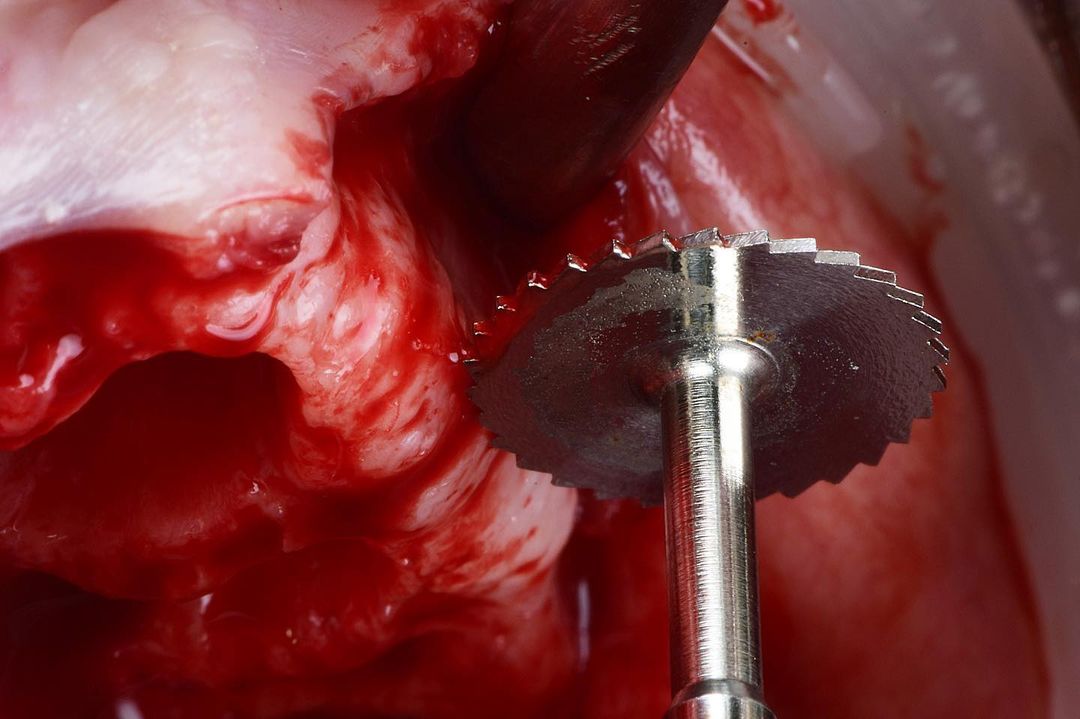
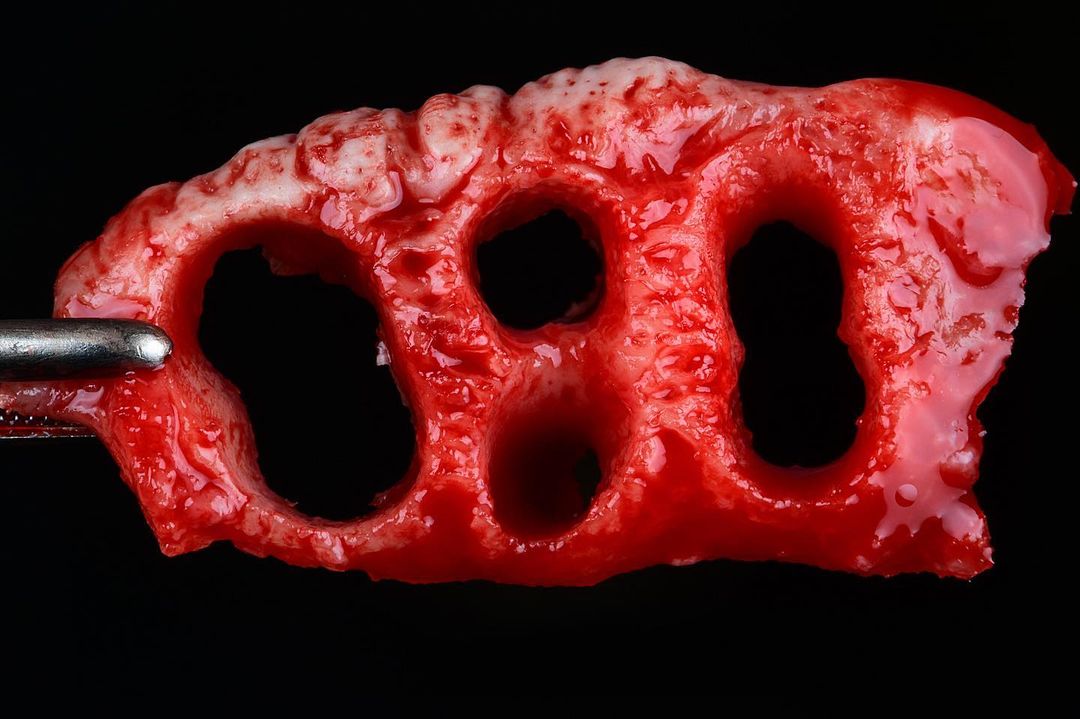
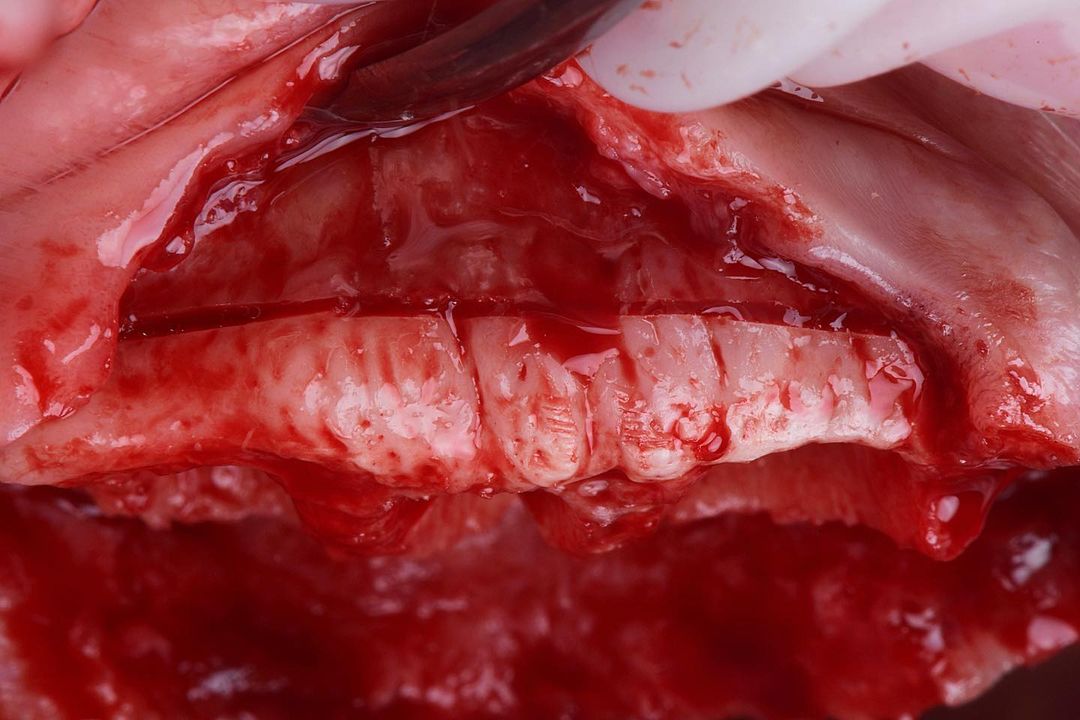
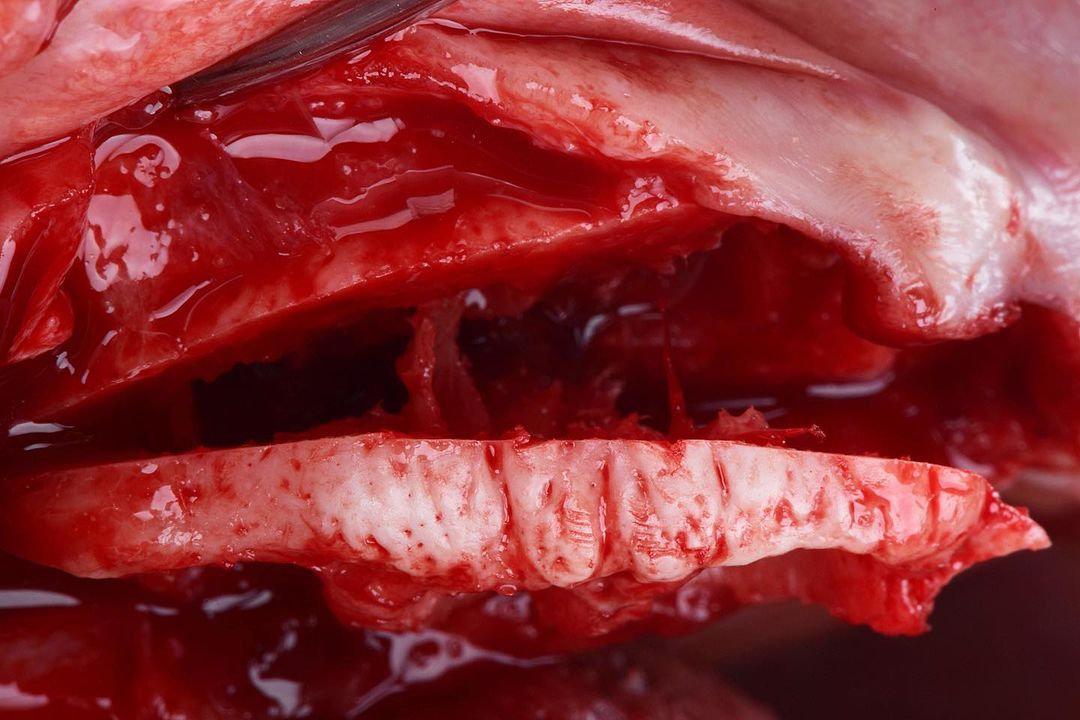
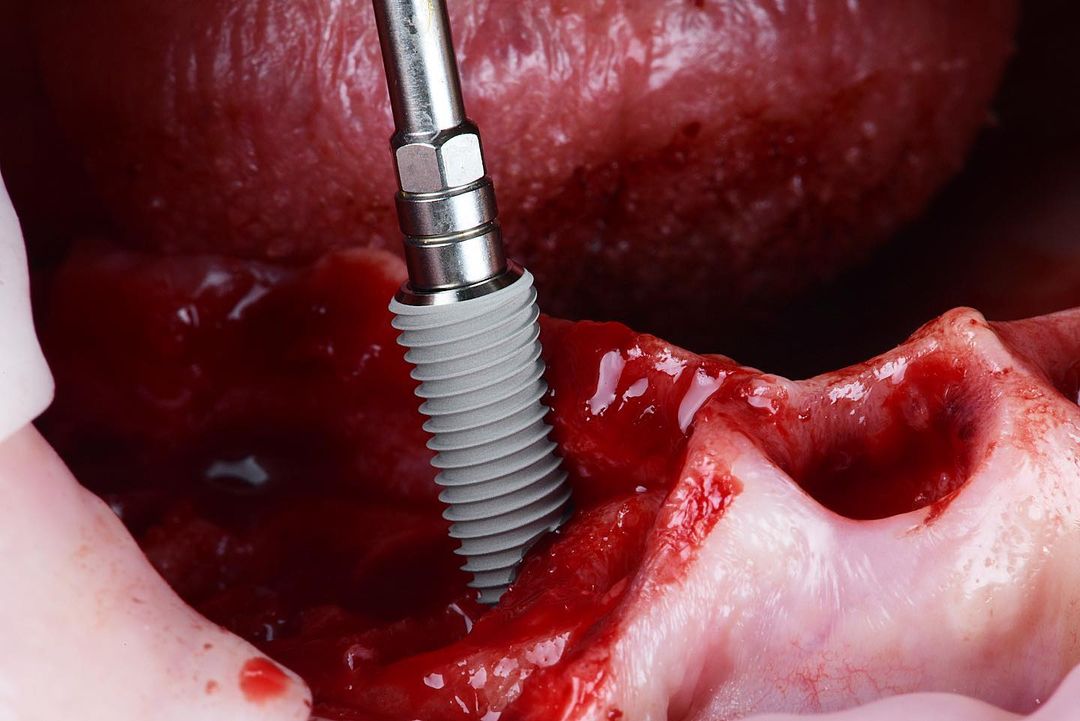
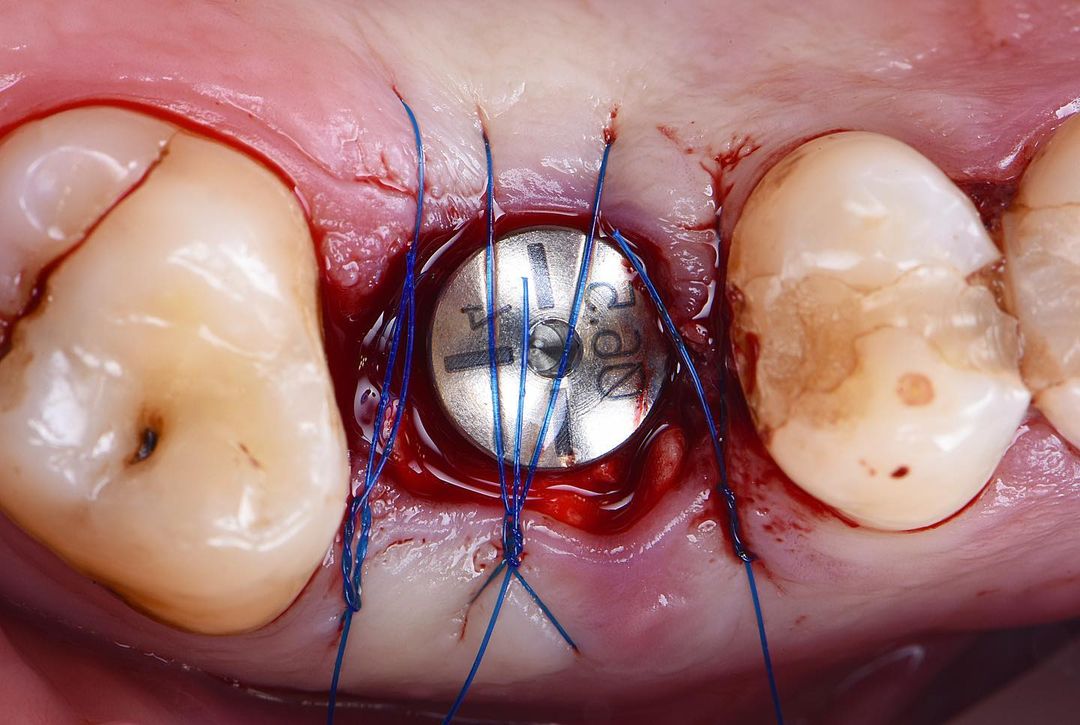
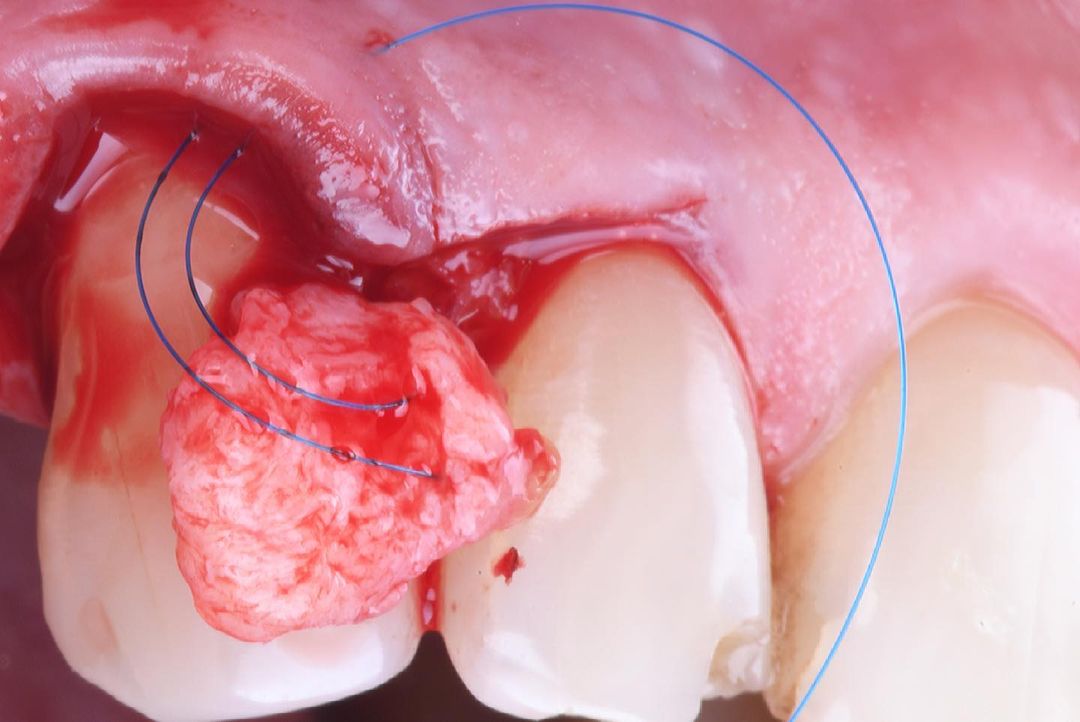
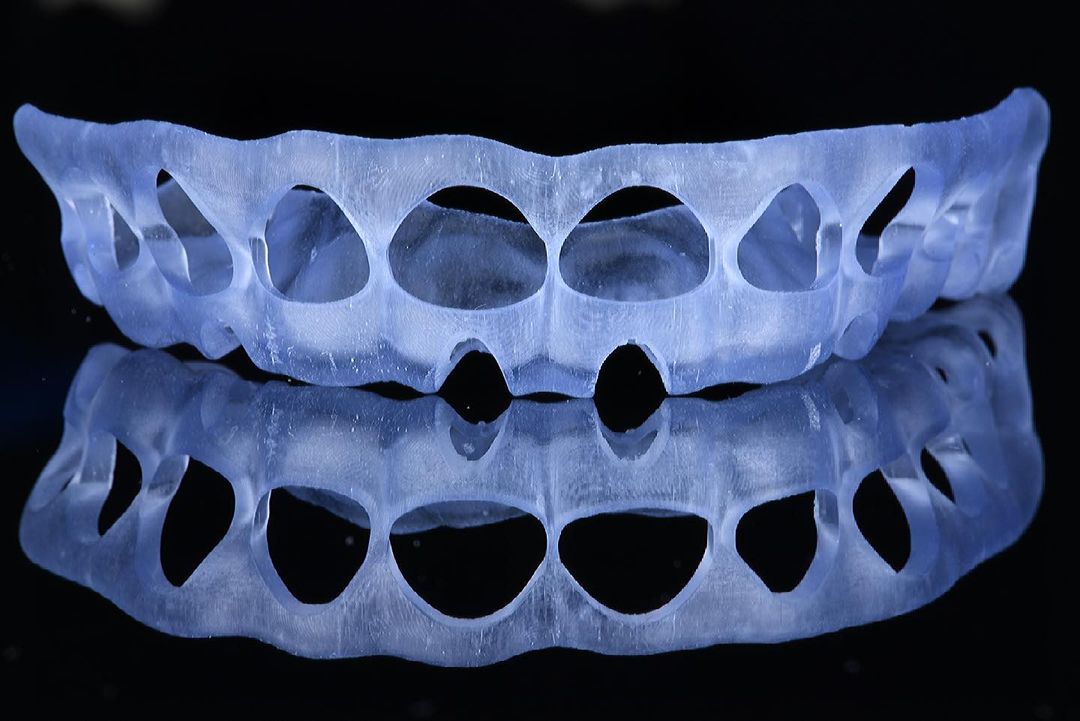
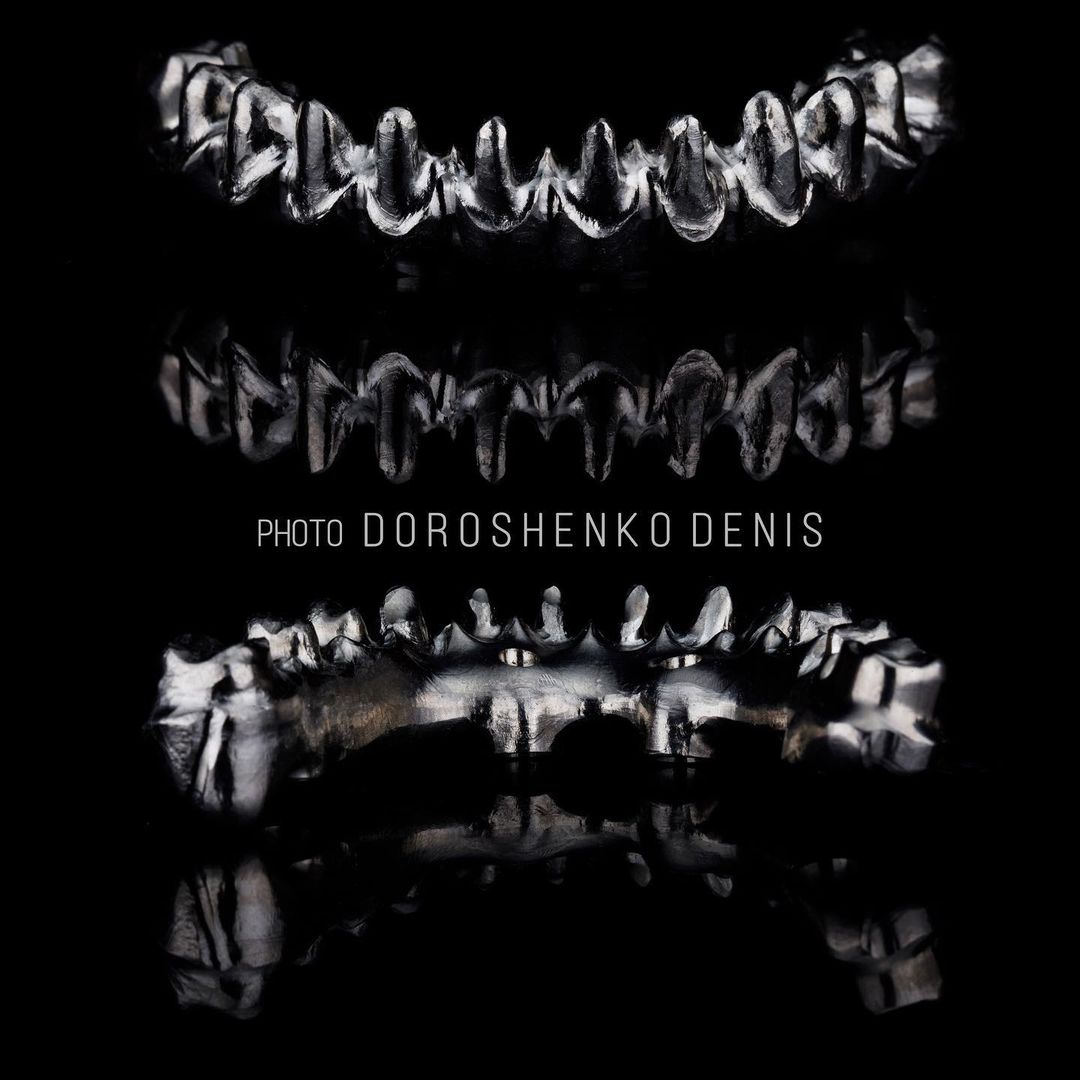
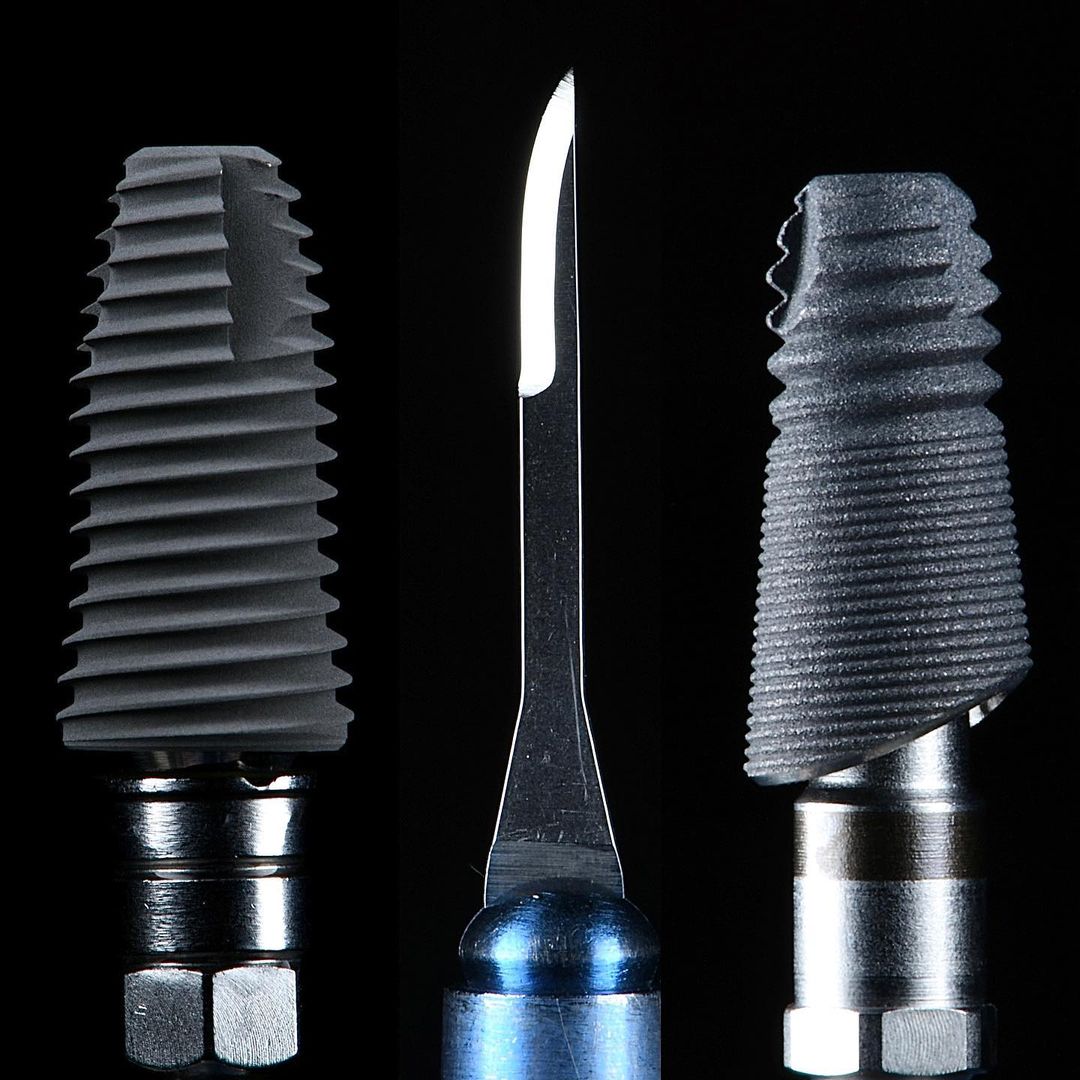
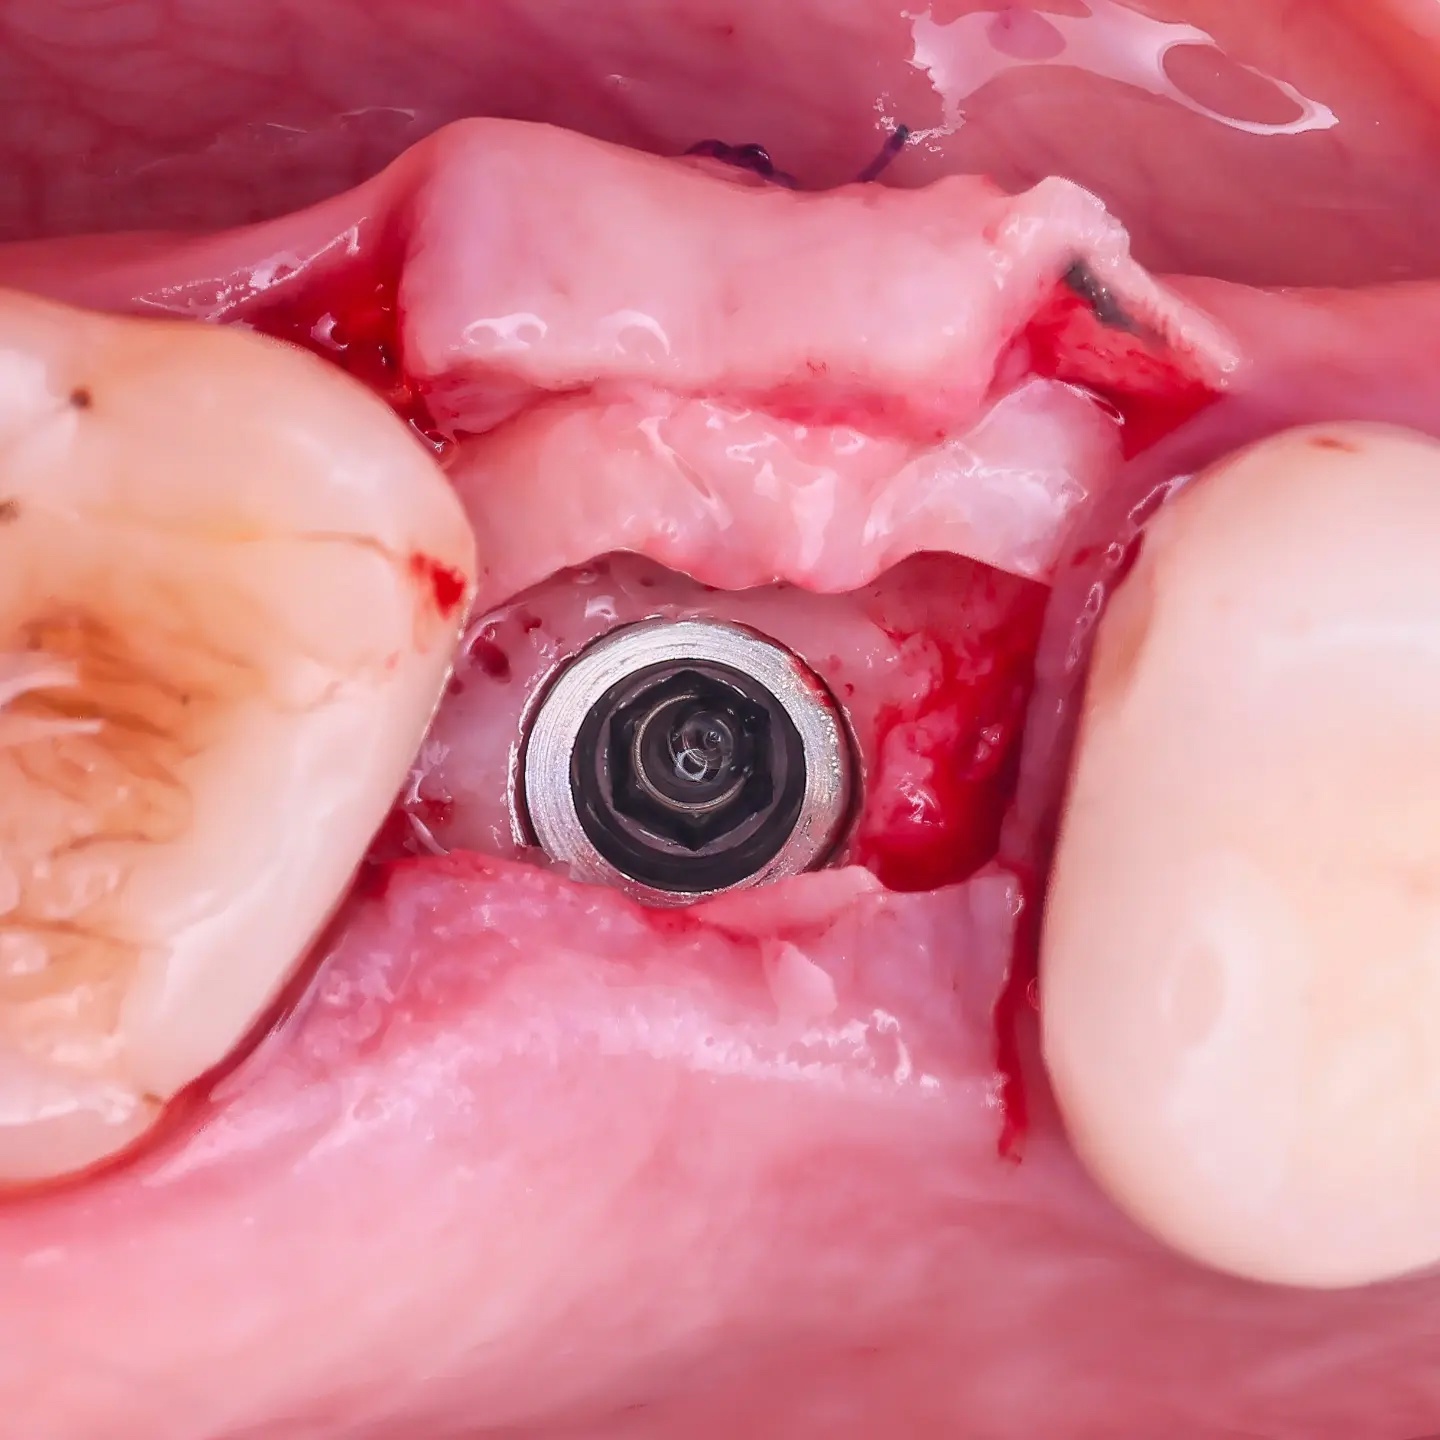
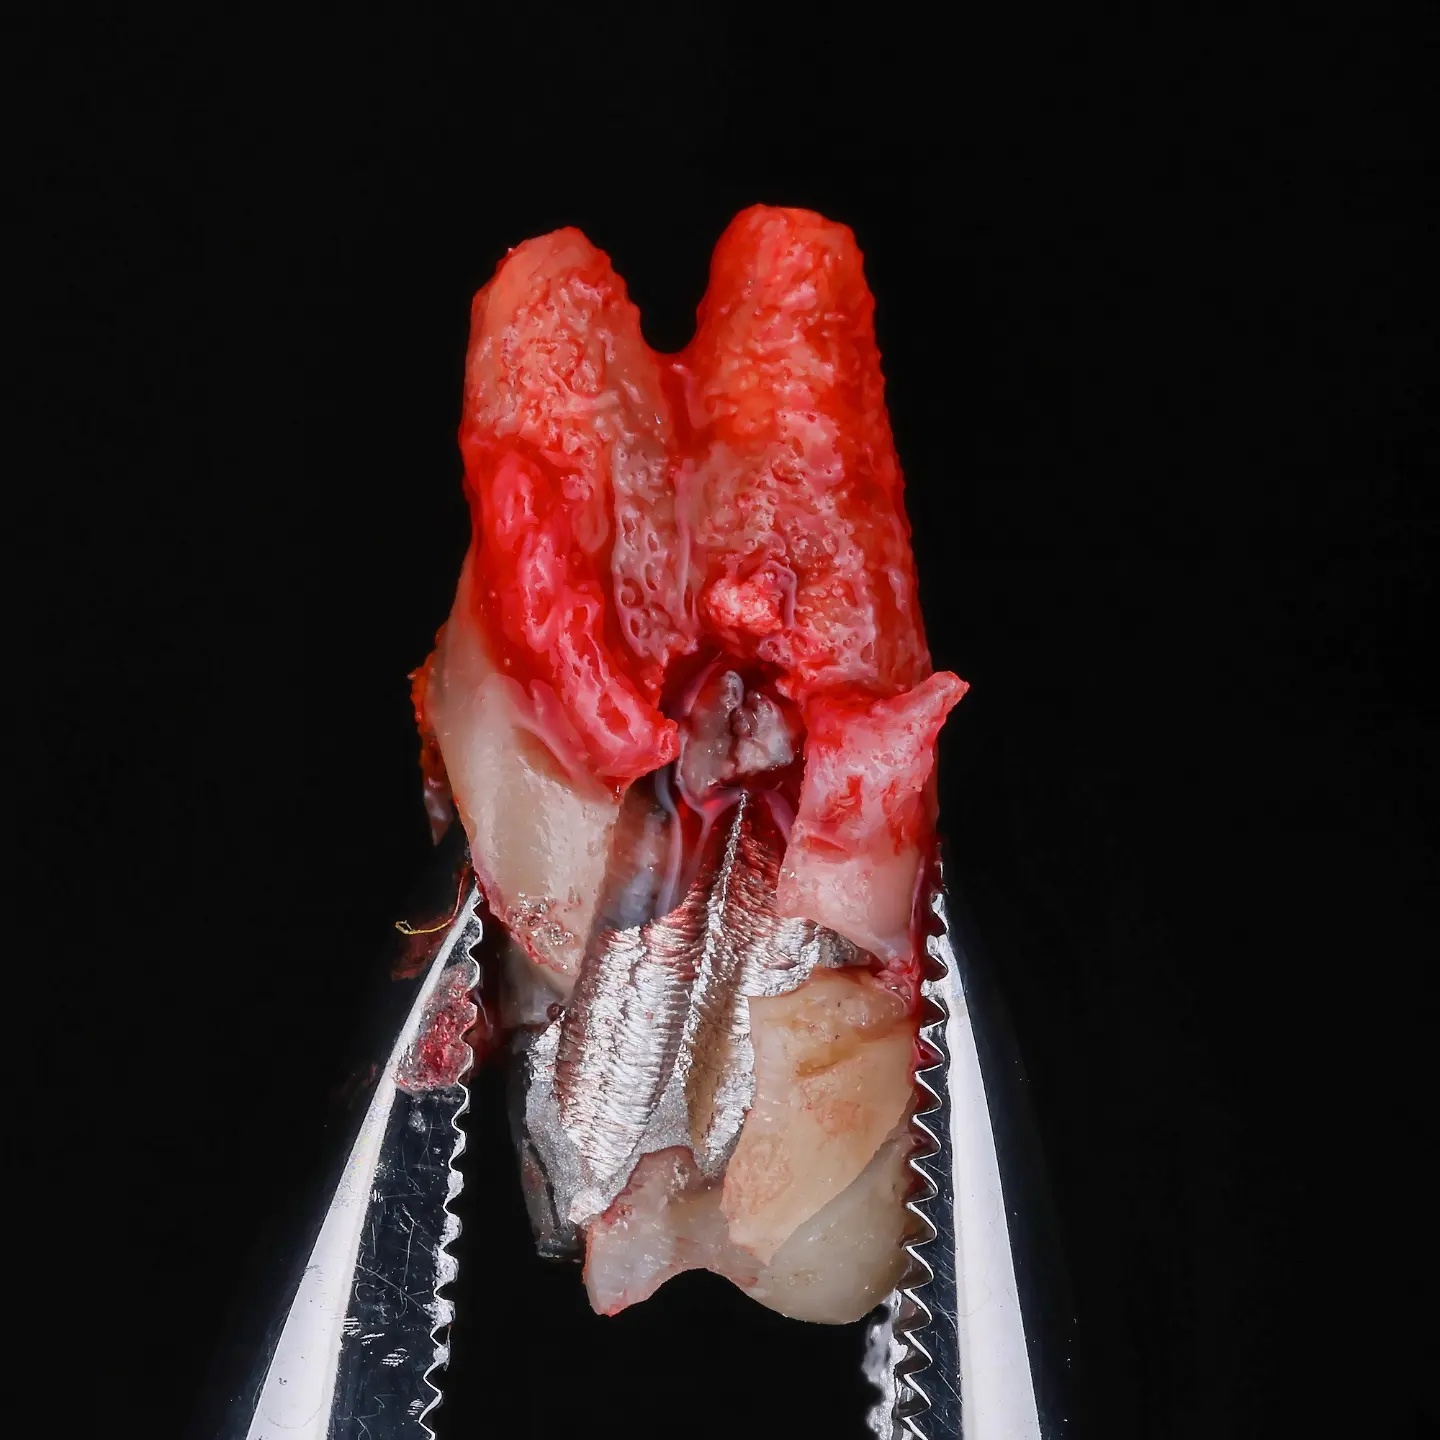
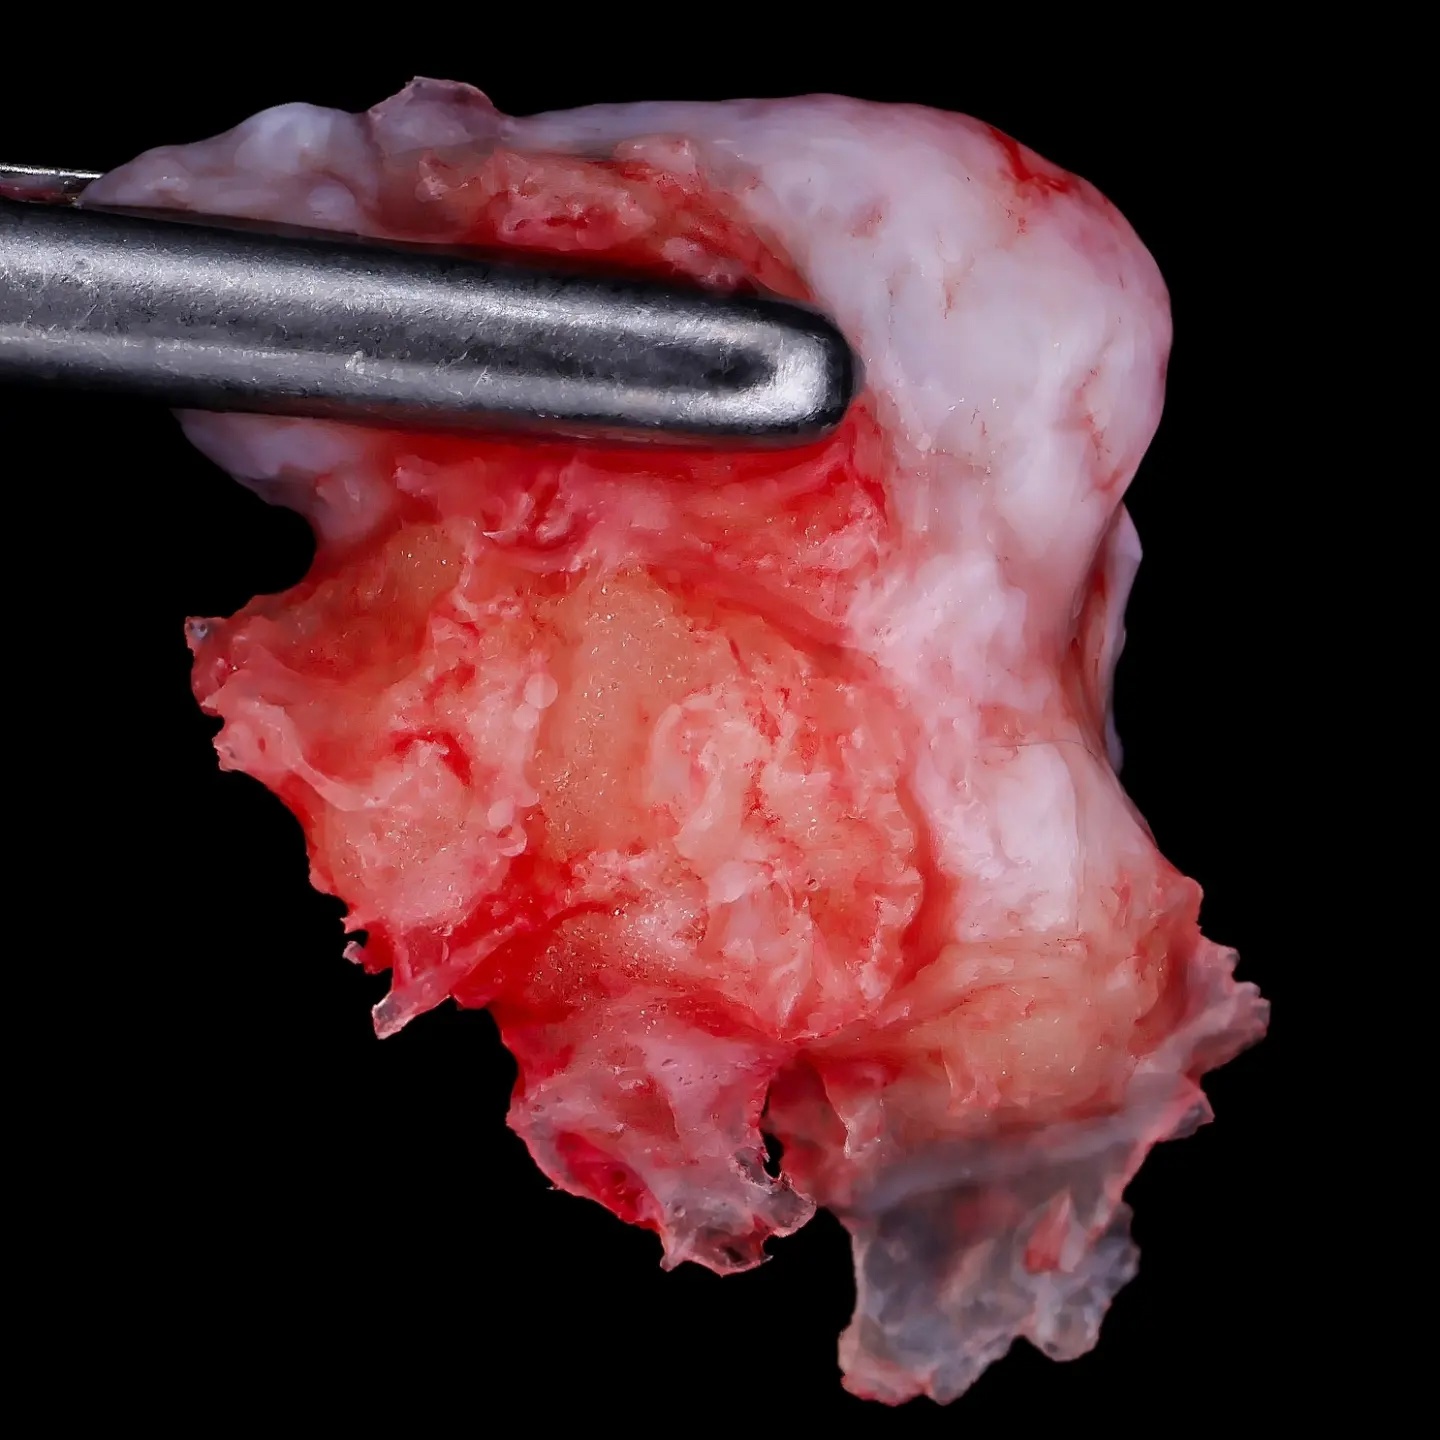
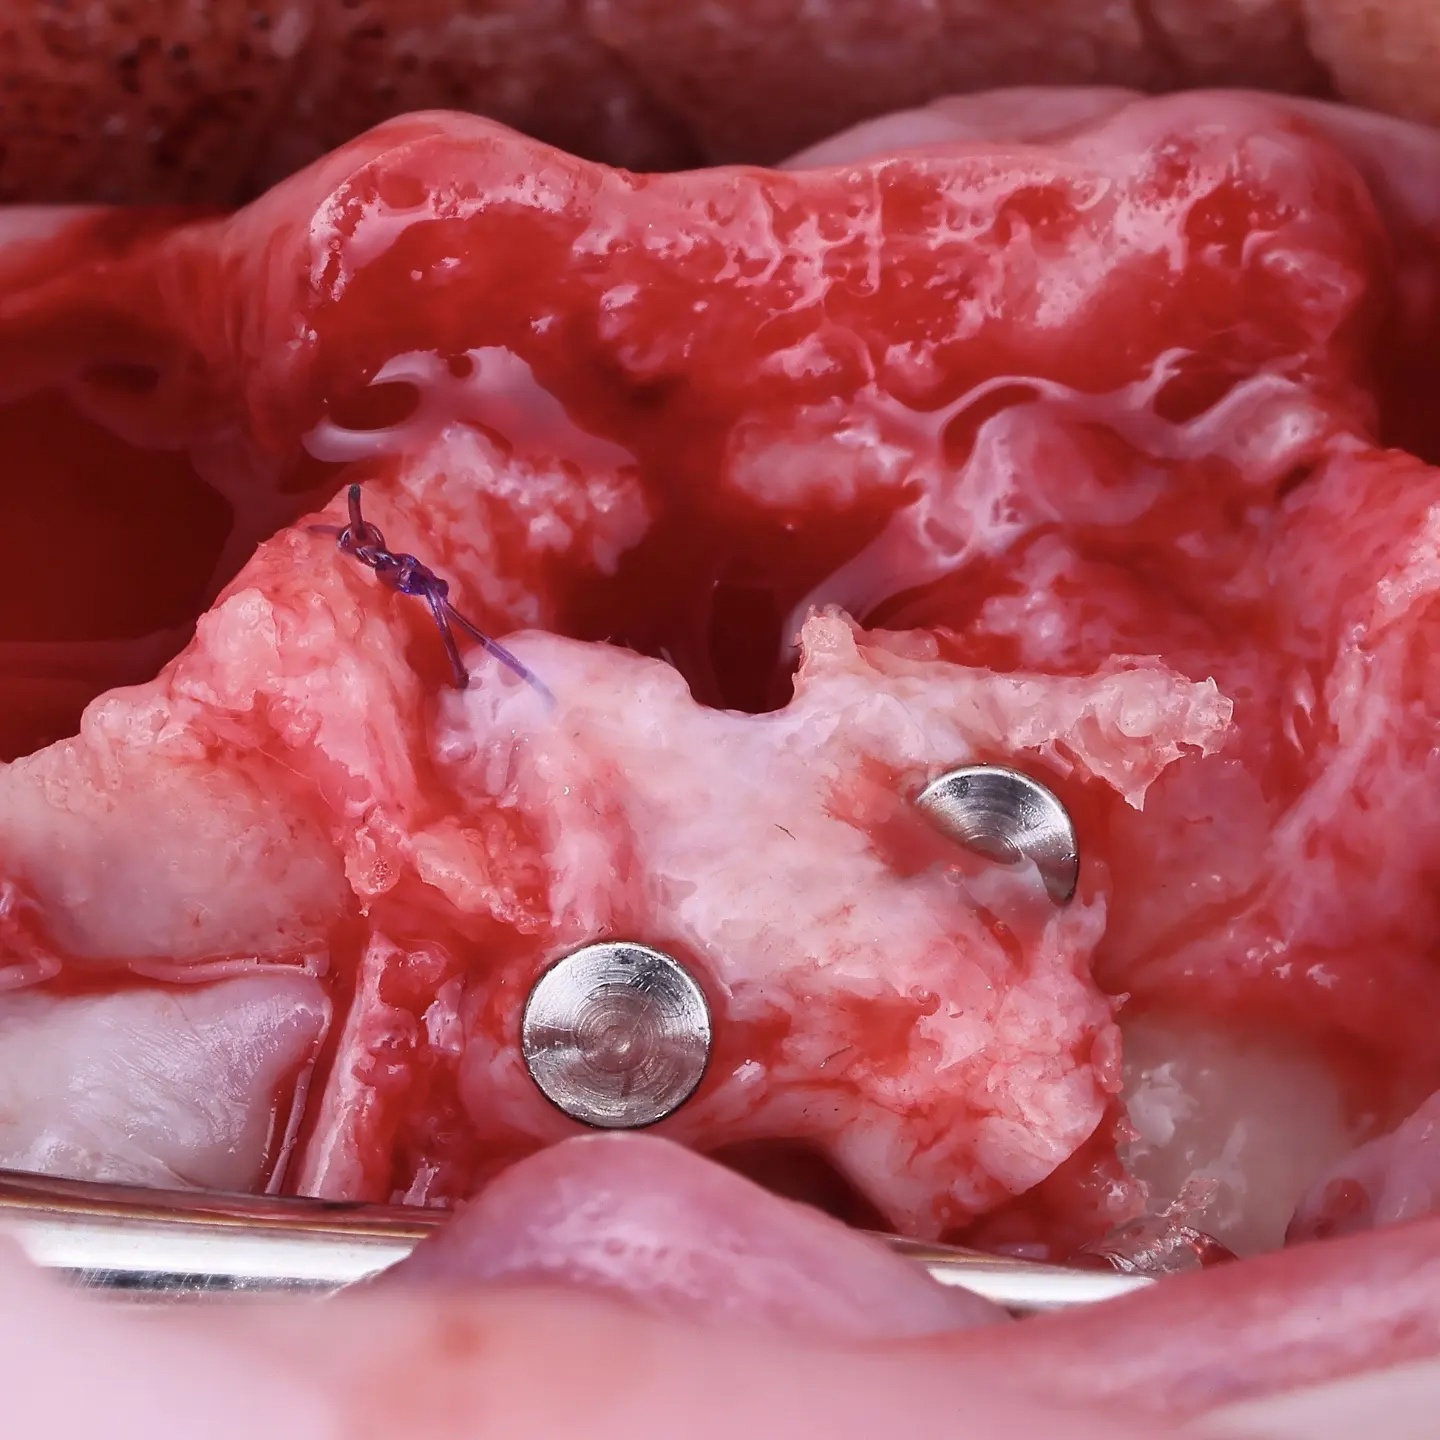
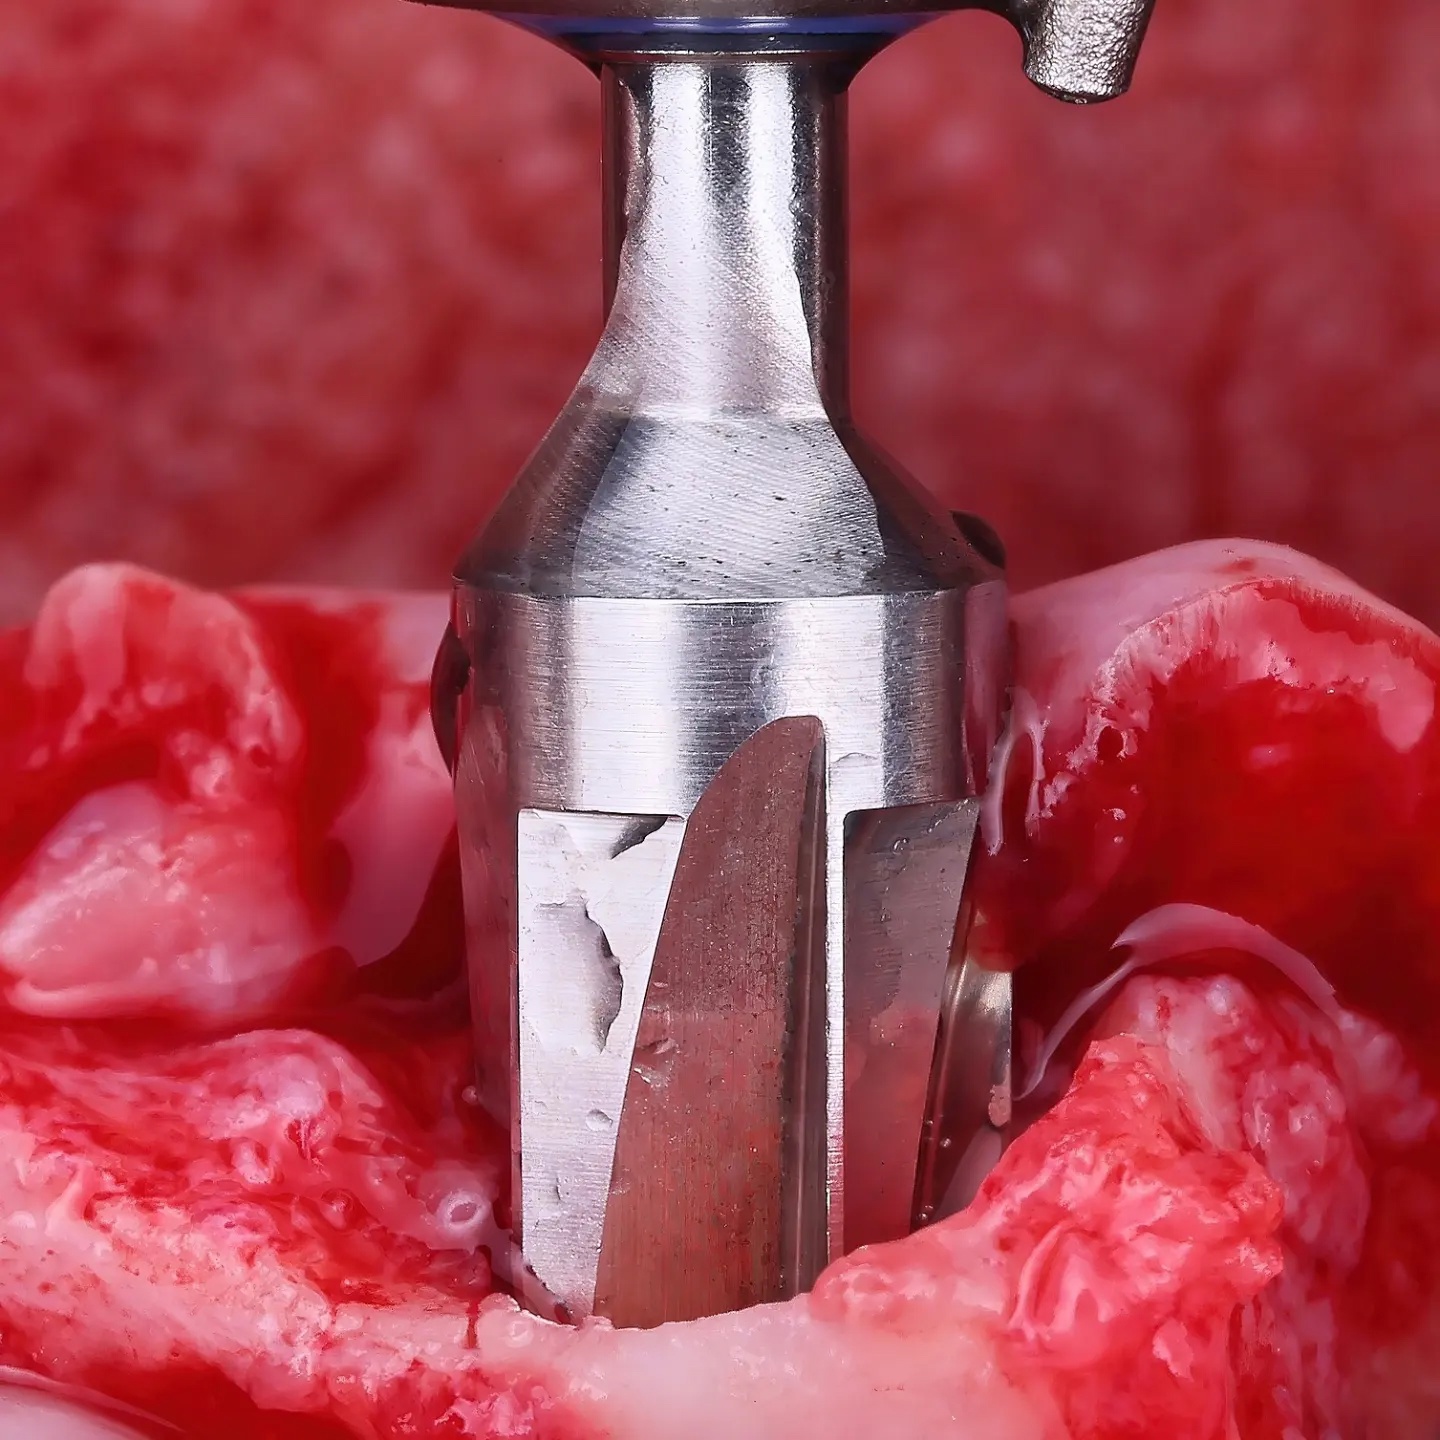
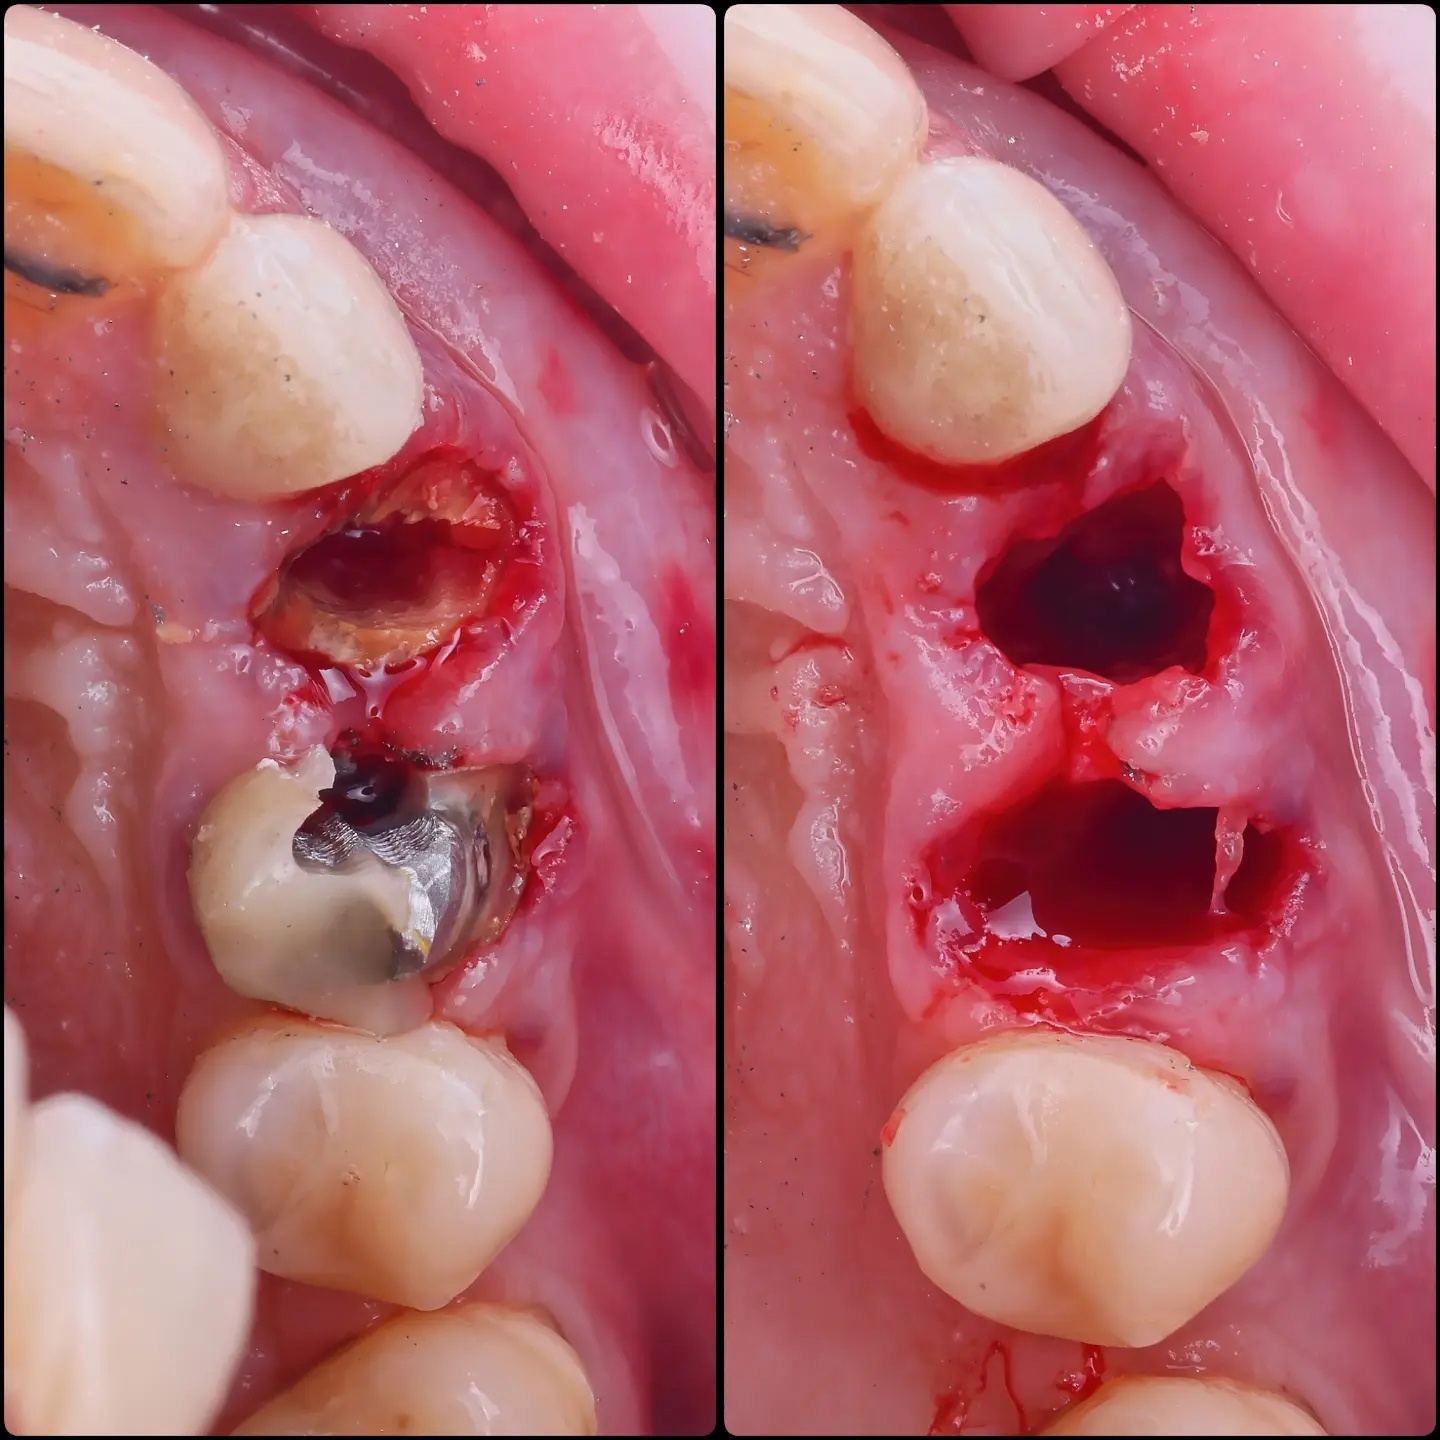
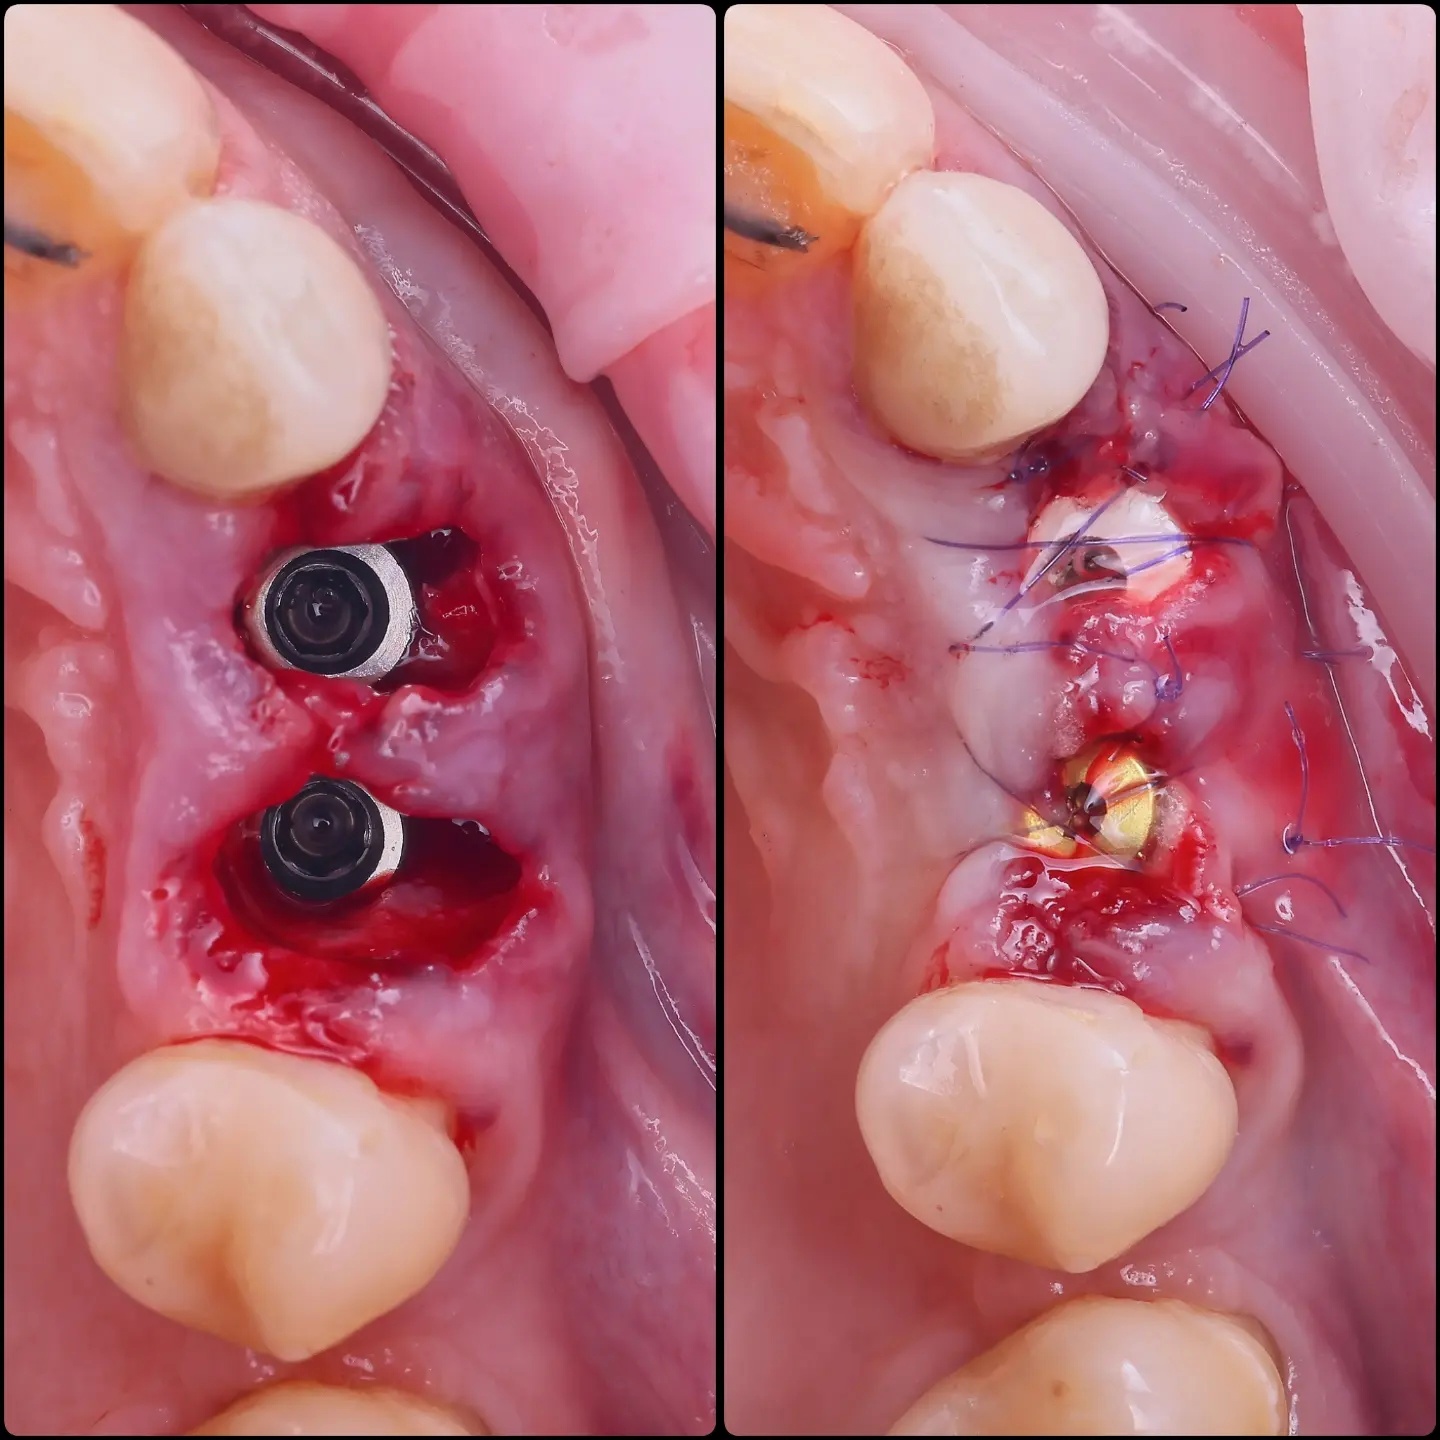
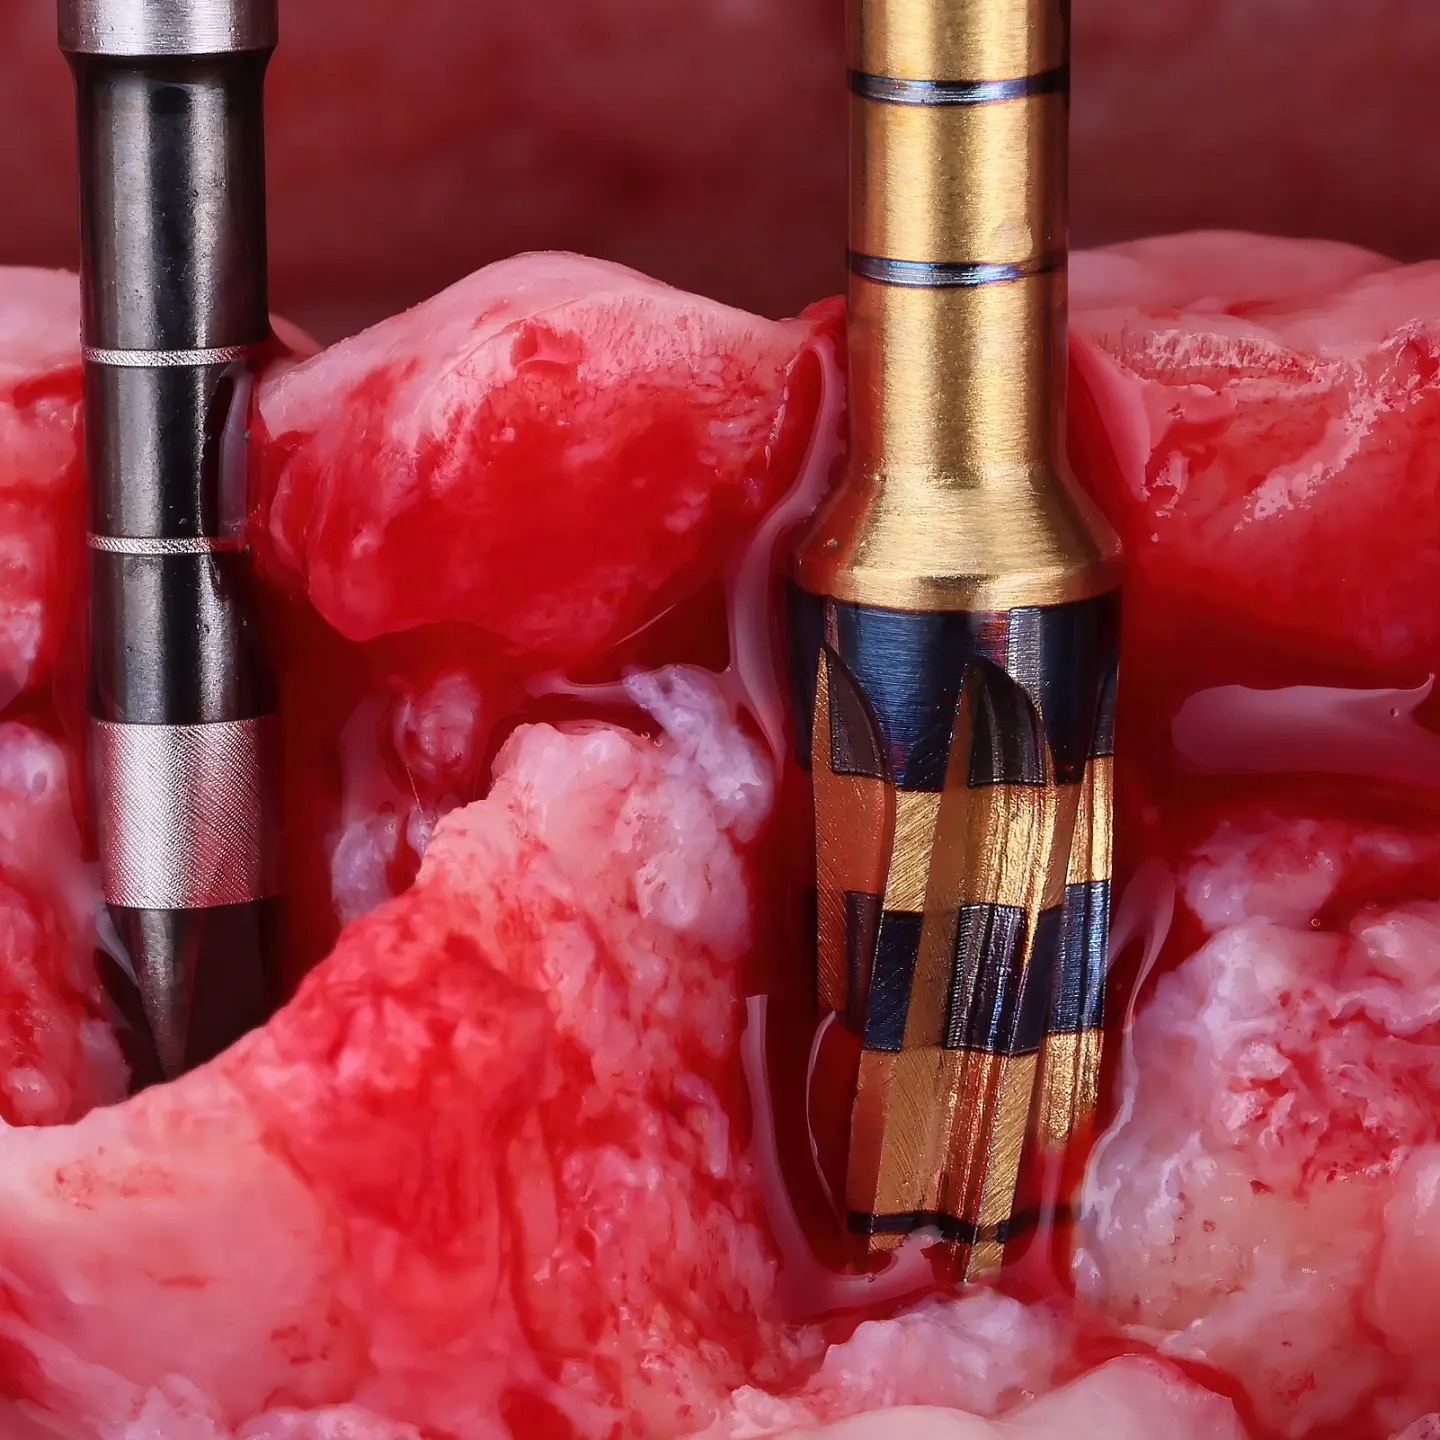
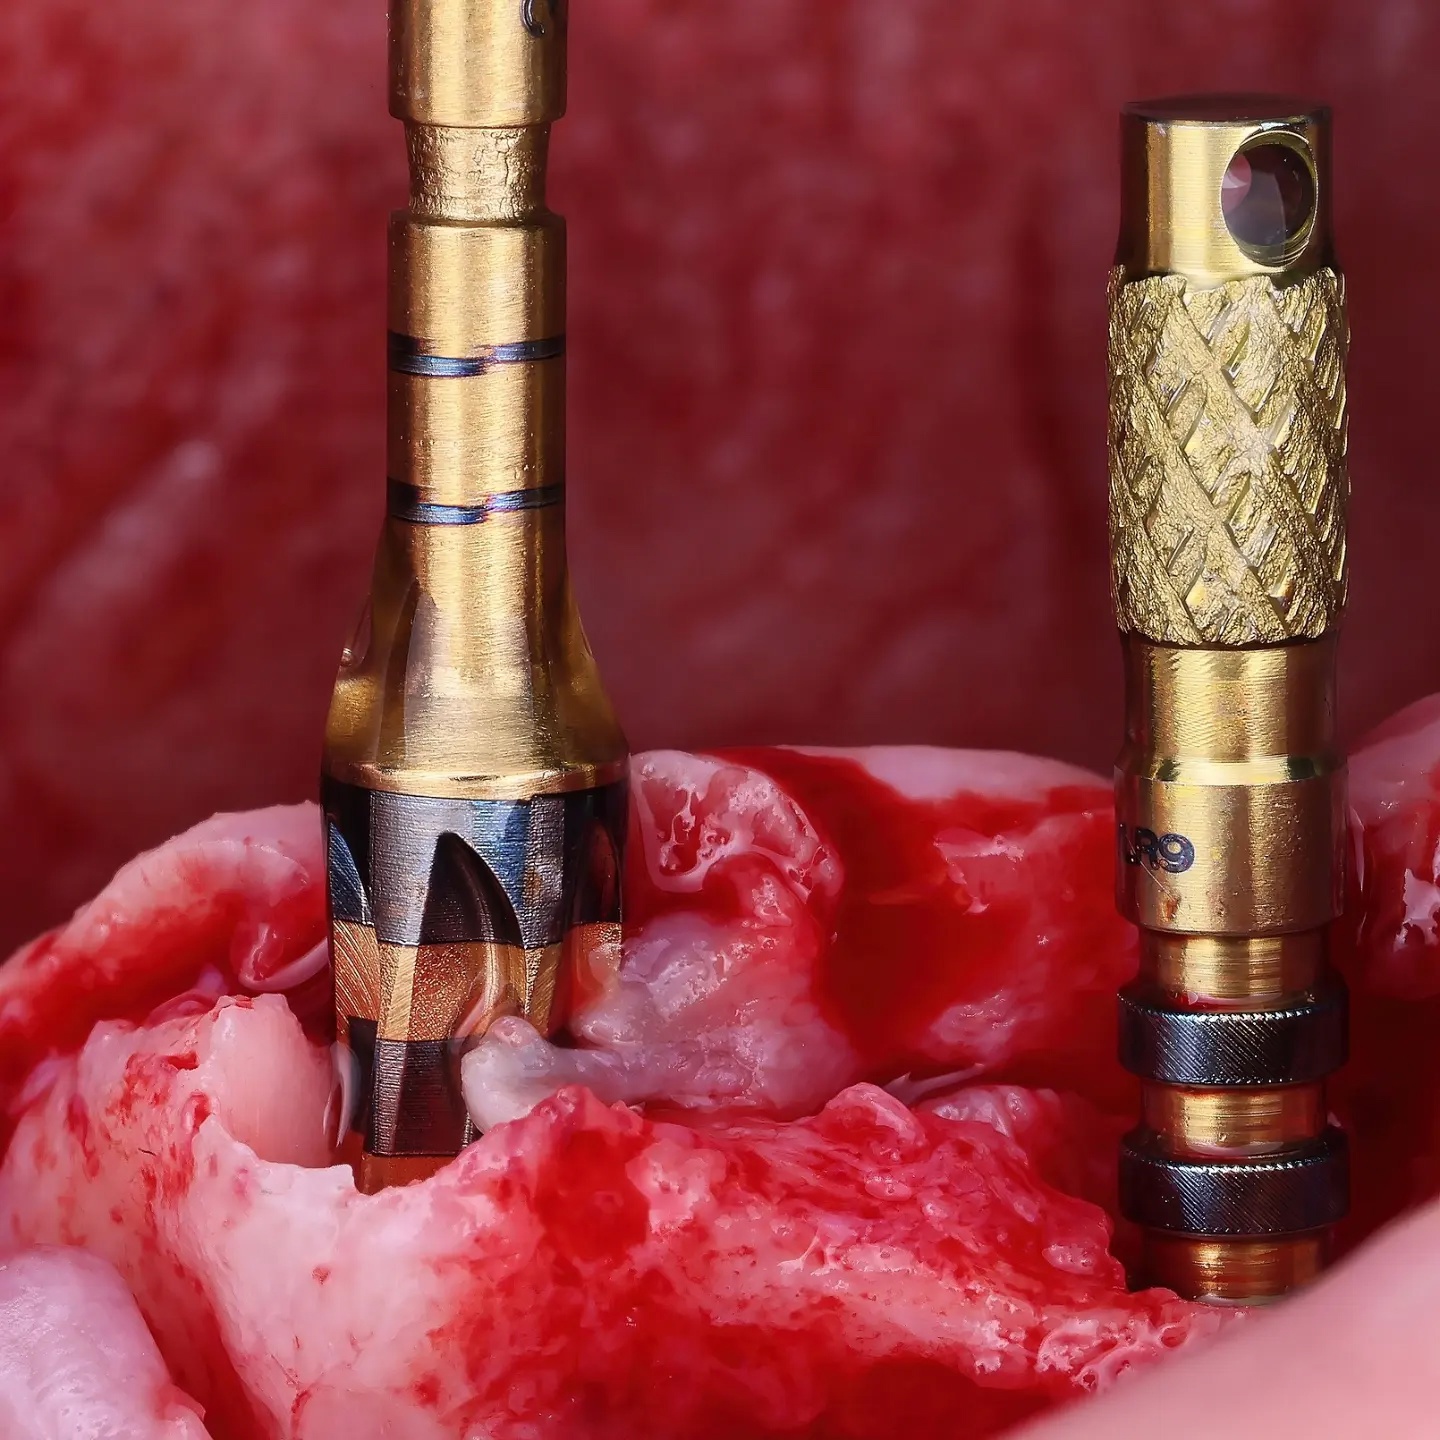
Many surgeons have mastered photo documentation. If you want to stay up to date with how surgeons present their cases, join the Oral Surgery community. I would like to draw your attention specifically to dentists who have taken photography beyond documentary case records — surgeons who create genuinely compelling images through light and shadow. I would call it a form of art.

@dr.berberov
In addition to being a gifted surgeon, Georgy regularly runs dental photography courses specifically aimed at surgeons. I attended one, and in my view it is an excellent practical course in dental photography for any specialist — but especially for the surgeon.

@dr.georgedmitrievskiy
Georgy Dmitrievsky is both a surgeon and an artist. His photographs are interesting both clinically and aesthetically — the way he manages to capture the work so beautifully is remarkable.

@advanceddentalphoto
Denis Doroshenko is the photographer of Mikhail Dzyuba — together they produce images that are visually captivating and clinically significant.
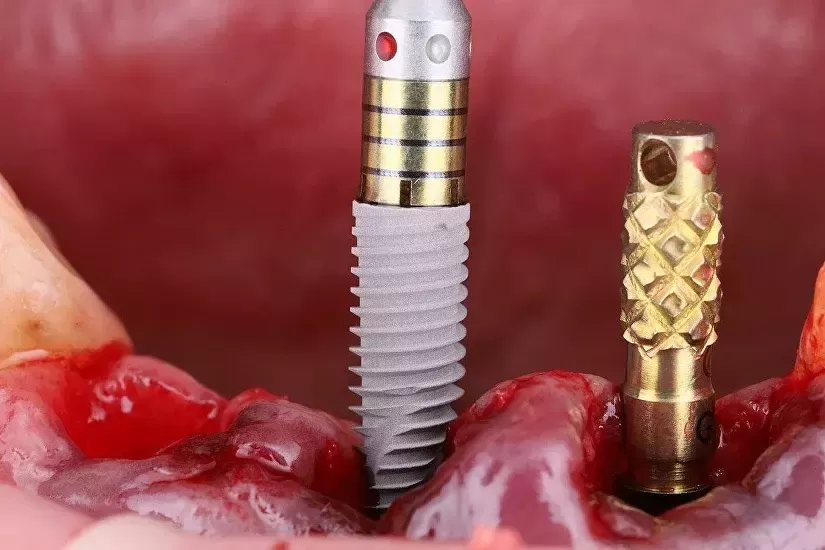
That is why a third person — a photographer — is often present during surgical documentation. Do not expect aesthetic photographs from the surgeon during a procedure. The anaesthetic is wearing off, there is blood, maintaining a clean field is paramount — there are many demands on the surgeon's attention at that moment, and photography is not one of them.
I would recommend not waiting for the surgeon to pick up a camera. Of all the specialists, surgeons have the least time and mental bandwidth for it. If you need good surgical photographs, involve a second assistant. All dental assistants should be able to work with a camera. When I was at ZimmerDental and needed photographs from a major surgery, I attended the procedure and photographed it myself. Even then it noticeably slowed the operation — asking the surgeon to hold a moment for the shot adds real time for a patient under anaesthesia.
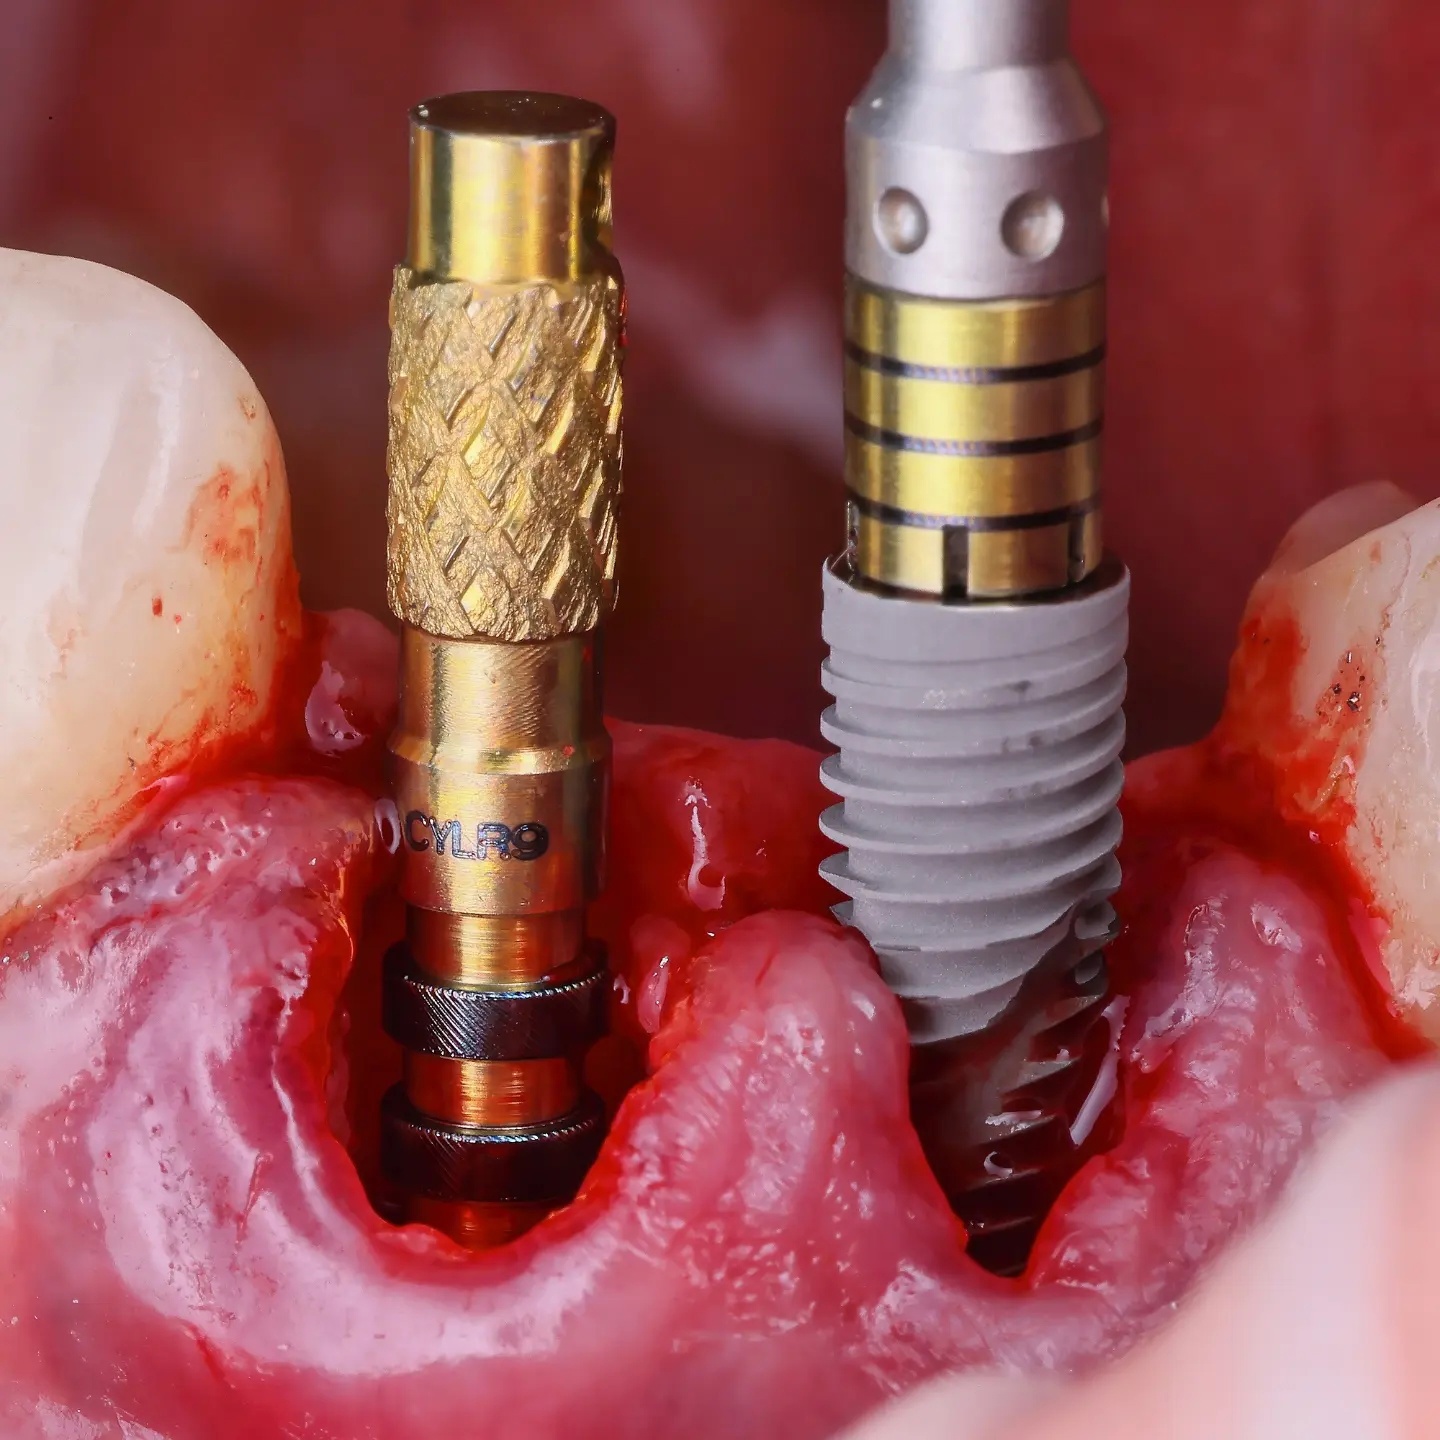
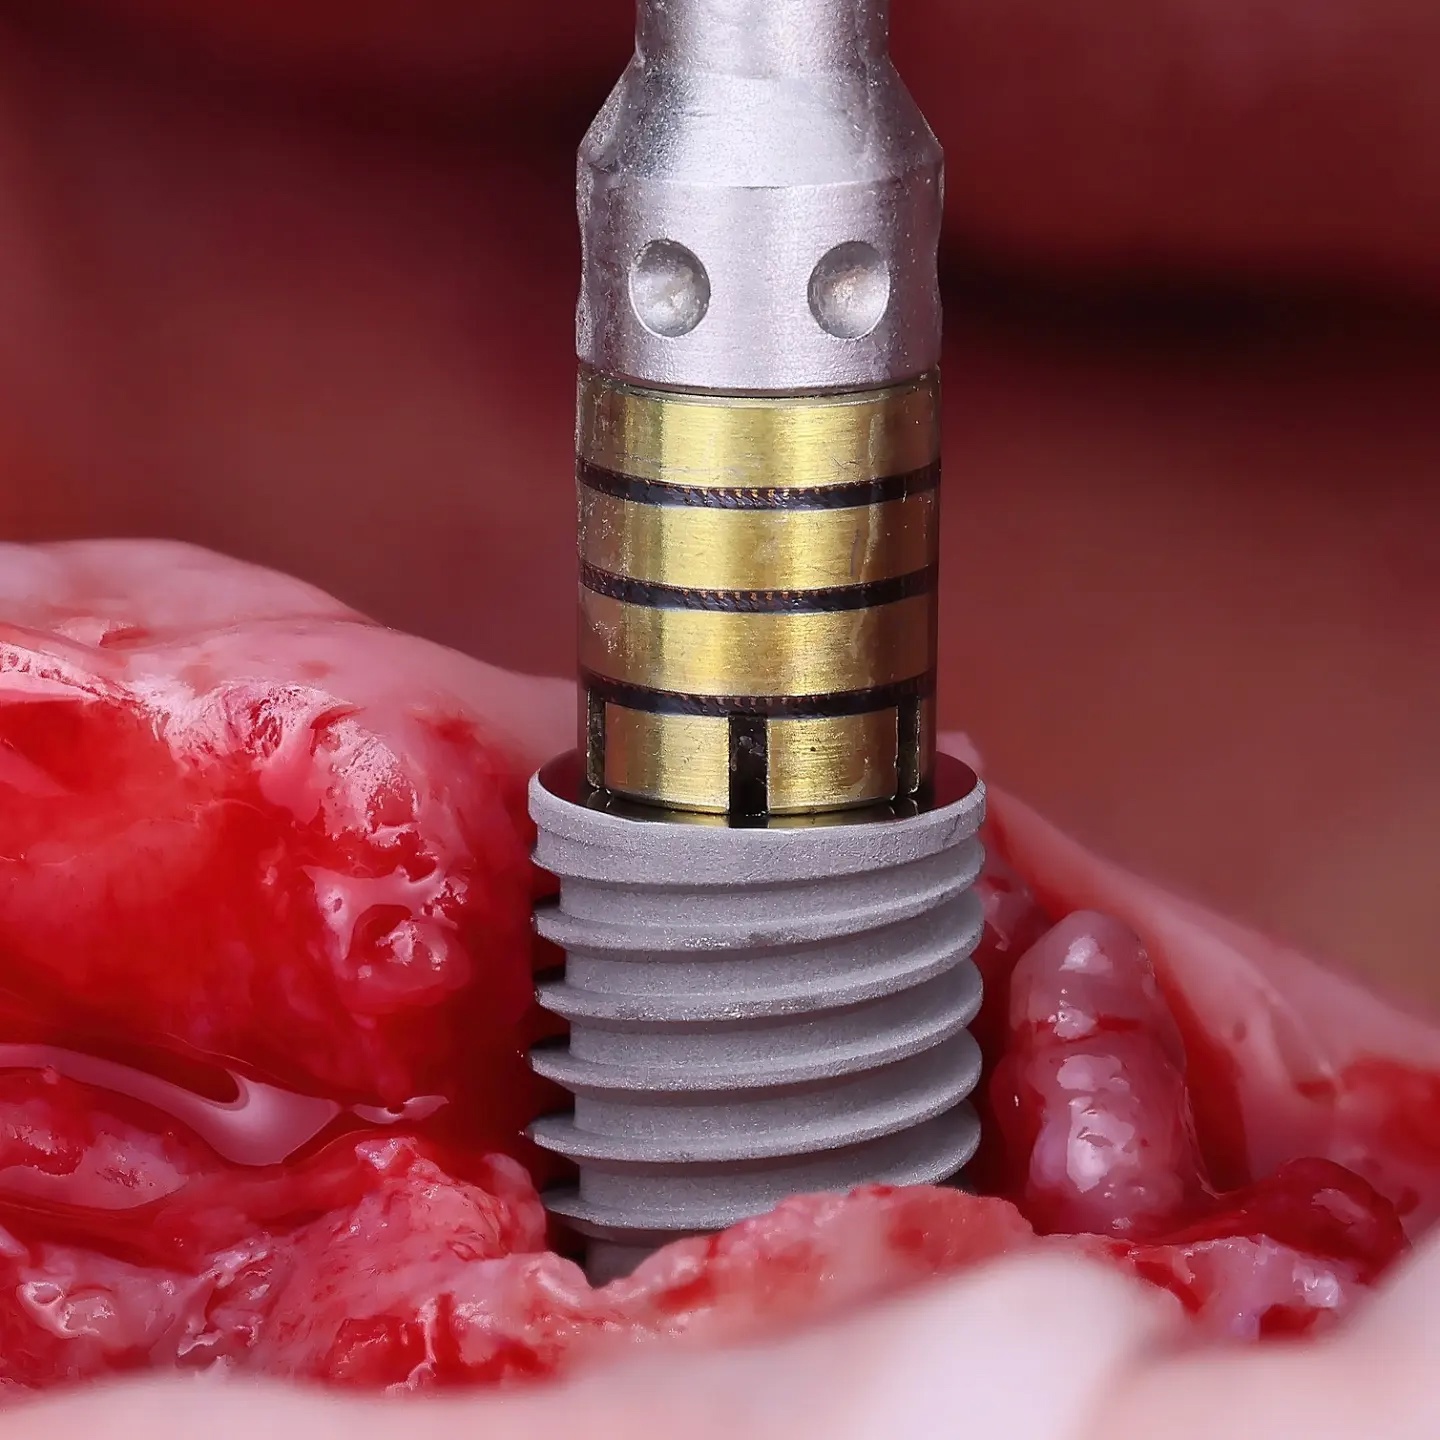
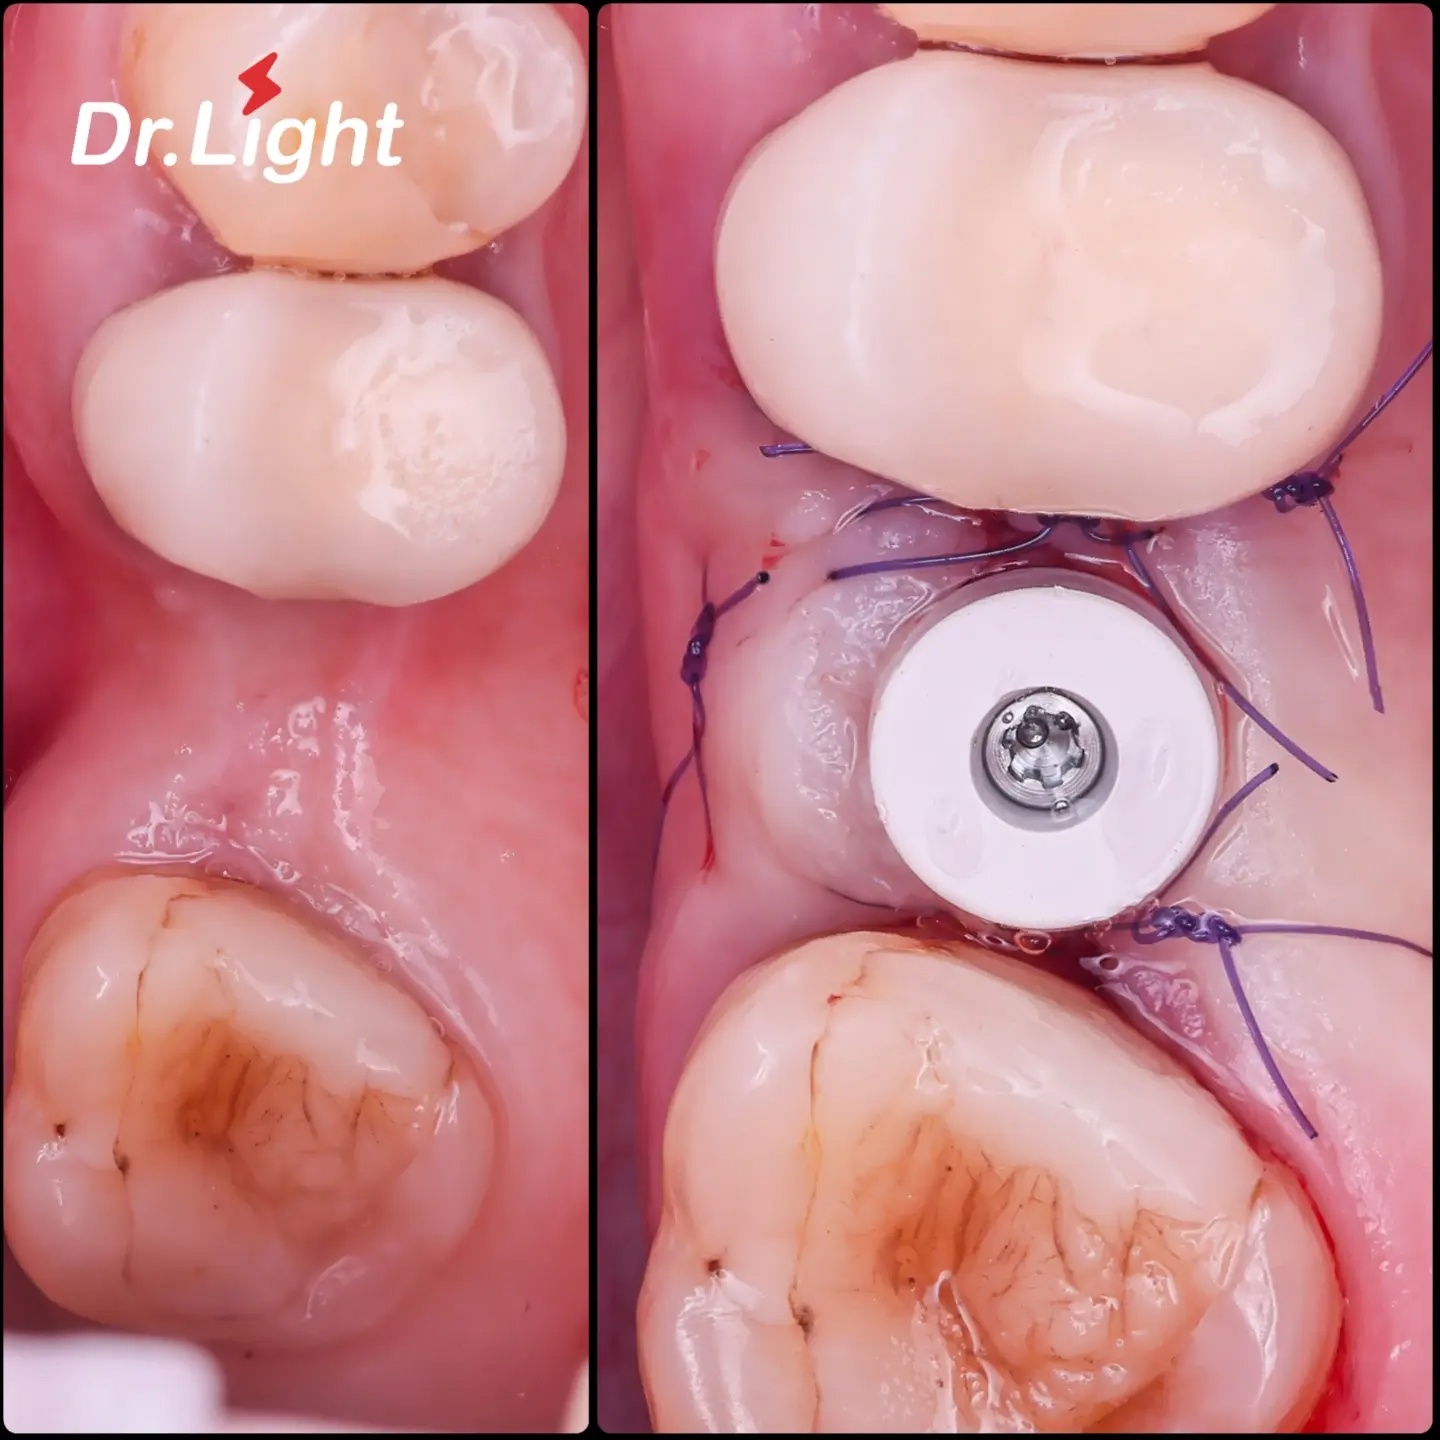
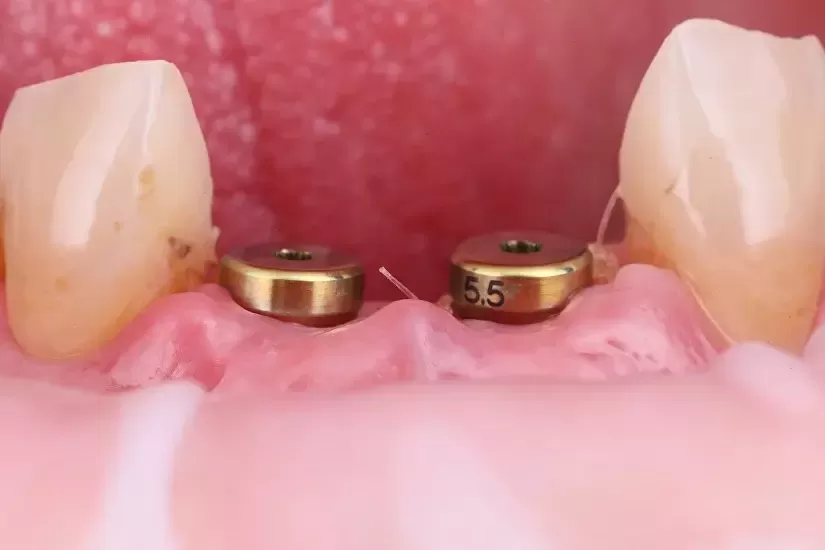
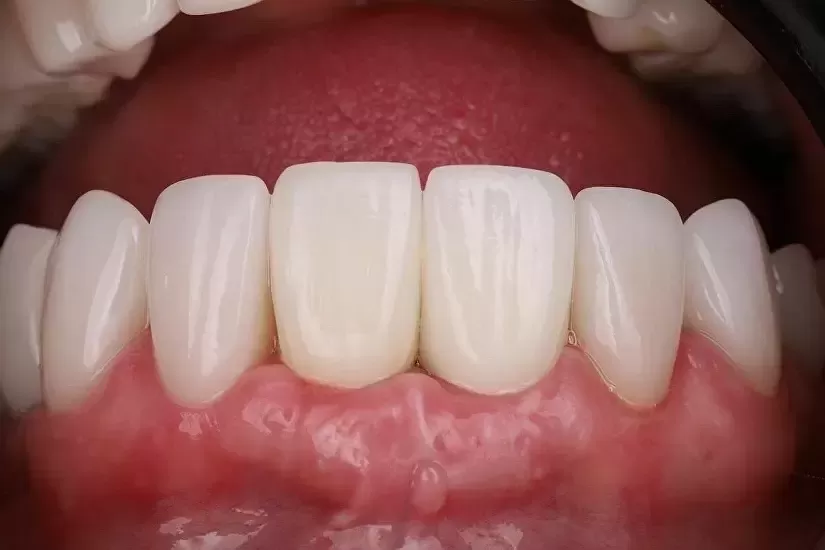
For the dental website, to show patients a clinical case, you do not necessarily need to photograph the surgery itself. Good before-implantation photographs and post-restoration documentation — and possibly soft tissue healing images — will already answer many patient questions and encourage them to contact your clinic.
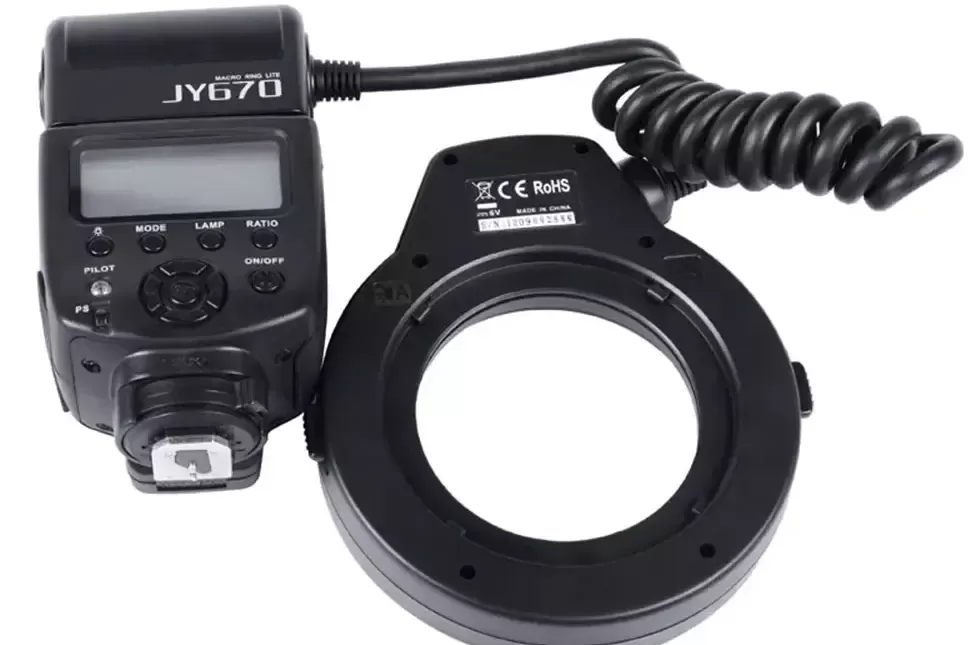
Which lighting to buy?
Let us define what criteria this light must meet:
- compact in size
- suitable for sterilisation
- mounted on the camera
- soft enough to fill the entire surgical field without shadows
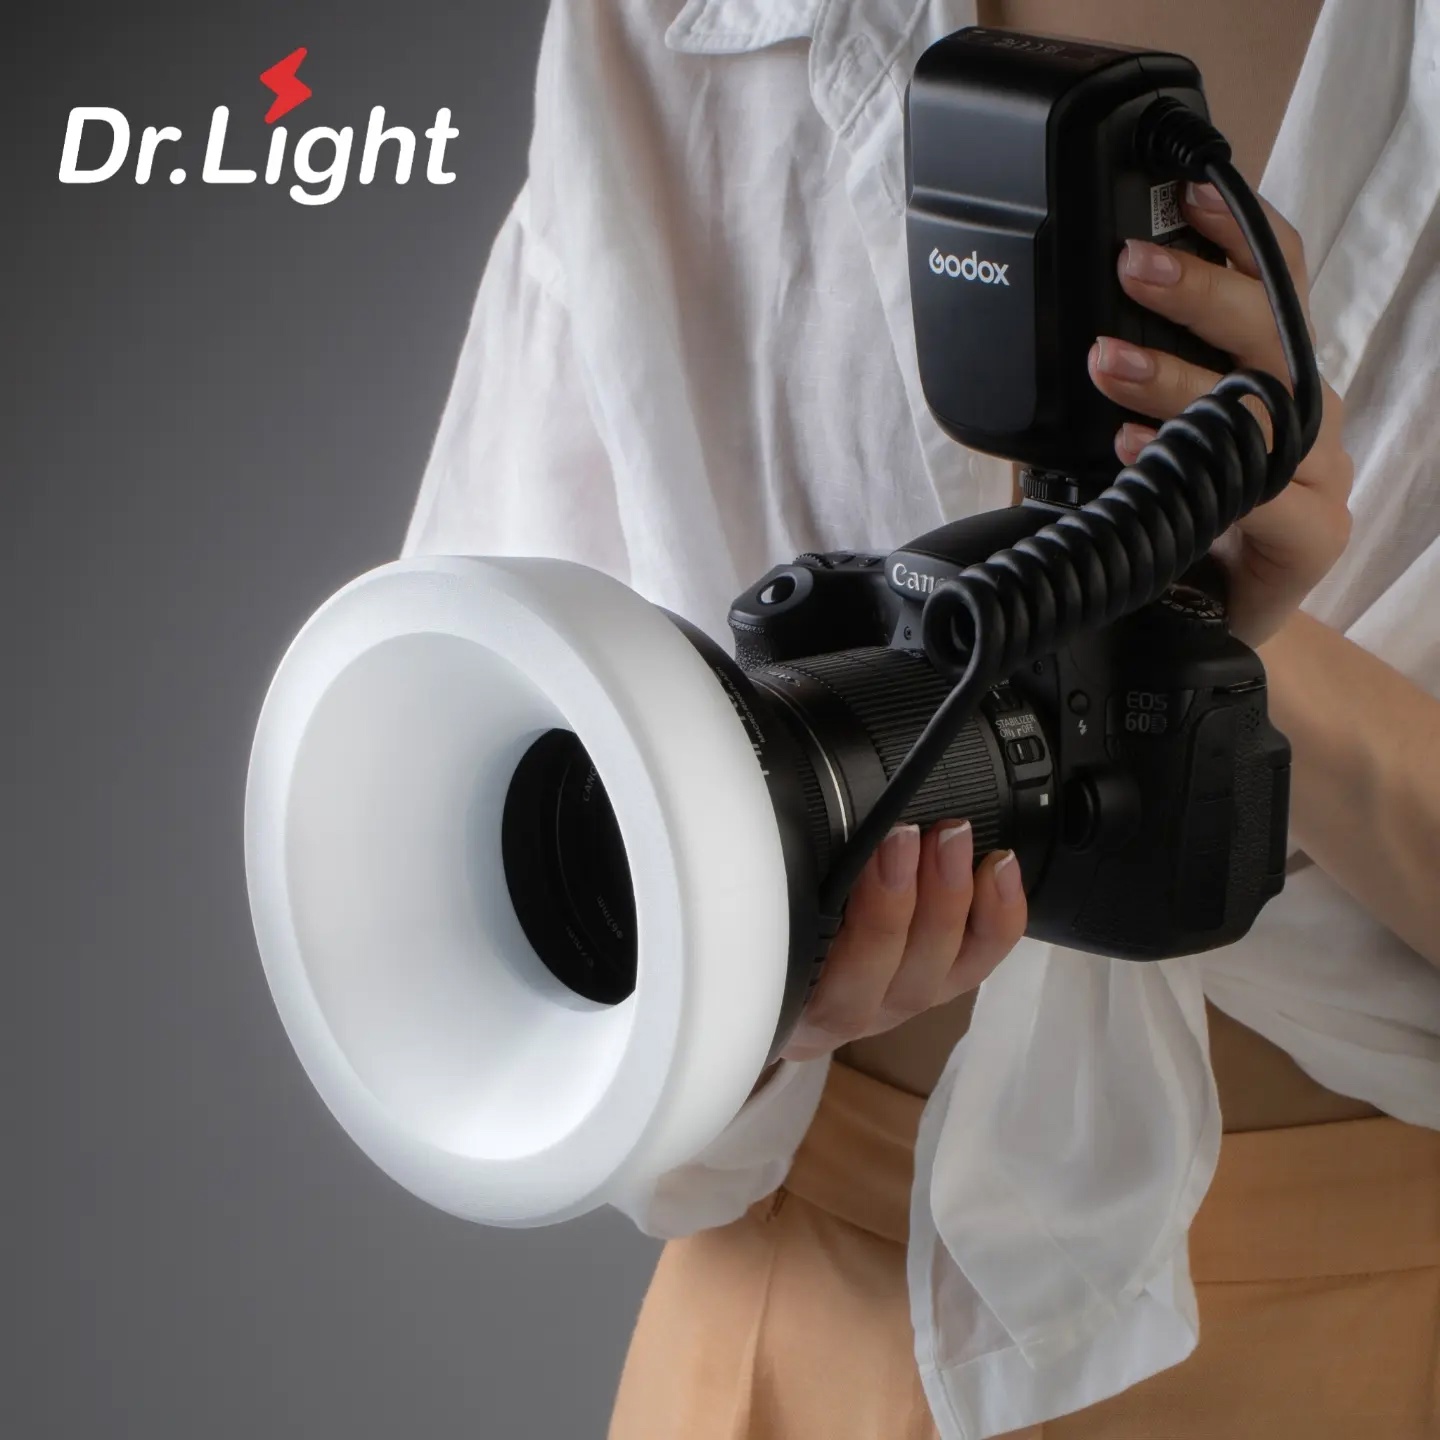
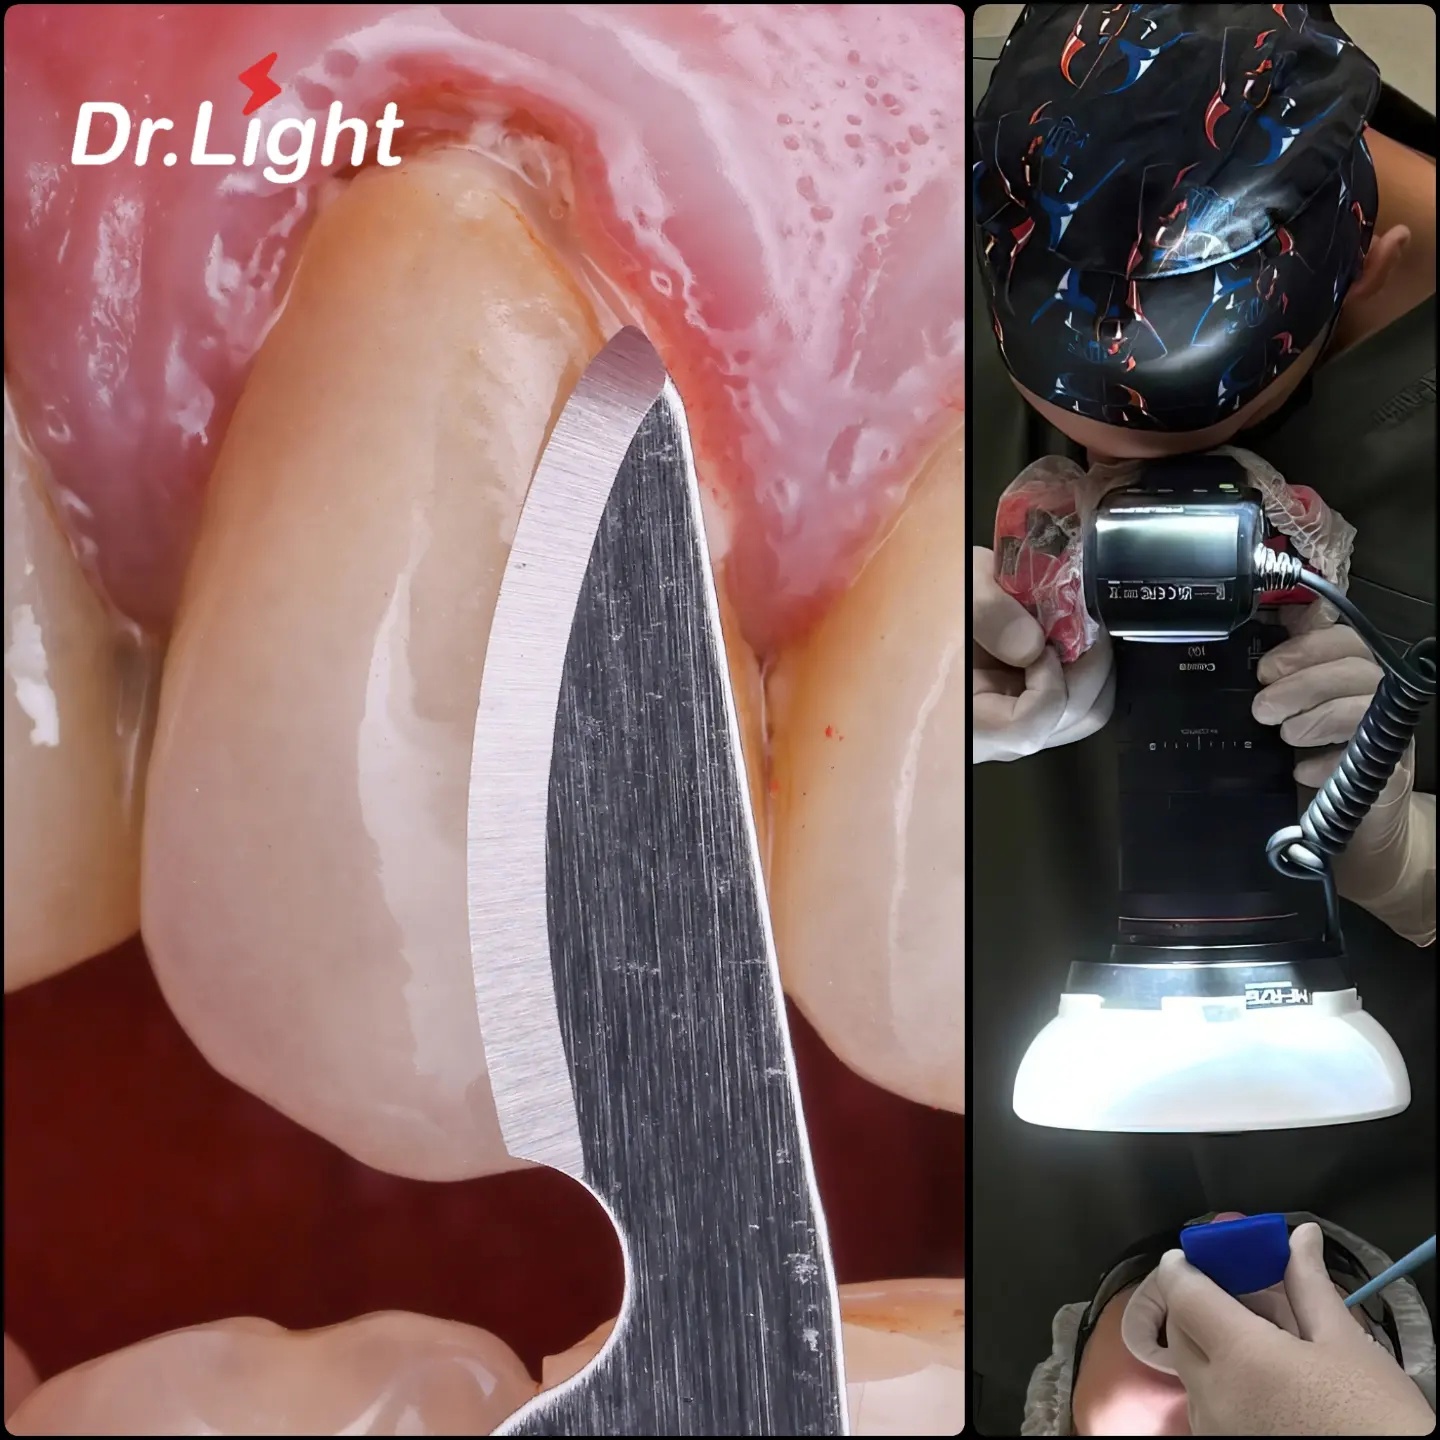
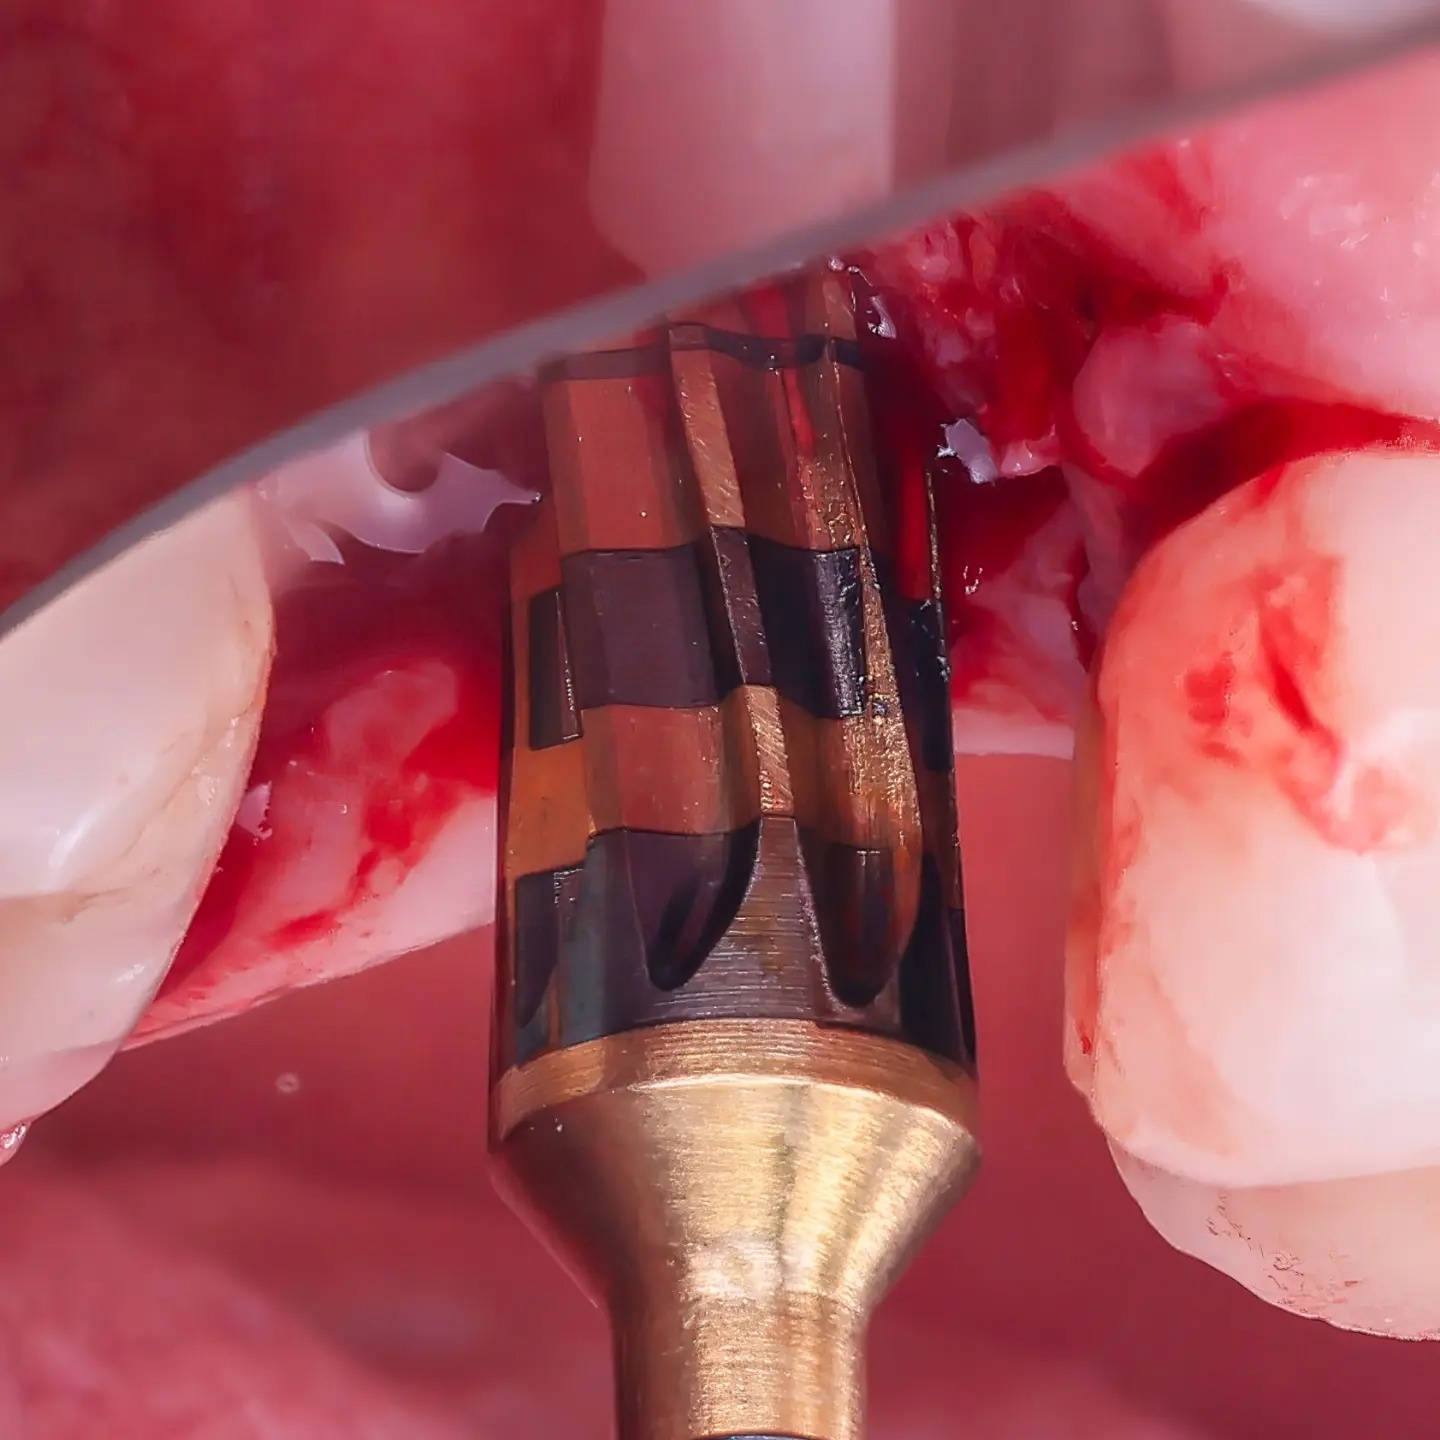
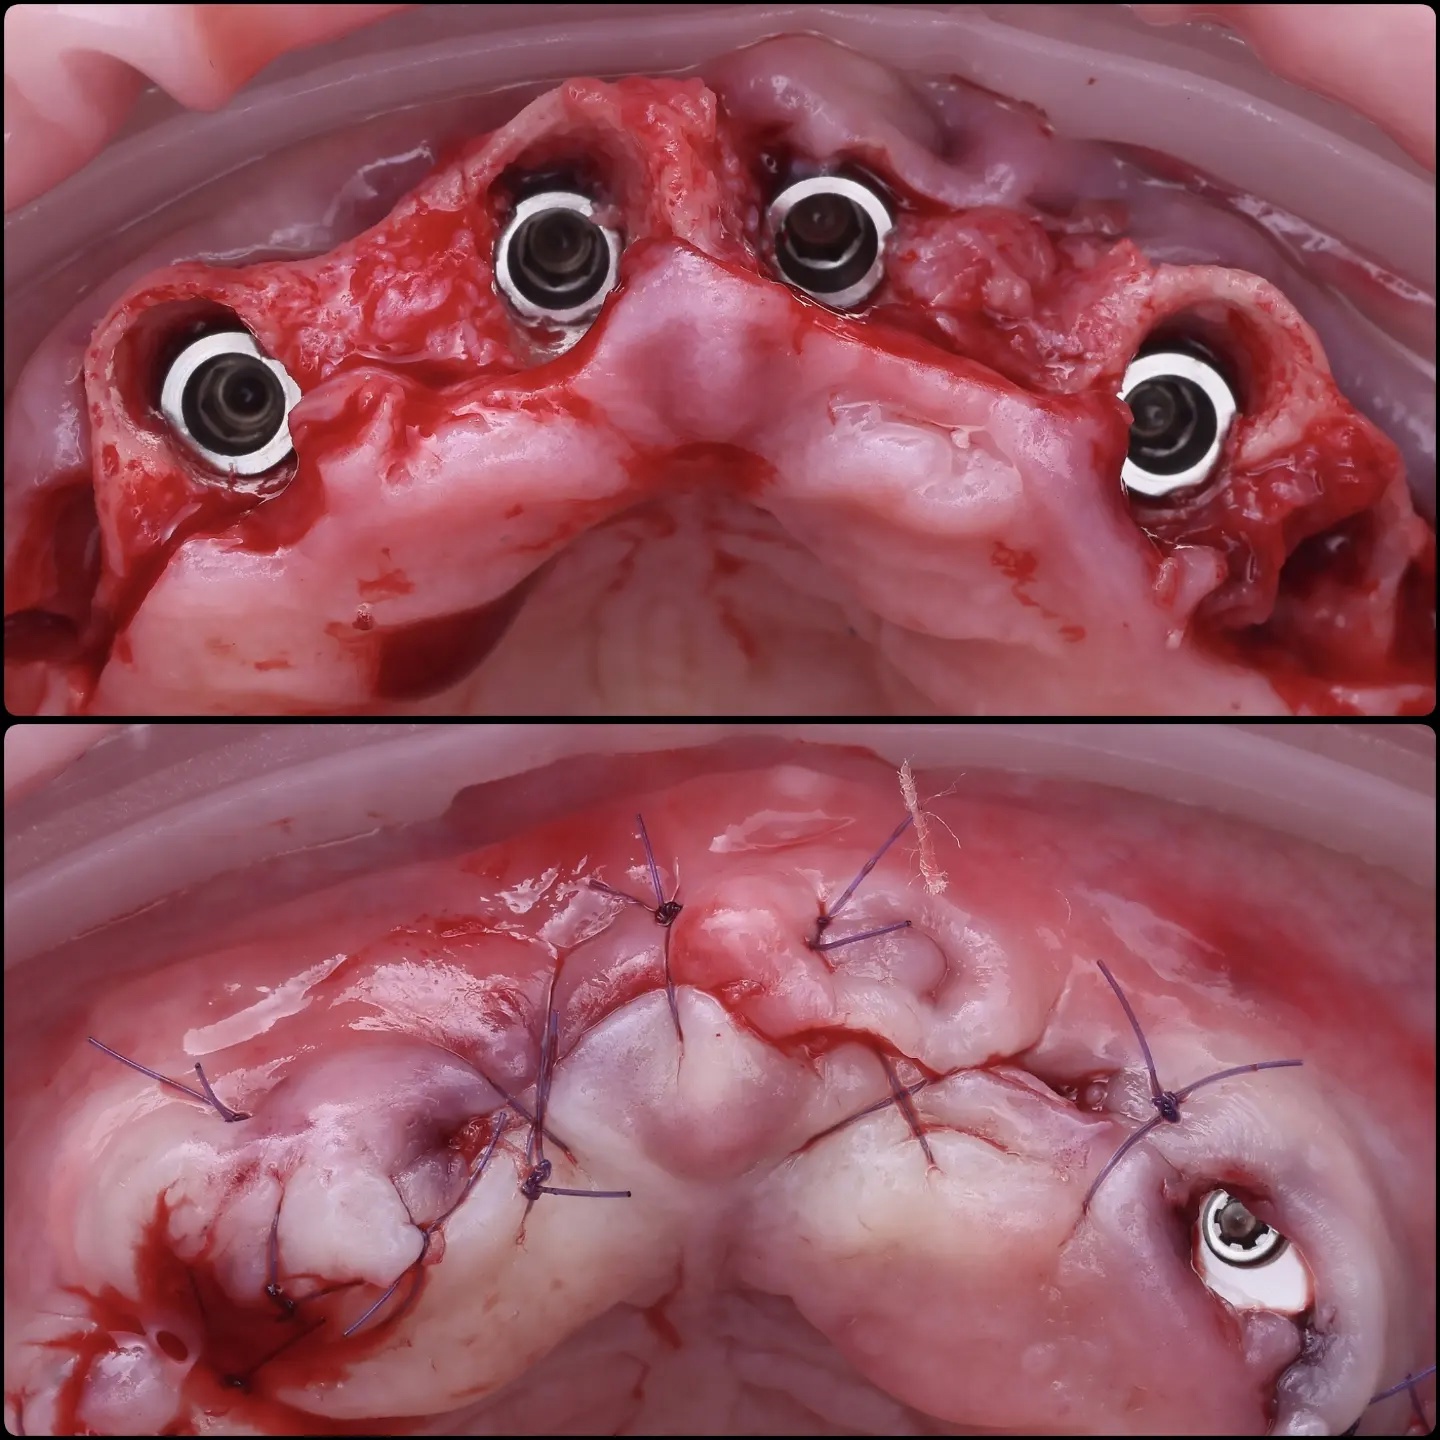
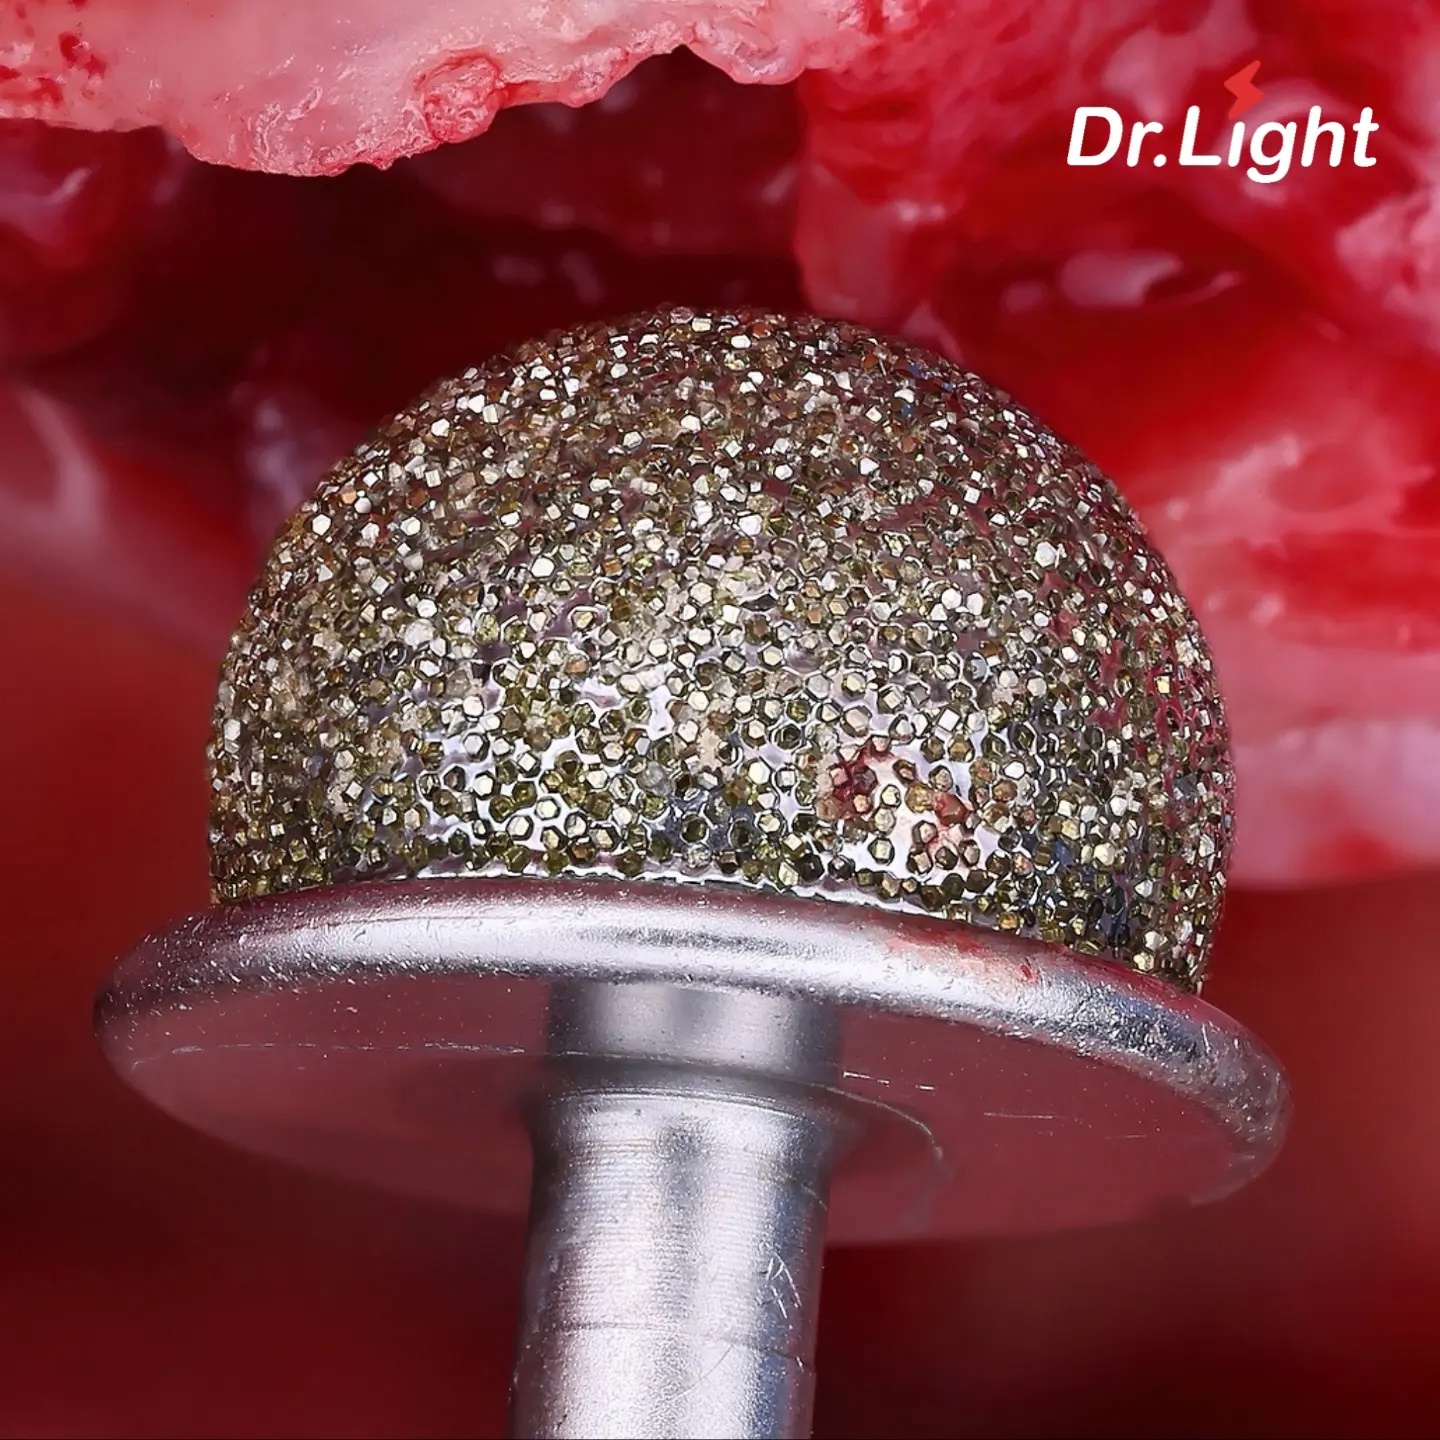
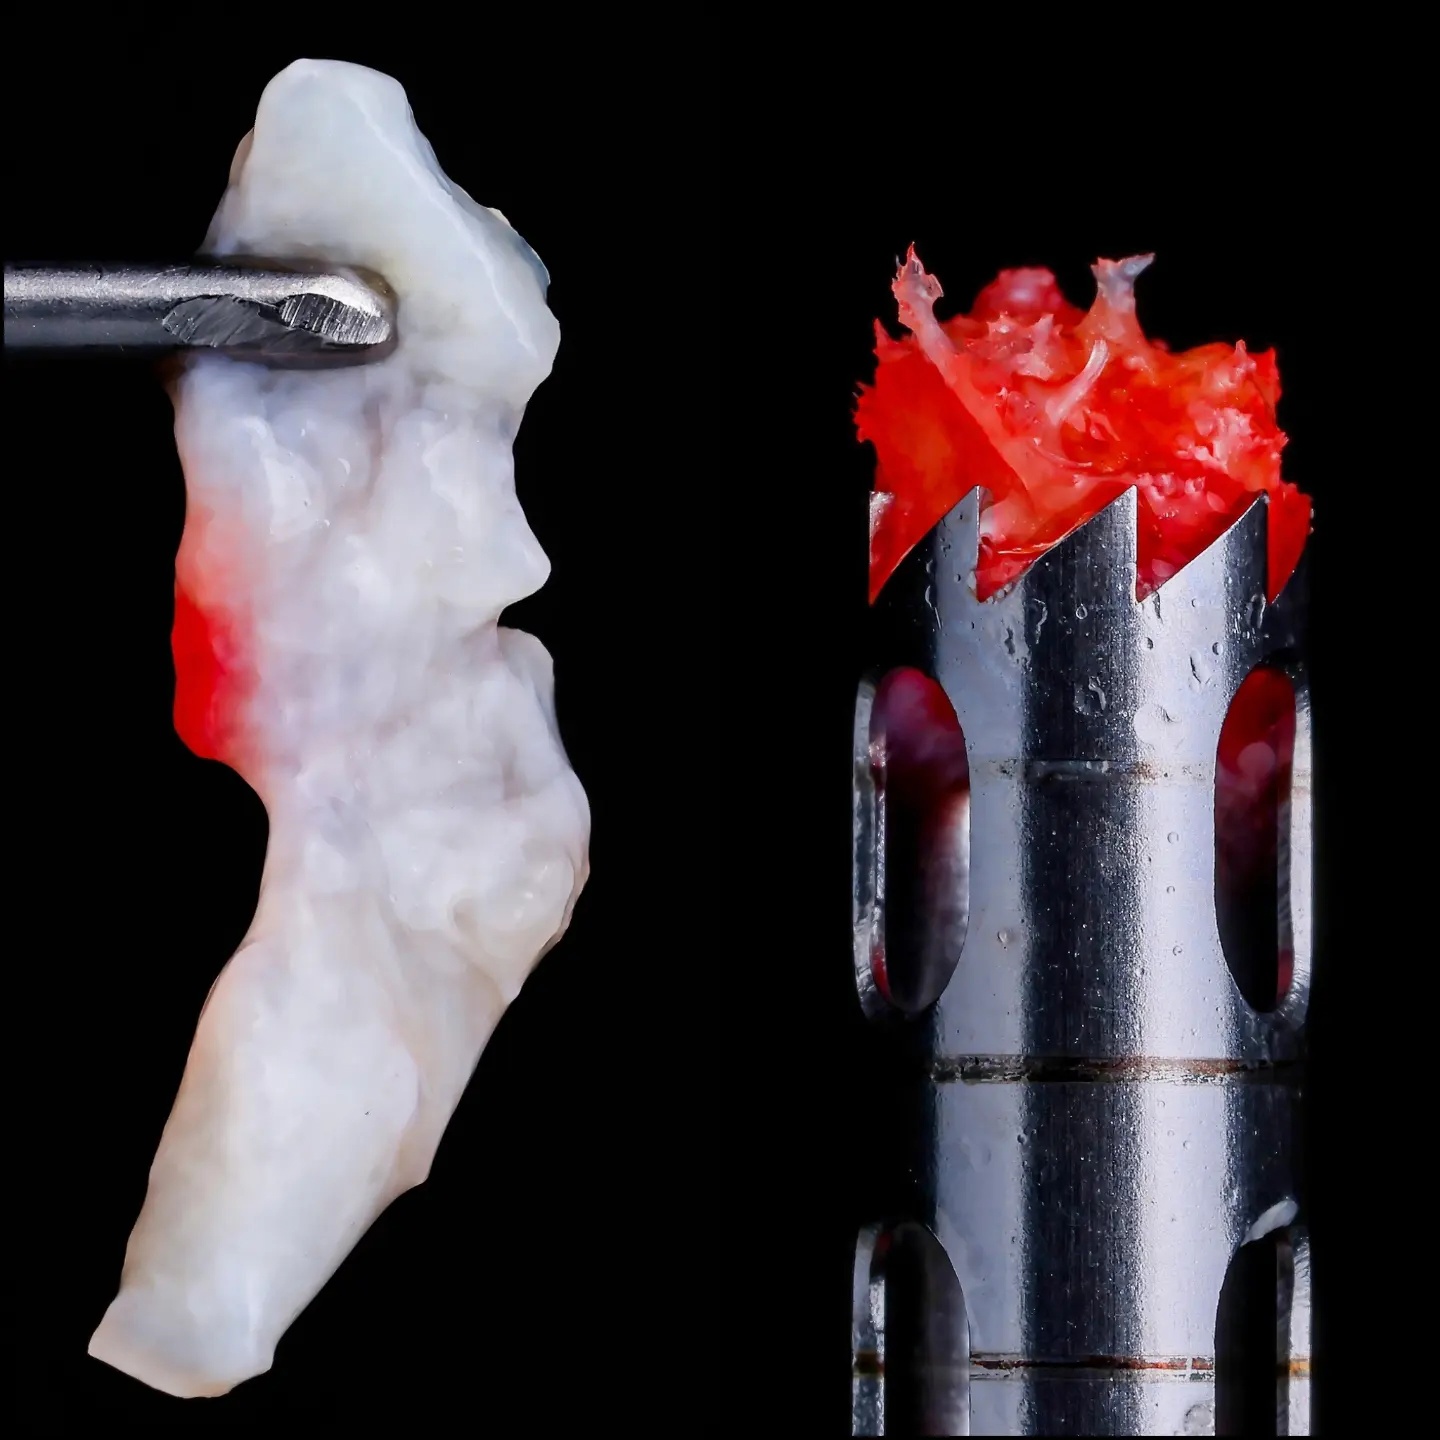
Compatible with all popular ring flash models

Godox
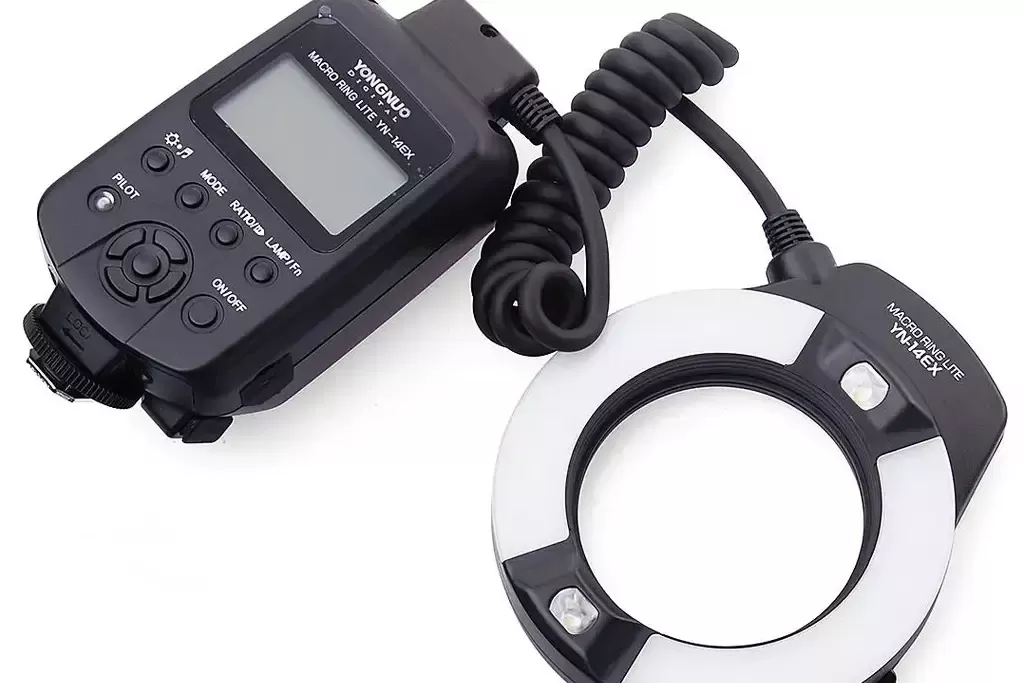
Yongnuo

Meike

Canon
Viltrox
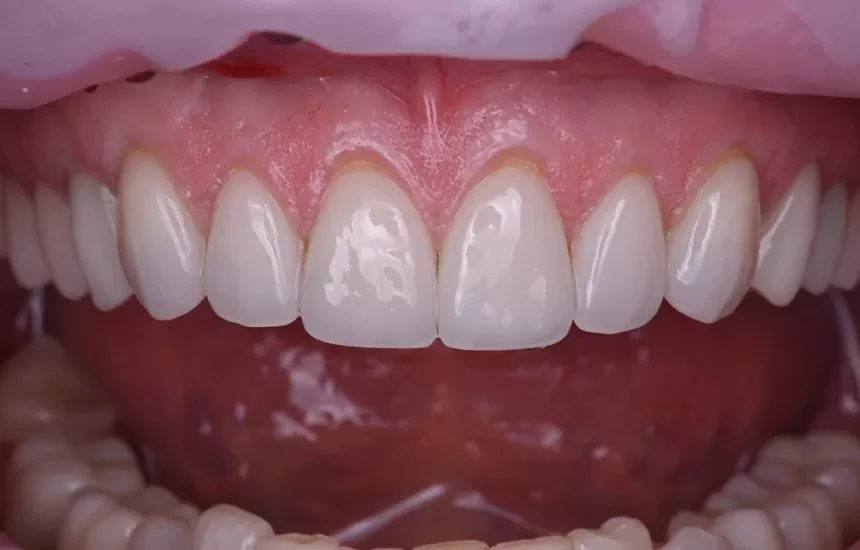
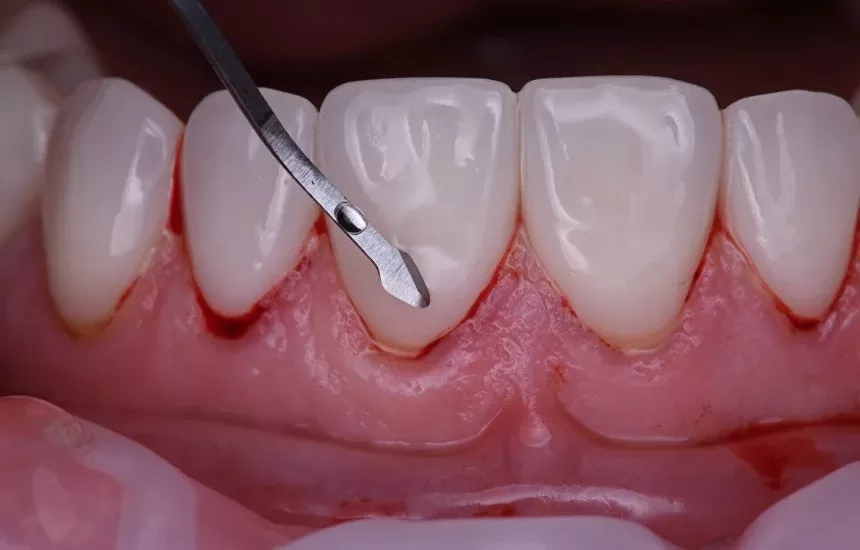


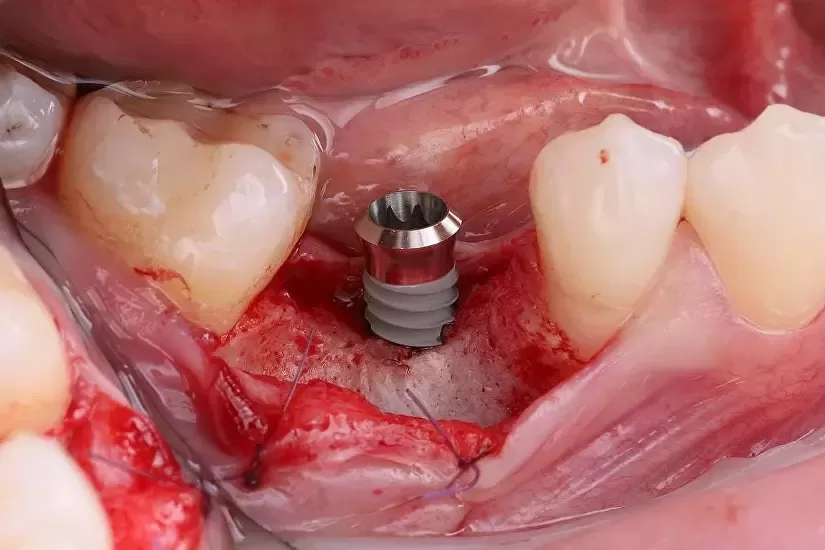
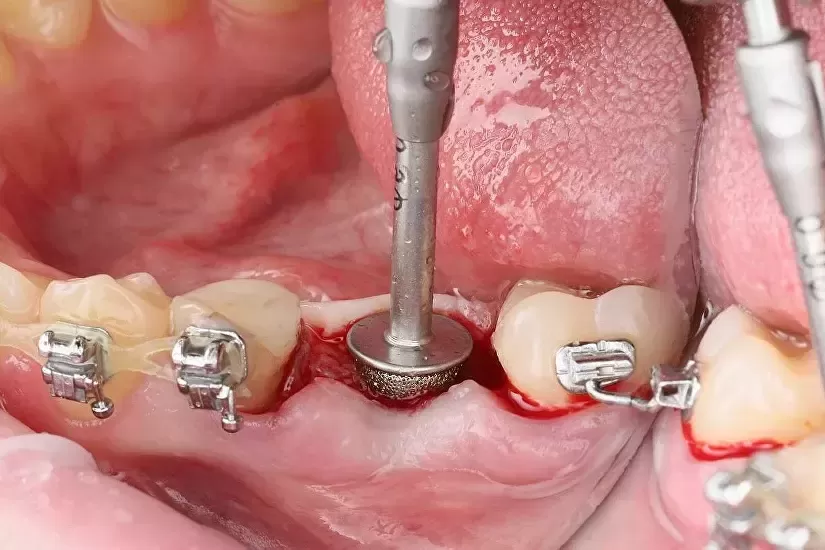
Dental implant pages on the ready-made website
Implantology is an area I am passionate about — it was an implant surgeon friend who first drew me into dental website development. I spent time working for a dental implant distributor and studied the field extensively.
The implantation section covers 6 pages: tooth extraction, classic implantation, immediate implantation, full mouth implants, bone grafting, and implant-supported prosthetics.
In my view this is the most comprehensive, clear and visually engaging implantology section available on any ready-made dental website — supported throughout by compelling video illustrations.

How much does a camera and lens cost?
Dental photography is technically not a demanding task for a camera. You do not need to buy a professional full-frame camera to do this work well.
That said, I personally own a full-frame camera — my second — because professional cameras are faster, more accurate, perform better in challenging conditions, and I use mine for everything: training events, portraits, interiors, and complex surgical procedures.
A good full-frame camera gives you a feeling of freedom — it handles every task, even the difficult ones. I became genuinely passionate about photography the first time someone put a professional camera with an expensive lens in my hands. Wherever I pointed it, the result was beautiful — instant focus, sharp, vivid, with that beautiful background blur. You feel like a professional photographer in an instant. After that experience, ordinary cameras disappear from your consideration. You want to work only with that kind of tool.
I have repeated this experience many times — handing a professional camera to someone and watching their face change. After that, shooting with a mediocre body and dark glass simply holds no appeal.

Previous-generation full-frame cameras are now available at very attractive prices. This is a superb camera — I have one and use it for everything: training events run by my surgeon friends, and lengthy three-hour surgical procedures.

Nikon D750

Nikon D780

105mm F2.8 macro lens

Canon 5D Mark3

Canon 5D Mark4

100mm F2.8 macro lens
lighting for the general dentist
Easy Light kit — £XXX

lighting for the restorative dentist
PhotoMed R2 Bracket Original — £XXX
Nikon Speedlight R1C1 Kit — £XXX

lighting for the orthodontist
Flash — £XXX
Lightbox — £XX

lighting for the surgeon
ring flash — £XXX
Dr.Light softbox — £XXX

Dear colleagues, I have prepared several dental website options that we can quickly and easily adapt for your clinic.
I very much want to show you the thinking behind each one and how I have designed them.
If you are looking to improve or build a dental website, please leave your contact details below. You will receive a concentrated overview of what is possible — and quite possibly the best offer you will find.